Lightroom Classic used to have a terrible reputation for performance. Certainly, older versions of the software had some serious speed issues, but over the past few years, Adobe has worked to improve the responsiveness of the application. It’s now it’s a far cry from the way it used to be. However, If you have a modern computer, and you’re still experiencing a slowdown with Lightroom, there are a handful of common issues that could be causing it.
All in Lightroom
Using “Enhance” in Lightroom for Fuji Users – Answers to the most common questions
The Enhance function in Lightroom has been around for a while now. It was originally called “Enhance Details” but changed its name to just “Enhance” when the super resolution feature was added. For Fuji shooters, Enhance offers a way to get improved demosiacing inside of Lightroom without having to use third-party software. Using it on Fuji RAF files can provide significantly better rendering of detail in Fuji files, but it does come with some downsides.
My T-Pan Lightroom Black and White Film Presets are available for sale again
When I closed my old digital download store a few years ago, I stopped selling most of my Lightroom presets. I figured that the market for these was pretty much saturated and that there wasn’t really any point. However, recently I’ve been receiving some requests for some of my older packs, and after using m T-Pan set on the most recent episode of Street Photo Diary, I’ve decided to make T-Pan available again.
How to do the “desaturate lows” cinematic grading technique in Lightroom
In colour grading for film and television, there is an age-old technique that is often used to make your footage look more cinematic or film like. The trick is to desaturate the shadow parts of an image. In fact, old versions of Final Cut (before FCPX) even had a specific plug-in for doing this called “desaturate lows”. In most modern colour grading and video editing tools, you have tools which let you control the saturation directly in relation to the brightness values in a scene, but in Lightroom, and other photo editing tools, this is one of the few tools you don’t have. Or do you?
How To Customise Fuji Film Simulation Profiles in Lightroom
If you’re a Fuji shooter, you shoot RAW and use Lightroom Classic, then you probably regularly use the Fuji Film simulation colour profiles when processing your images. However, what if you want to customise those profiles? What if you’re not 100% happy with the colour balance for example, or you’d like to match some customisation options that you’ve set in-camera. Well, it’s actually easy enough to create your own custom versions of these colour profiles and in this video I’ll show you how!
PSA: Adobe Offering 20% Off Creative Cloud All Apps Plan
Just a quick PSA - if you’re in the market for a new Adobe subscription, they’re currently offering 20% off the All Apps plan (this is the one I use) in select European, Middle East and Asian countries. Read on for more details.
More Notes on DXO Pure Raw 2 - Fuji Processing - General Tips
Ever since it came out last week, I’ve been getting lots of questions about Pure Raw 2. I had outlined a first look at the software last week, both here and on my YouTube Channel, and I’ve had lots of comments and queries on various aspects of the application. So, I thought I’d try and address some of the key things people had questions about in this post.
Lightroom Quick Tip for Fuji Users - Easier Access to Film Simulations in Lightroom
If you’re a Fuji shooter who regularly uses different film simulation modes when shooting with your Fuji camera, then you may also want to regularly try different film simulations when working on your RAW files. Lightroom has profiles for all of the film simulations that come with various fuji cameras, but to get to them you have to go into the profile browser. While this is fine, you can actually make access to these a little easier, and there are two ways of doing this.
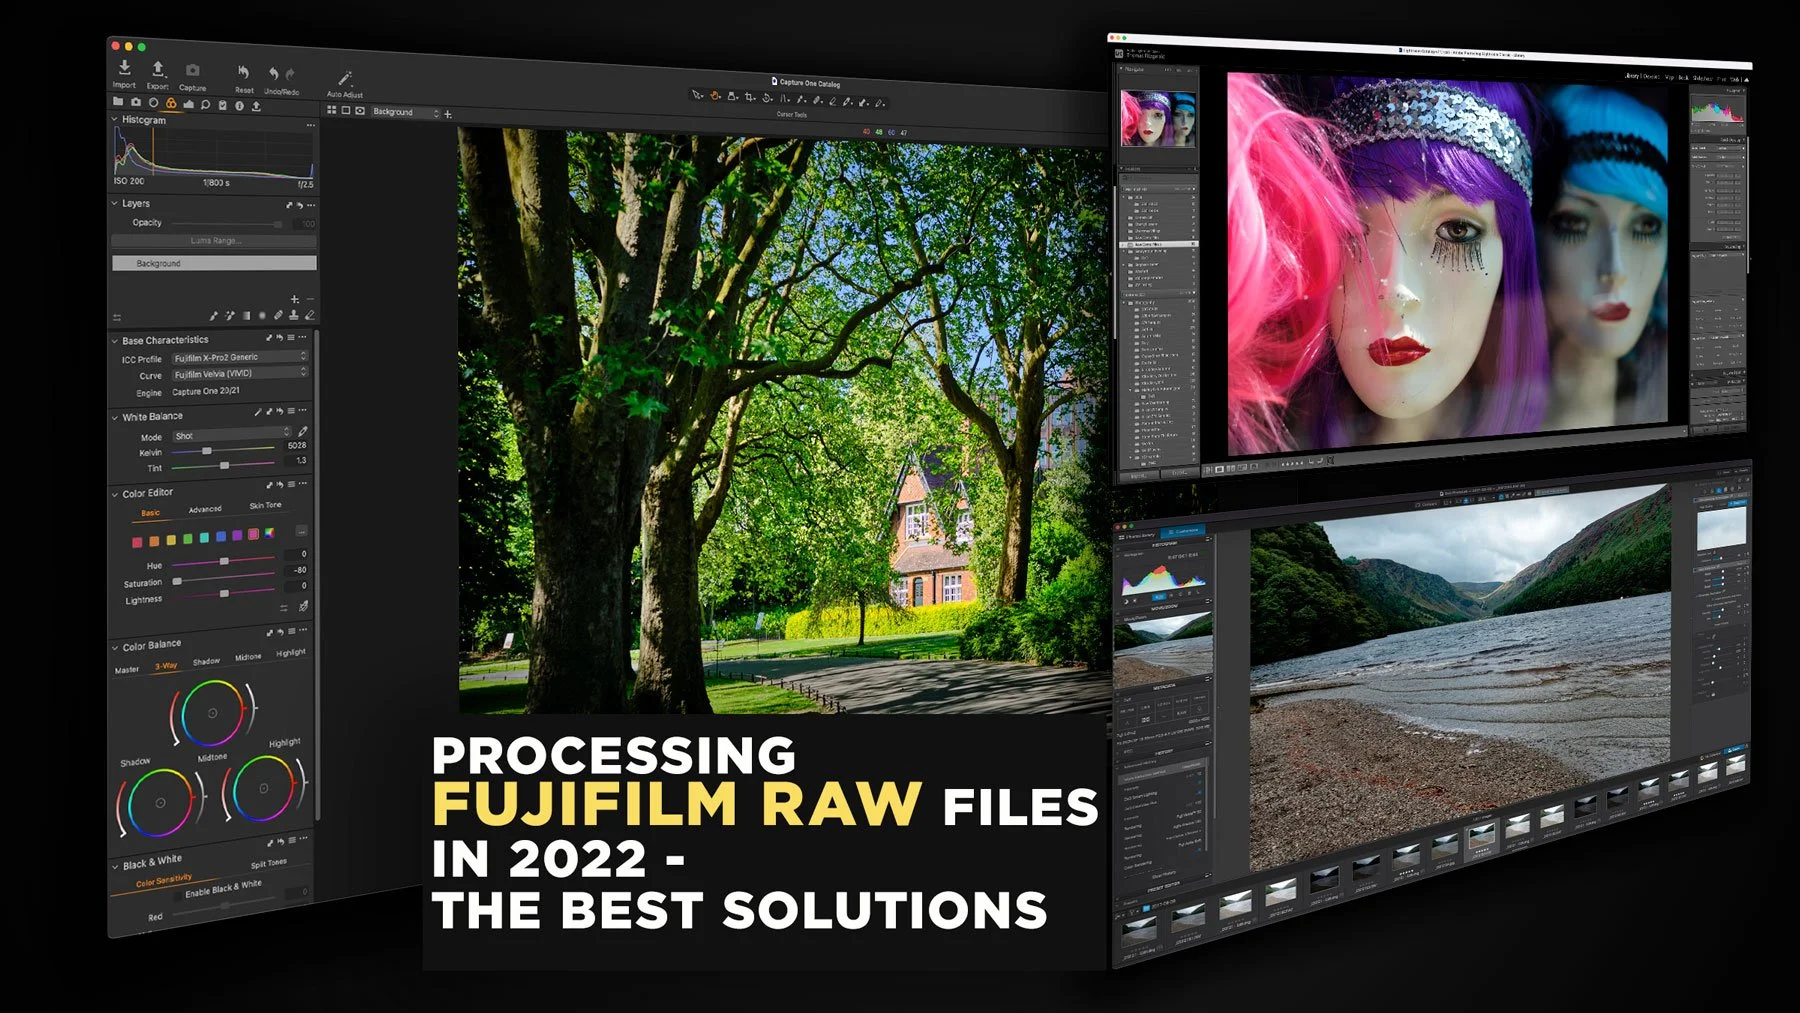
Processing Fujifilm Raw Files in 2022 - The Best Solutions
The topic of how best to process Fuji raw files has been a long-running topic on this website. I’ve covered it extensively in the past, including a previous version of this article. However, over the past two years since the last time I updated this, there have been a few changes to the landscape, and so it’s time to write an updated version. So, what are the best options for Fujifilm raw processing in 2022? (In my opinion)
Adobe Finally Added Camera Matching Profiles for Newer Canon Cameras including the Eos R5 and EosR6
I’m not sure how I missed this, but there was an issue with Lightroom and Camera Raw for Canon shooters that I had been reporting on for some time, that has finally been resolved. For some reason, Adobe hadn’t been adding camera matching profiles for newer Canon cameras. Specifically they hadn’t been adding profiles for cameras that used the .CR3 file format. Thankfully, Adobe has started addressing this.
My Lightroom Wish List for 2022
Adobe really made some great improvements to Lightroom in 2021. The new masking architecture is a great upgrade and it’s changed the way I use the software. In the past Adobe has been criticised for not doing enough with Lightroom, but over the past few years they’ve really taken the breaks off and made some good improvements. There can always be more though, and so, here is my modest wish list of things I’d love to see changed in the application.
Some Free Lightroom Presets to Download & Happy Christmas
This will probably be my last day blogging before Christmas, so I wanted to finish off by giving something back. As I had been working on various projects throughout the year, I have been creating and experimenting with various Lightroom presets, and I ended up with quite a collection. I had originally offered these to Patreon members, but as I’ve shut down my Patreon channel for now, I didn’t want them to go to waste, and so you can download them here.
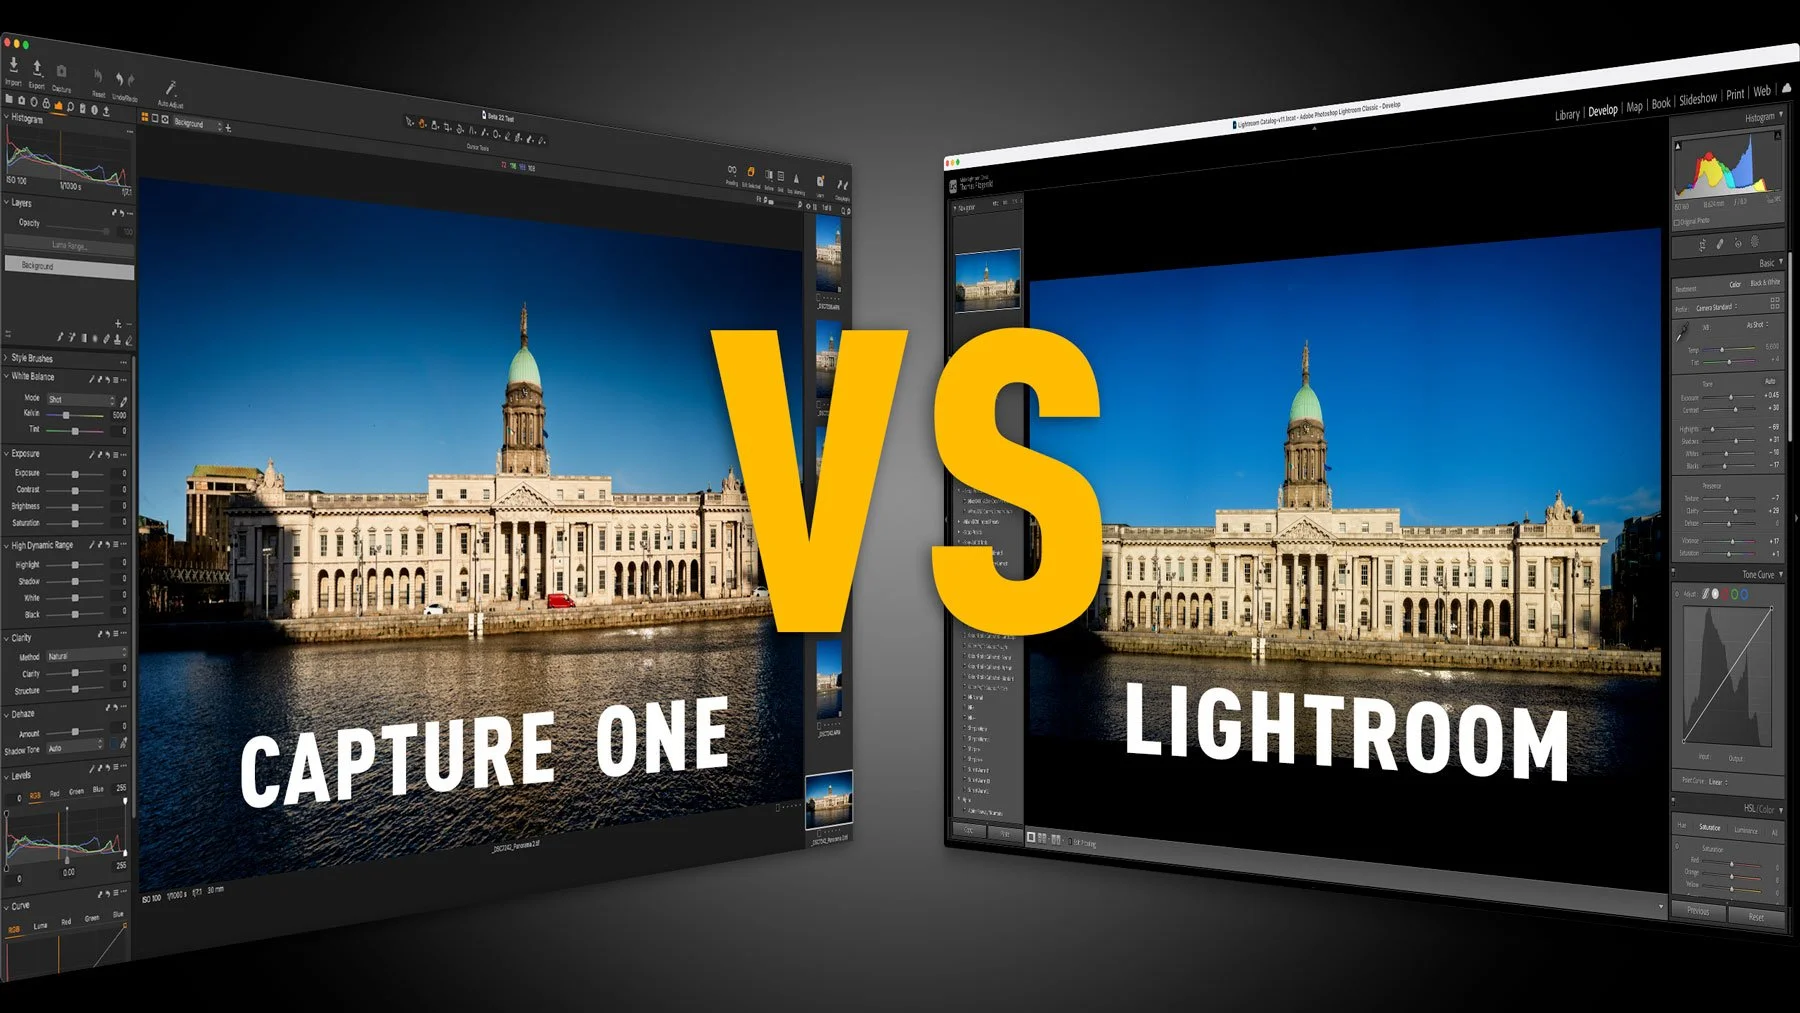
Capture One 22 vs Lightroom Classic 11 – How do the latest versions affect your choice of photo editing application?
One of my most popular Capture One posts on this website is the post entitled “Capture One vs Lightroom from someone who uses both”. I last updated this earlier this year, but since then, a lot has changed. With the release of Lightroom 11 which brings the new masking architecture, and Capture One 22 which adds Panorama stitching and HDR merging. This changes the dynamics of my previous arguments for each, and so I wanted to offer an addendum.
Learning and Inspiration with the Lightroom Community "Discover" Page
I recently wrote a blog post about the new “Recommended Presets” feature of Lightroom (Cloud version) and I mentioned that it was driven by the community. The community feature of Lightroom is probably one of the most underrated features of the software. If you are an experienced photographer, you probably haven’t even looked at it, as you may think — that's just for beginners. However, I think its worth a look for anyone, and in this post I’ll explain why.
New Video - Lightroom Suggested Presets
Last week I posted on the blog about a new feature in the cloud version of Lightroom that gives you suggestions of presets to use. I’ve now done a video version where I go into it in more depth and show you exactly how to use the new Suggested Presets feature.
A Cool new Feature in Lightroom (Cloud) that you may not have noticed. (It's not in Lightroom Desktop)
I mostly use Lightroom classic, and based on a poll I posted on my Facebook page earlier this year, most of you are the same. However, recently I’ve seen more and more people using the cloud version of Lightroom on YouTube and elsewhere. Because I don’t use it that much, I missed one of the new features in the latest release, that’s actually kind of cool.
Watch Some of my Live Editing Videos (Previously Patreon exclusive)
I recently decided to close my Patreon channel after several years of running the page. had produced some exclusive videos for Patreon, that because of my failure to grow my channel there, never really got seen by an audience, so I’m going to share some of them here now.
Adobe Introduces Lightroom Classic 11
Adobe today released the newest version of Lightroom Classic. Lightroom Classic 11 is perhaps the biggest upgrade to the software in years, and as you have probably read already, it rebuilds what was previously the selective editing interface into a whole new masking architecture. The new Masking function is a pretty big deal and brings new features and capabilities to Lightroom that would have previously required you to use an external editor. There are some other updates too, including some under the hood optimisations that should improve the performance of the software.


