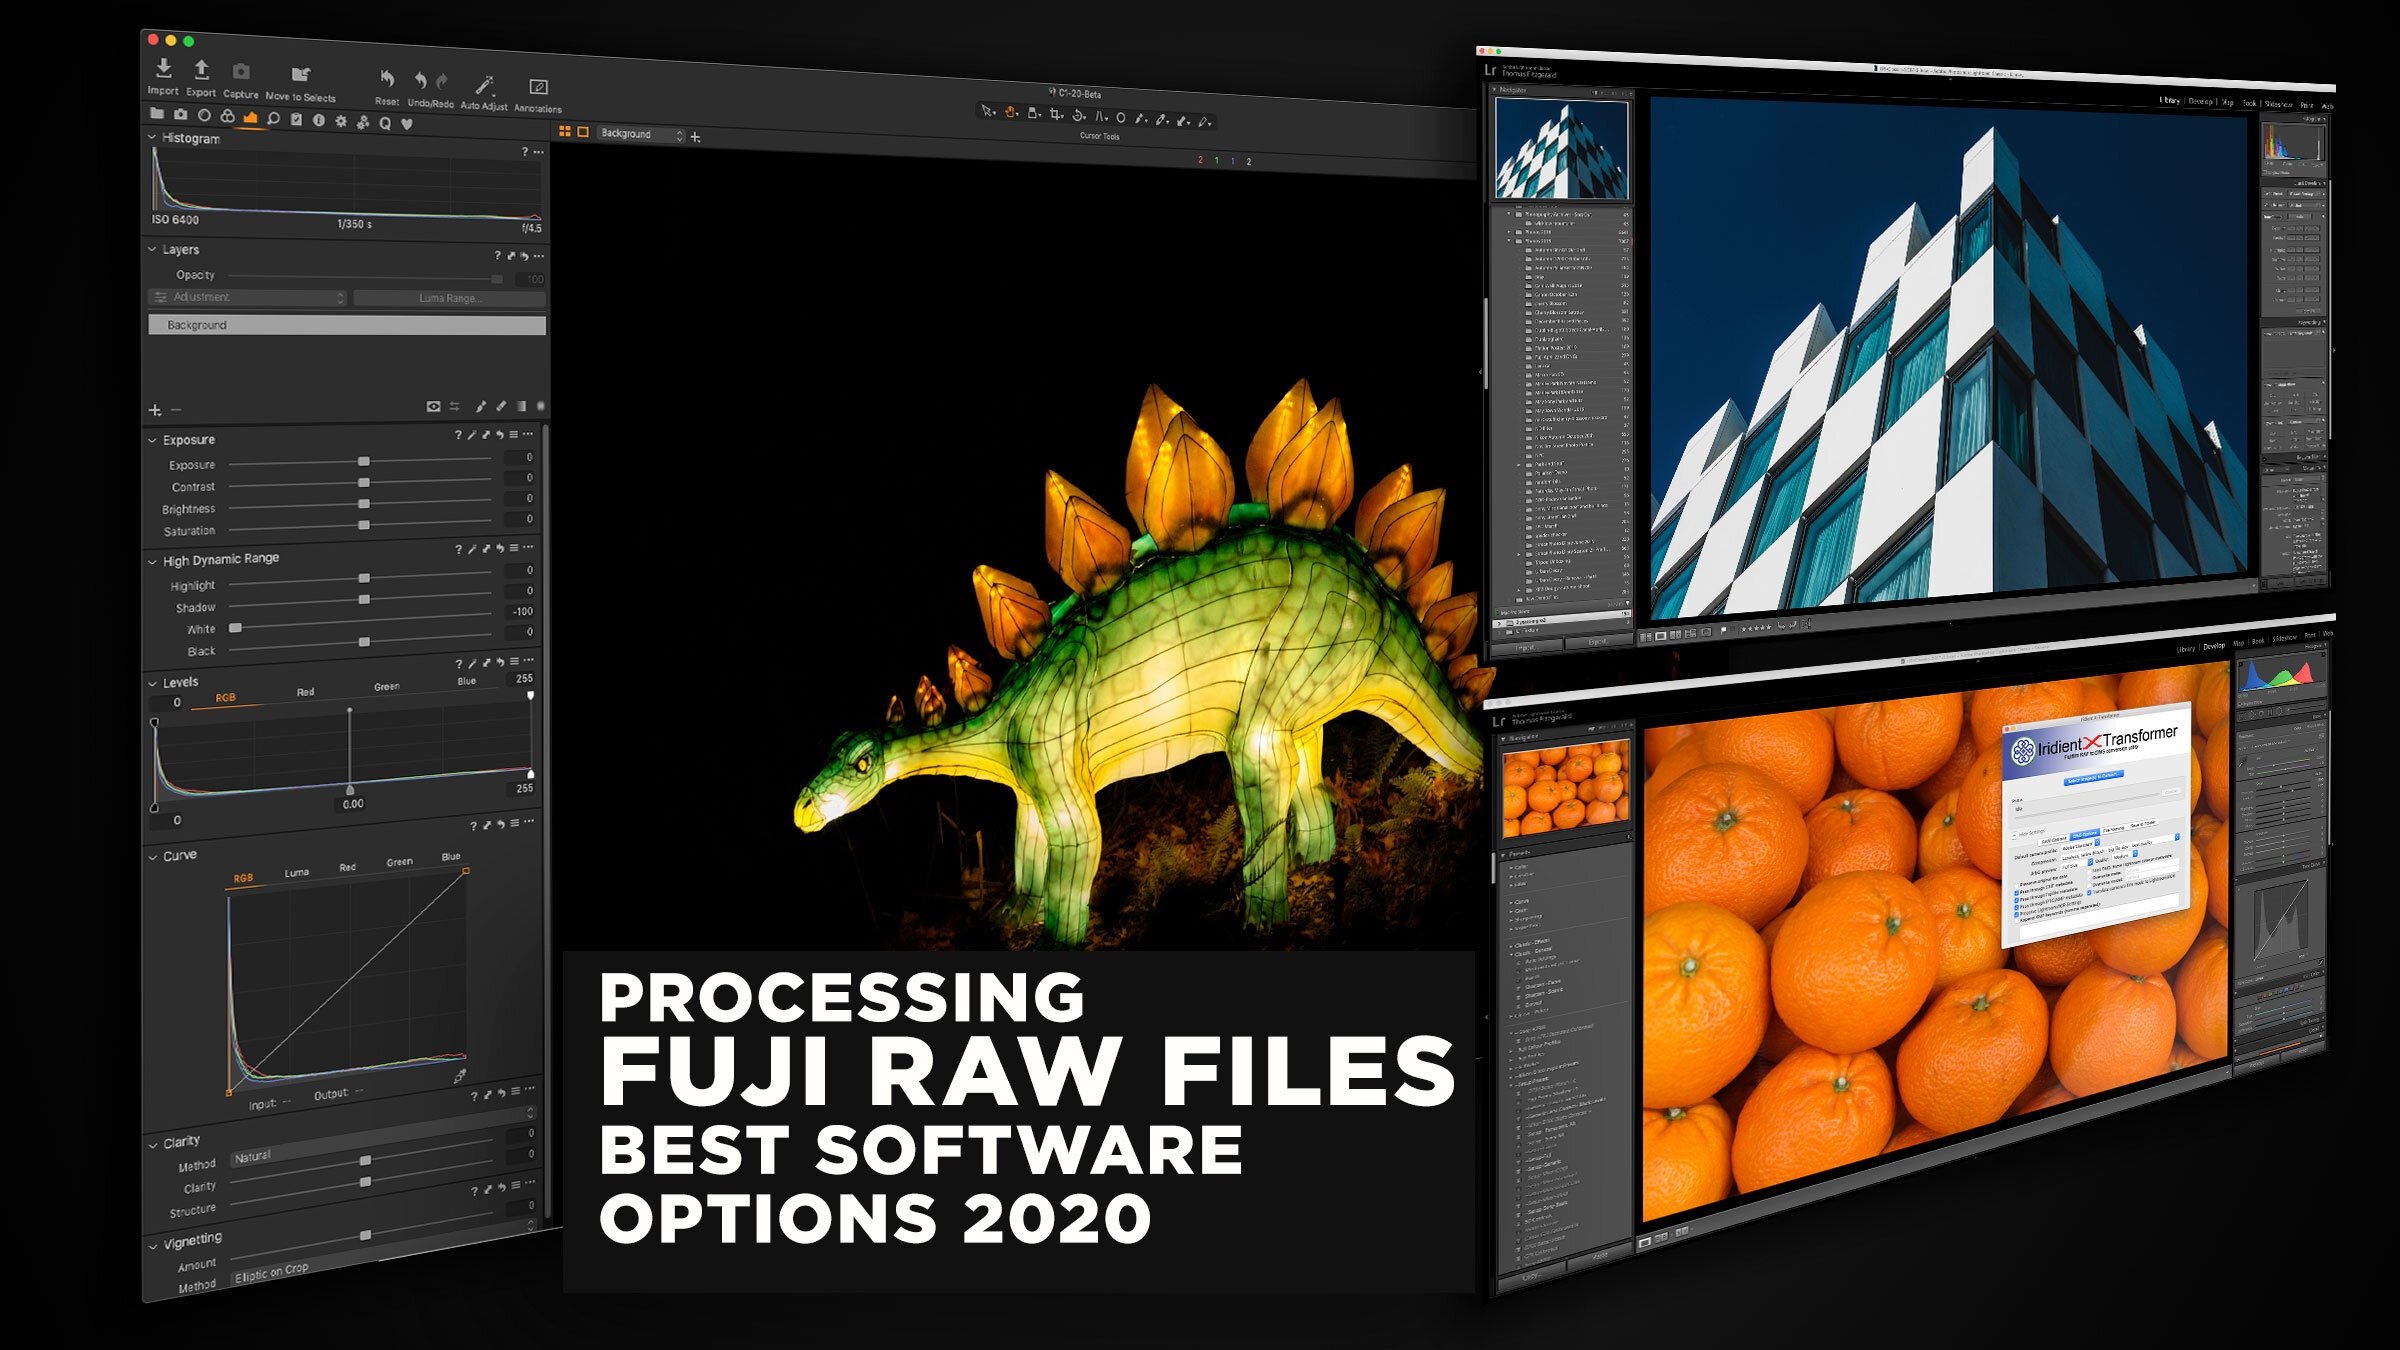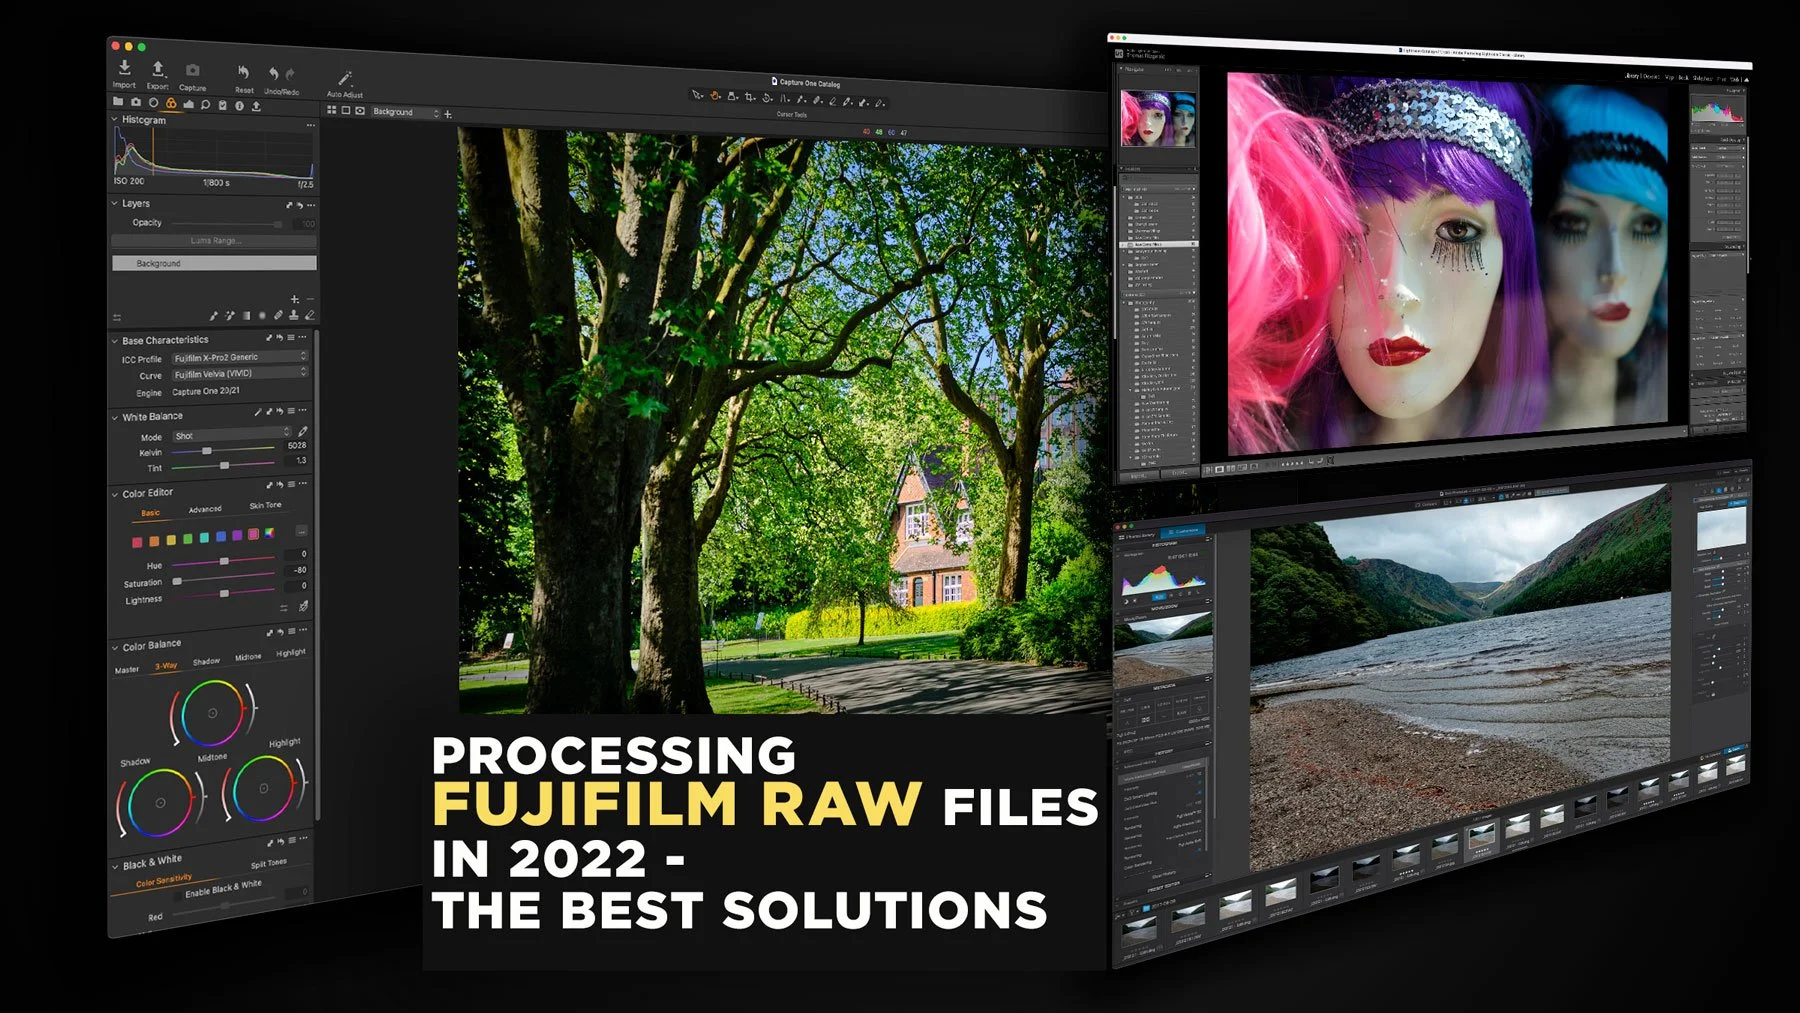
Processing Fujifilm Raw Files in 2022 - The Best Solutions
The topic of how best to process Fuji raw files has been a long-running topic on this website. I’ve covered it extensively in the past, including a previous version of this article. However, over the past two years since the last time I updated this, there have been a few changes to the landscape, and so it’s time to write an updated version. So, what are the best options for Fujifilm raw processing in 2022? (In my opinion)
But first a few caveats.
What I might find the "best" isn't necessarily what someone else might find the best for them. So, in the past, I've tried to present many different options, and let people decide for themselves. But, in this post, I’m only going to talk about the solutions that I would personally recommend. If you prefer a different option, that’s totally up to you.
Secondly, unlike the previous version of this post, I’m not going to say definitively if I think one is better than the others because I think they all have pros and cons, but I’m going to present them as options with notes as to why they might be better than others and what other things you should know.
What does "best" mean?
The term "best" is often quite misleading because as I said, it's often subjective. In this context, though, I'm talking about what gives you the most natural-looking, and the most artefact-free results when working with Fuji raw files. There are, of course, more things that can enter into the equation, such as workflow, ease of use, and cost. Bun in this context, I'm talking purely about technical image quality.
I'm basing this on processing thousands of Fuji files in many different applications. Sometimes the difference can be tiny. Other times it may be more obvious. It also depends heavily on the type of image, how you prefer to process, and so on. While I believe that much of this is subjective, there are also technical standards, which, I think, are not, and while different people might have different standards, for me, the image should look clean, and un-processed. It should not look too "digital" but instead should have the quality to pass an editor in a magazine or submission to a stock agency. This is the standard for which I would aim.
I also have a minimum set of requirements. It must be a useable solution for working with lots of images in a project, and it must support Fuji film simulation modes at a minimum.
This is my opinion
I understand, having done several variations of this article at this point, that regardless of what I write someone somewhere will take issue with this and disagree. If you do things differently, that's fine. This is my opinion. All I can do is share my opinion based on my experience and skills in analysing images.
Why do Fuji files need special processing?
The chances are that if you're reading this, you already know the answer. I'm not going to get into a big technical discussion on this because I've done that before many times, so here's the short version: If you're shooting with a Fuji camera that has an X-Trans sensor, then the results in Lightroom can lead to mushy details and artefacts around edges. It can also lead to a "worm" like pattern in areas of flat colour if you push the file. Not everyone considers this an important issue, and so, if you are okay with Lightroom's processing for your images, great. Continue to use what works for you. The topic of why Fujifilm files require special processing has been discussed to death, and if you don’t personally think that they do, then this article isn’t for you.
Best Options
So, here are the best options, in my opinion, based on all the caveats above. I’m going to give solutions along with what area I think that they perform best. Some of this has been adapted from my previous article on this.
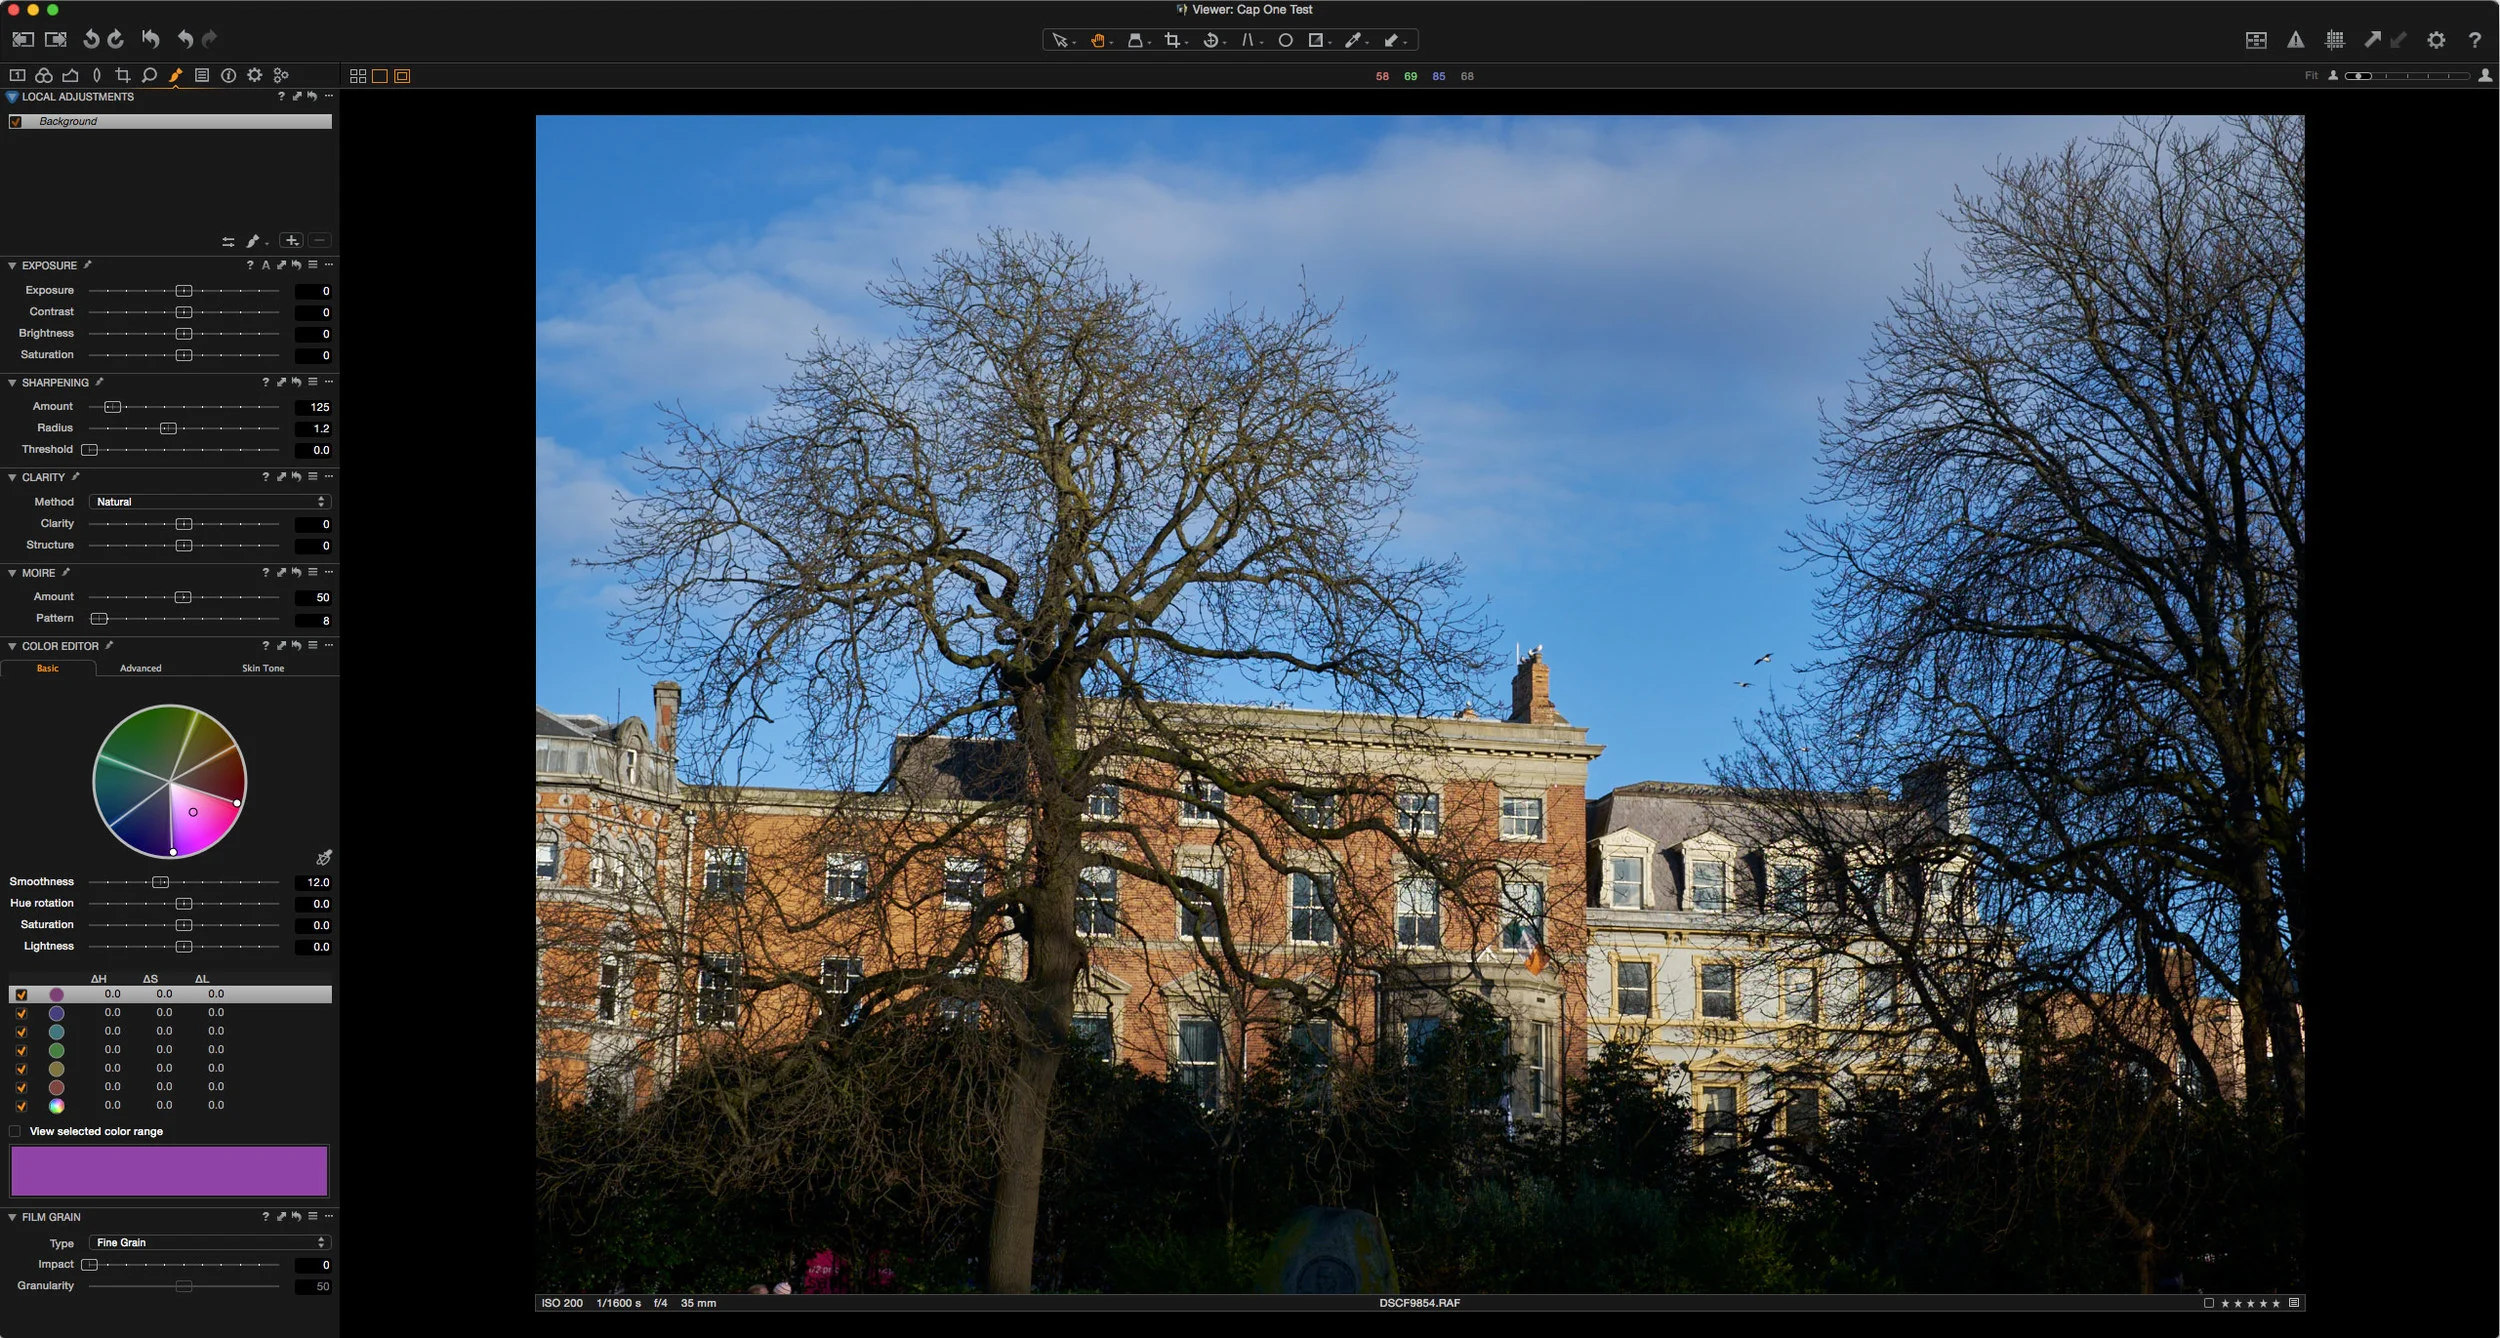
Best All Rounder – Capture One Pro
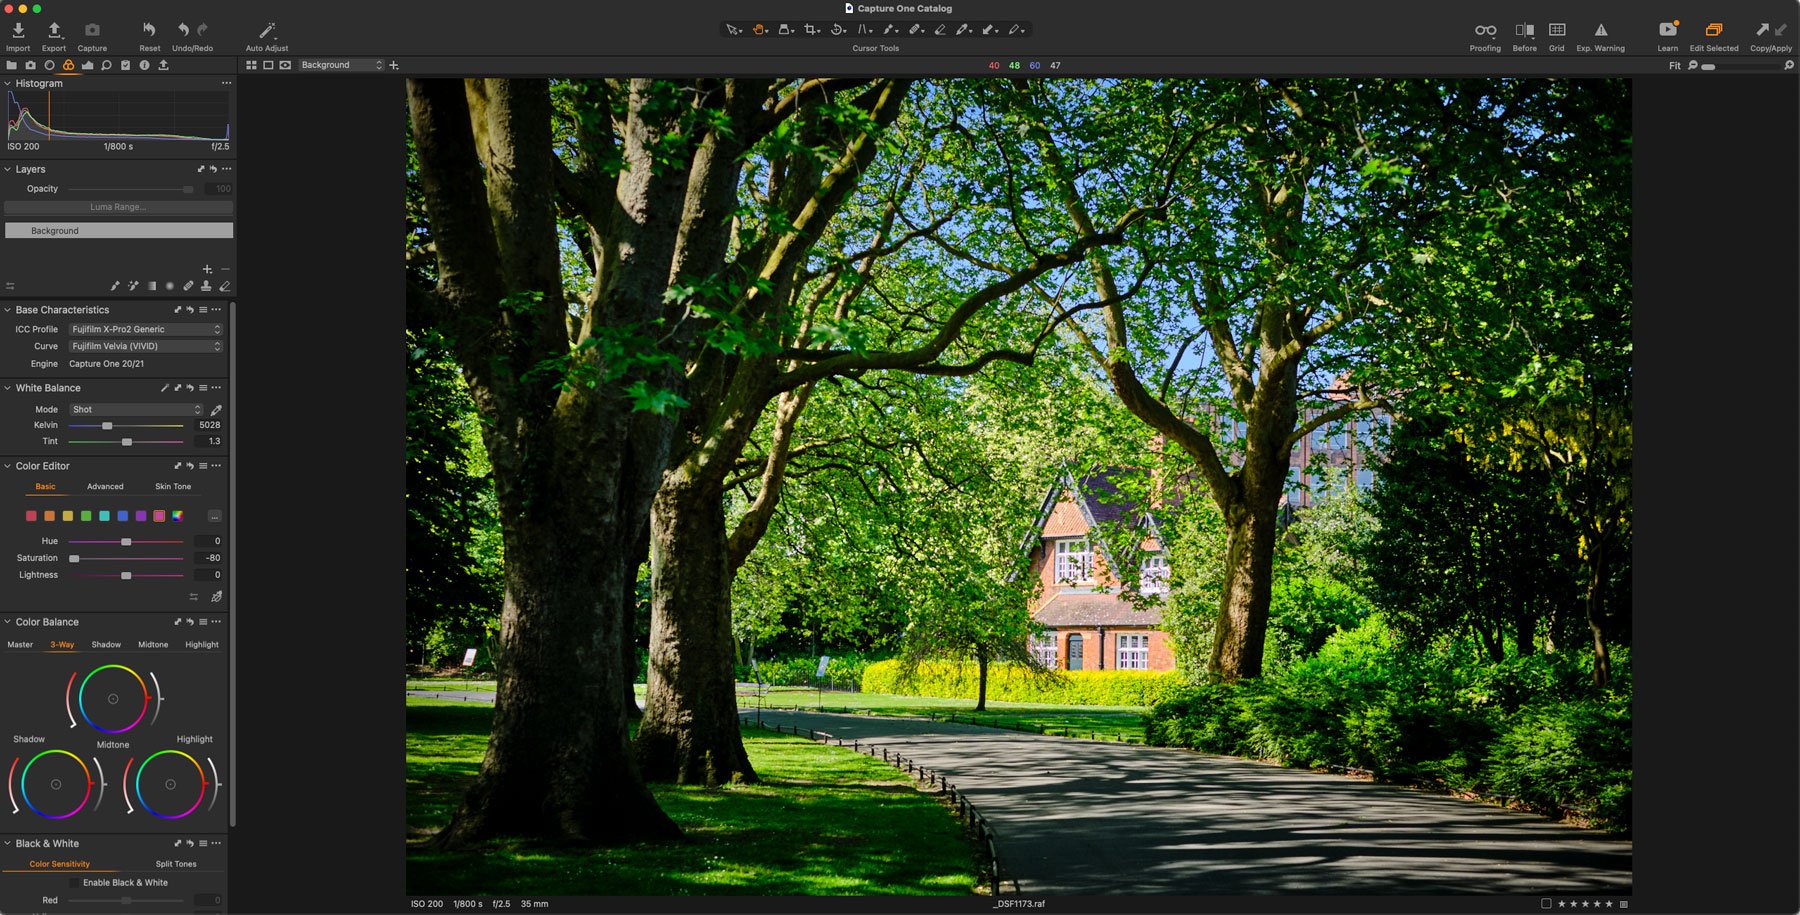
In my opinion, Capture One probably ticks the most boxes and is the best all-rounder. I think that in terms of pure image quality, the differences between this and the other options will be negligible, generally speaking. You will need to tweak the settings slightly to really take advantage of this, but when you do that, I think that for the majority of images, the majority of the time it gives you great quality, natural-looking artefact free images.
Just to be clear, I'm only talking about X-Trans conversions here. For fuji cameras without an X-Trans processor, the choices are not as distinct, and it is more a matter of preference. I'm not saying that Capture One is better than Lightroom overall, and I believe that both have pros and cons, but for X-Trans conversions, in my opinion, it is better because you don't have to convert the files to get the best quality results. This results is less time processing and uses less disk space (as you don't have to convert to DNG to use the better option as you do to get the best from Lightroom)
Where it wins over the other options is that you don’t really have to do anything special to get good quality. You don’t need to convert to another format, and you only need to tweak settings to optimise for the best possible output. Even with the default settings, it produces good results. With the latest versions of Capture One adding more features that are “missing” compared to Lightroom, it’s getting to be a better and better all-round solution.
[UPDATE] Not long after I wrote this piece, Capture One have announced that they’re discontinuing the Fijifilm version of the software. This was the version that only worked with Fujifilm cameras, but was otherwise the same. Unfortunately this means that the price for potential Fujifilm shooters has now increased as you would need to buy the full Pro version now. See here for more details.
Best Pure Image Quality (with some caveats) – DXO PhotoLab
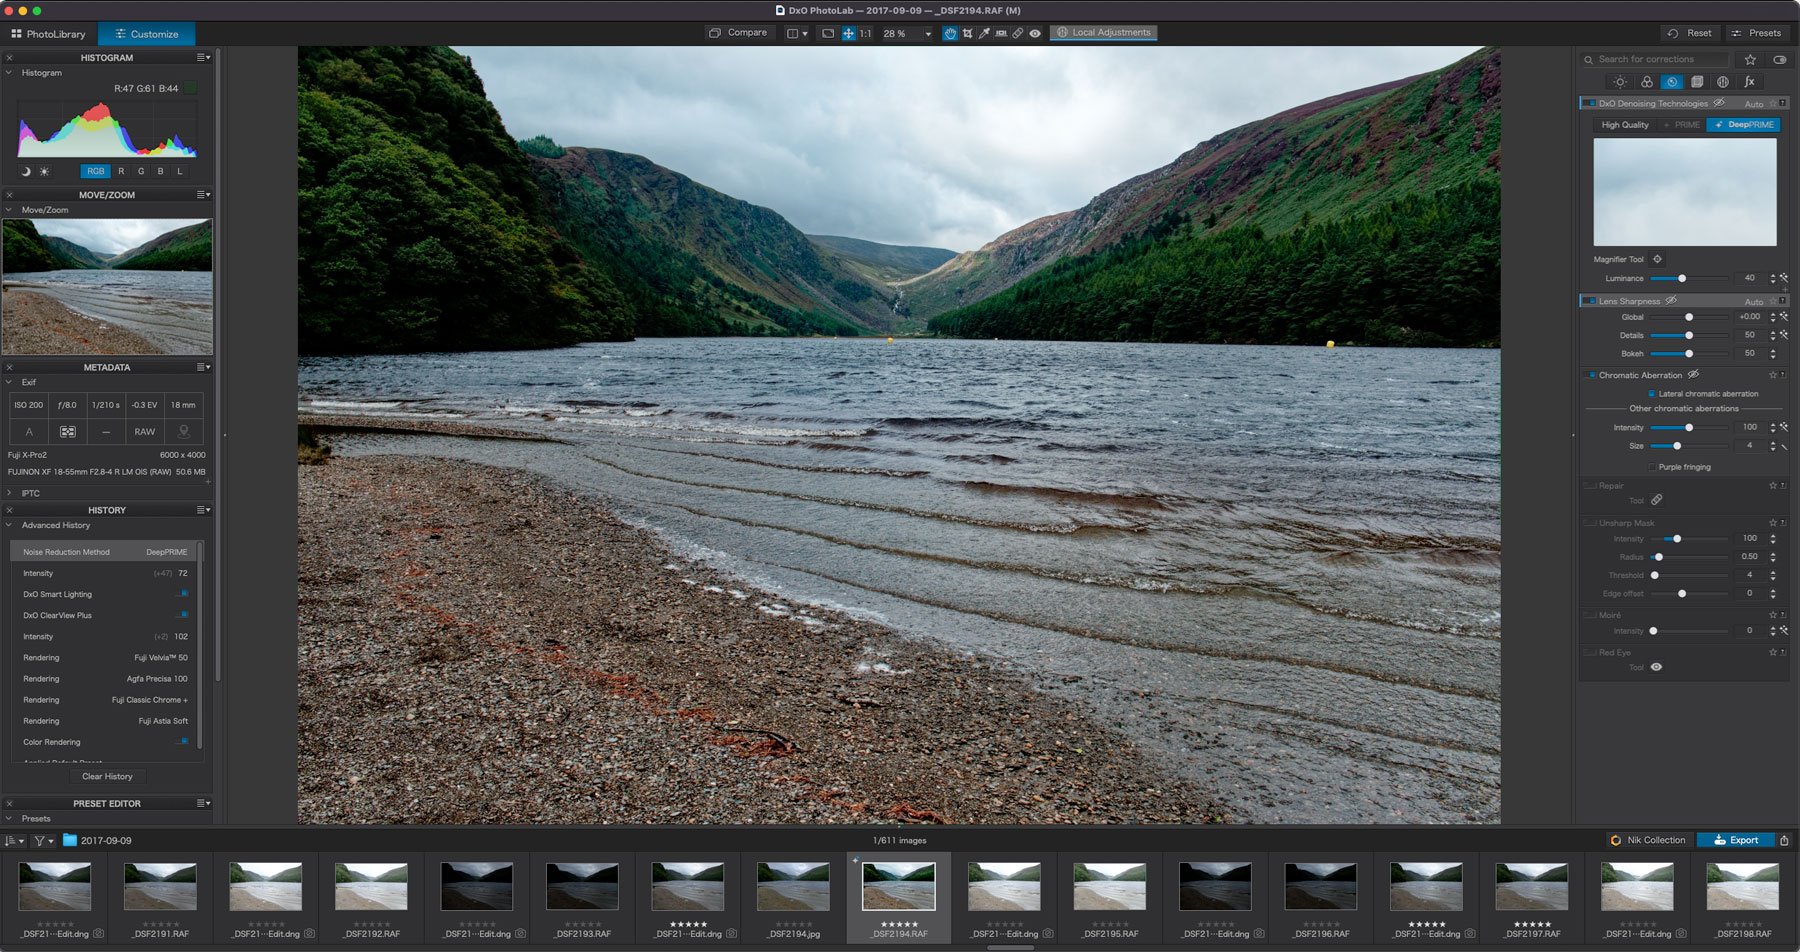
In 2021, there was a new entry into the world of Fujifilm RAW processing, and that was DXO Photolab. While the software itself isn’t new, it has avoided supporting Fujifilm cameras for some time, but now they have finally started adding compatibility.
When used correctly and with the right process, the software can produce really high-quality results. In my opinion, they edge out some of the other options here in terms of pure image quality. However, there are quite a few downsides to the software at the moment.
Firstly, Fujifilm support is only in beta. This means that not all cameras are supported, and quality is expected to change in the future.
Secondly, to get Fujifilm film simulations you need to also purchase the extra “DXO Film Pack” software which is another expense. Combined, this makes this probably the most expensive option here.
Thirdly, to get the best results, you have to use the companies “Deep Prime” noise reduction, which also activates the enhanced RAW conversions for Fujifilm. The only way to see this fully is to export the image, so it results in a bit of a frustrating workflow. However, I do think that the quality is superb when you do all the right steps. Hopefully, this process might be streamlined in the future, and they might remove the requirement to buy DXO Film Pack as well.
Best Free Option – Capture One Express
Capture One Express has some of the features of Capture One Pro, but it’s free. However, it only works with Fuji Files, and it does have quite a few limitations. It depends on what your needs are as a photographer, whether the feature set of Capture One will be good enough for you or not.
If you want to avoid forking out for a full-featured editing program, it will give you good results. It’s a much better free option than the silkypix based “Raw Converter” software that comes with the camera, and definitely better than Fujifilm’s own X-Raw studio (in terms of both usability and quality)
It will do basic conversions and supports Fuji film simulation modes, but it lacks more advanced editing features. You can, of course, do your conversions in Capture One express and then finish in Lightroom if you want. This gets a bit tricky though, and not everyone wants the hassle of handling multiple file versions, but it's another option.
Best Quality for sticking with Lightroom – Lightroom with "Enhance" (Previously called Enhance Details)
There are lots of people who want to stick with Lightroom, and thats a perfectly valid choice too. To get the best results from Lightroom, you'll need to either use "Enhance" or use an additional application like "X-Transformer".
While the standard conversion in Lightroom can give you some issues with Fujifilm X-Trans files, when used with the “Enhance” function, the results are excellent, especially with the 26mp X-Trans files.
If you’re not familiar with Lightroom’s “Enhance” function, it basically uses AI to do a better demosiac, and when used on Fujifilm X-Trans raw files, it solves most of the problems with edge details and worm artefacts.
While there’s not much in it in terms of quality, compared to using X-Transformer (see below), in my opinion, it’s slightly better. I think the results are slightly more natural looking, but it’s close enough that it’s down to personal choice and preference.
The big advantage of using Lightroom’s “Enhance” option over, say, X-Transformer, is that it is built in. You don’t need to use another application. The downside is that it produces files that are much larger than what X-Transformer can produce.
Second Best Lightroom Option – X-Transformer + Lightroom
One of the longest running options for getting good results with Lightroom and Fujifilm files is to use Iridient X-Transformer to pre-process your files. This gives you all the flexibility of Lightroom with the improved raw conversion of Iridient's raw engine. The results are close to what you will get with the enhance function, and some people may actually prefer the results from X-Transformer.
The downsides to this method are that it requires you to make a DNG copy of the original raw file, and it can take up extra space. Unlike the “Enhance” function in Lightroom, this is a separate application that requires some creative workflows. However, X-Transformer does have more compression options than using Lightroom’s Enhance function, and it can result in much smaller files. If you’re working with a Laptop or have limited space, it may be a better option.
I have an eBook dedicated to using X-Transformer, and it guides you through the multiple options available in the software, with some "recipes" for getting the best results.
Honourable Mention: Lightroom (or Photoshop) with Tweaked Settings
If you're unwilling or unable to use any of the above options, then the next best option is to use Lightroom and tweak the sharpening settings. By tweaking the sharpening settings, you can minimise the artefacts that Lightroom produces on X-Trans images.
This varies from image to image and may produce detrimental effects, but often, it may be better than just using the defaults. I've covered this in great detail many times before, and I've put all of the advice on this into an eBook which covers this and other details of working with Lightroom.
Why not other options?
So, why not other options like Luminar or On1 Raw. As I said at the beginning, this article is about what, I think, are the best options. There are other applications which will allow you to process RAW files from Fuji cameras and will give you varying degrees of quality. Still, in my opinion, most of these have too many tradeoffs to recommend them, even over Lightroom on its own. For example, in my opinion, the quality of X-Trans conversions in On1 Raw is not good enough, and in some cases produces a worse image than Lightroom. Even with the latest versions.
Luminar produces good quality detail but lacks support for the Fujifilm film simulations directly, and in my opinion, the asset management side is still too lacking to completely replace Lightroom. It can also be a bit slow, which makes working with many images at the same time challenging. Furthermore, with Luminar announcing yet another different “new” version of Luminar with Luminar Neo, I’m not sure if it’s a reliable long-term solution.
I also don't recommend Iridient Developer any more because, in my opinion, X-Transformer and Lightroom are a better combination. Iridient Developer is not as fully featured and hasn't had any significant updates in quite some time, so you're better off using it in connection with Lightroom.
Choose your own adventure
At the end of the day, don’t take my word for it. Most of the options here are available as a trial of one form or another. The best judge of what’s best for you is…well, you. As I mentioned at the start of this article, these are my opinions, and many of the views here are subjective. You may feel differently about any or all of these choices. So, try them out for yourself, and see which is the most practical and best solution for you.
Help Support the Blog
Check out my eBooks and Presets
Check out my photography eBooks , Capture One Styles and Lightroom Presets available on GumRoad.
Buy me a coffee!
If you want to say thanks or help, then you can feed my caffeine habit and buy me a coffee via PayPal with a one off donation to my PayPal tip jar. (Please note that PayPal doesn’t make it easy to respond to these so just know you are thanked in advance)
Join our Facebook Group
If you want to discuss anything you’ve read here on my website, or saw on my youtube channel, or if you want to share images you’ve created using any of my techniques or presets, then I’ve started a new Facebook Group just for that.
Note that this post contains paid affiliate links. We get a small commission for purchases made through these links, which helps run this site.