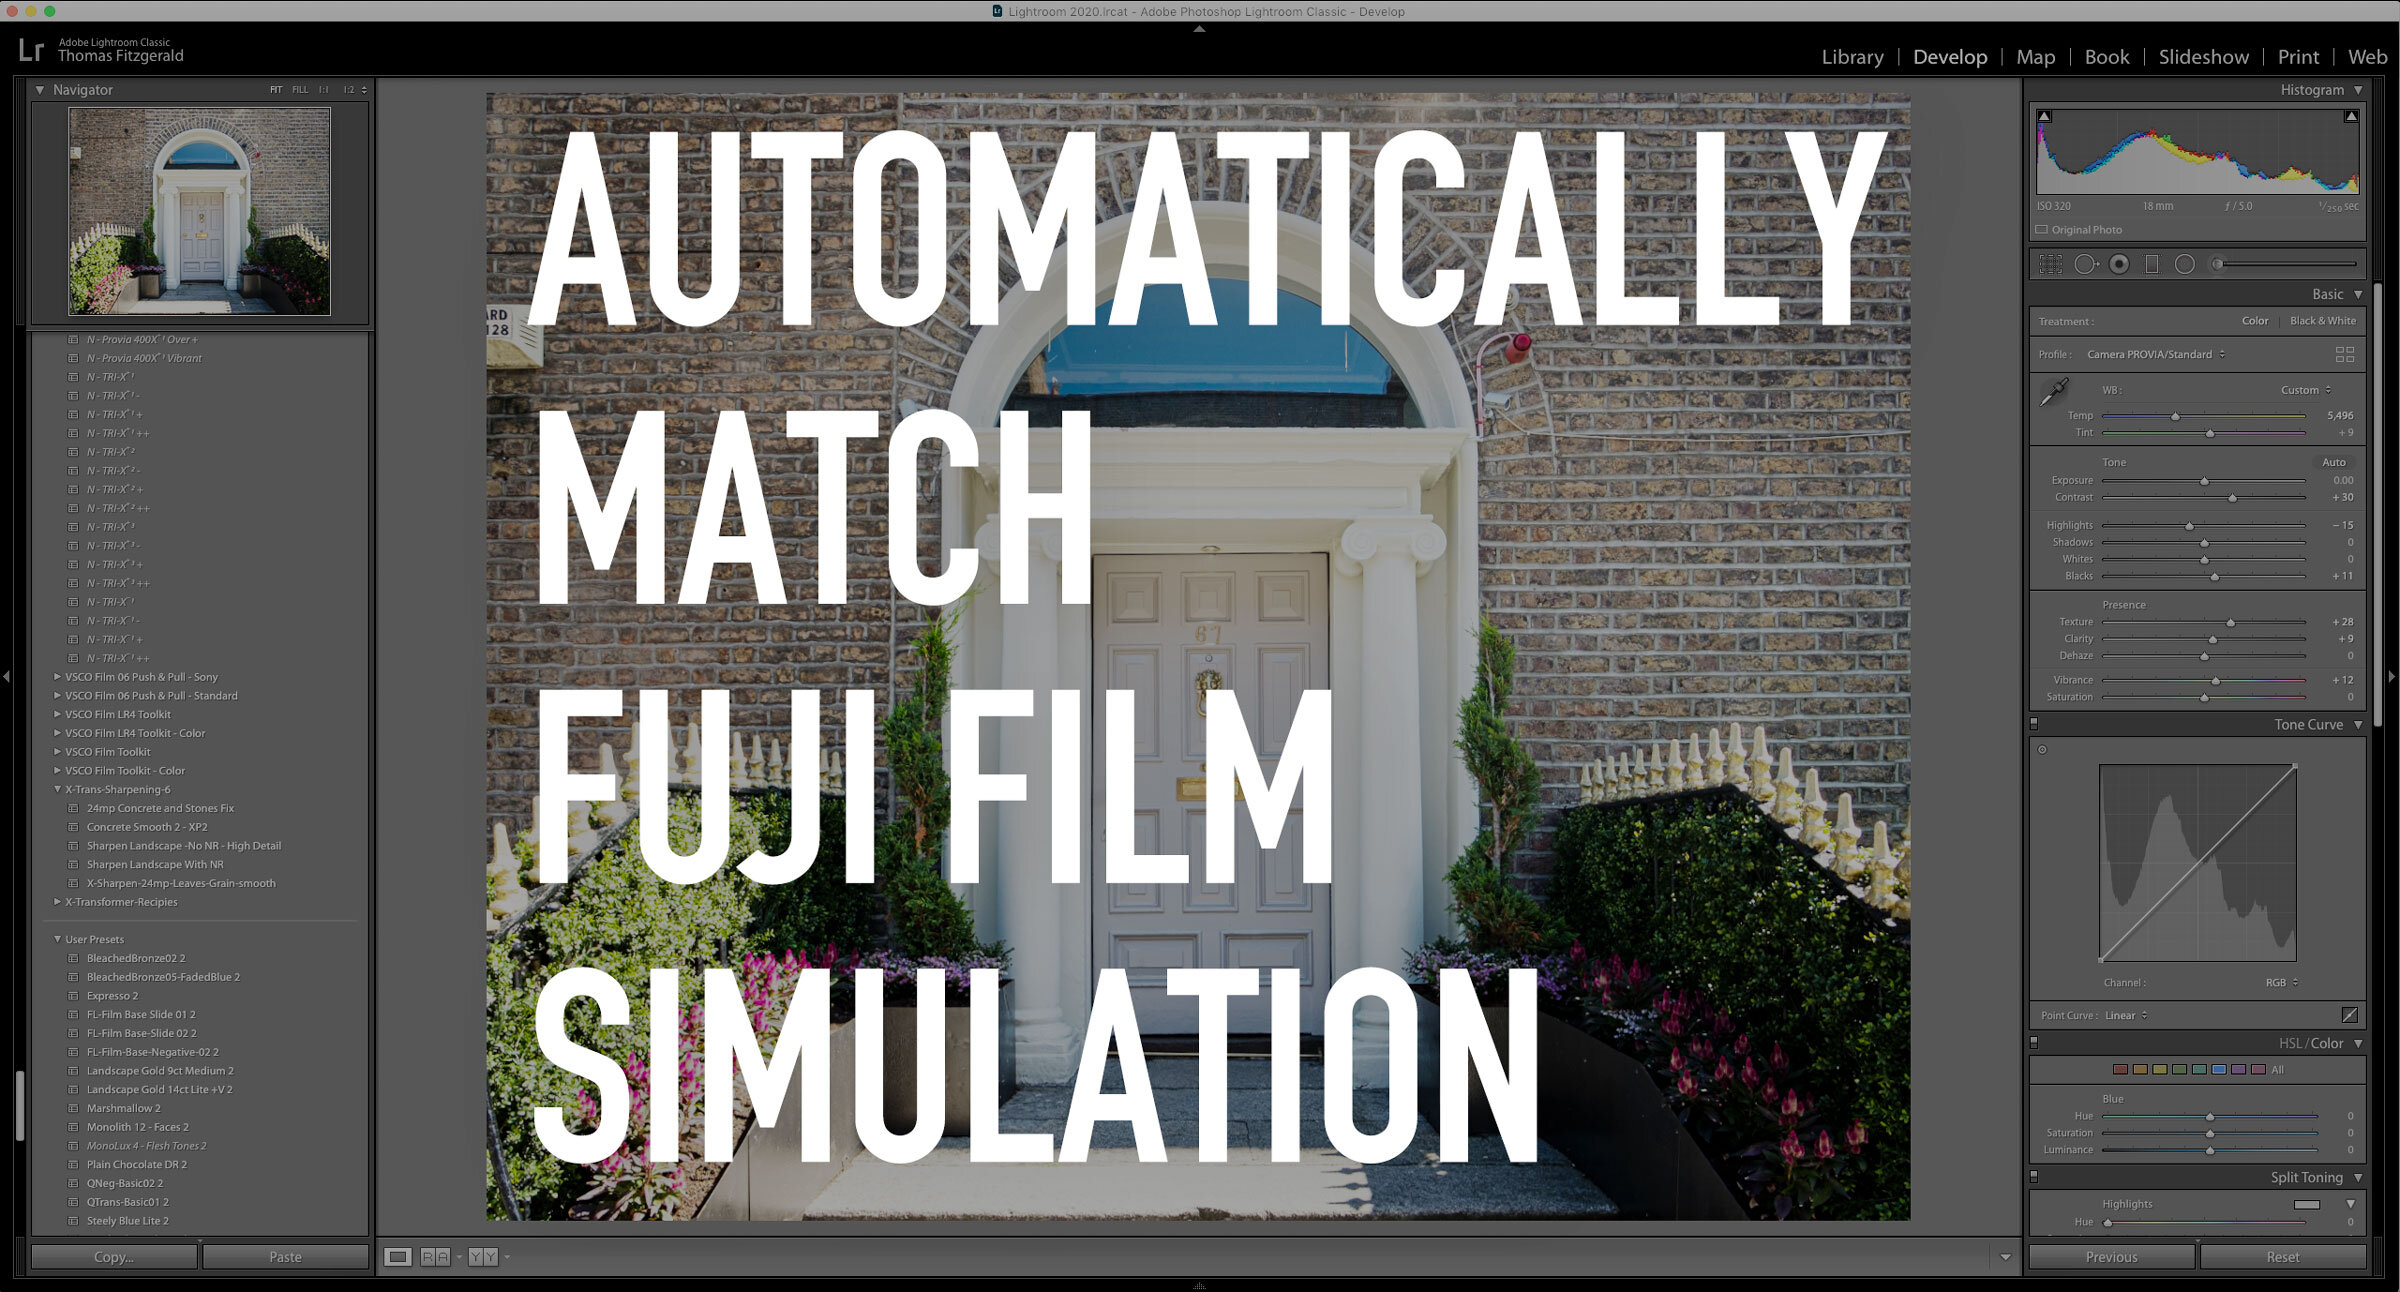
Lightroom Quick Tip for Fuji Users - Easier Access to Film Simulations in Lightroom
If you’re a Fuji shooter who regularly uses different film simulation modes when shooting with your Fuji camera, then you may also want to regularly try different film simulations when working on your RAW files. Lightroom has profiles for all of the film simulations that come with various fuji cameras, but to get to them you have to go into the profile browser. While this is fine, you can actually make access to these a little easier, and there are two ways of doing this.
A quick few notes: While both of these methods might seem a little obvious to long time or experienced Lightroom Users, beginners might not realise how to go about this. Also, by default, Lightroom should automatically select the profile corresponding to the film simulation that you shot with in-camera, so long as you don’t set a preset by default on import, and so long as you have the import settings set to match the camera settings. For more information, see this post.
Method 1: Save Profiles as Favourites
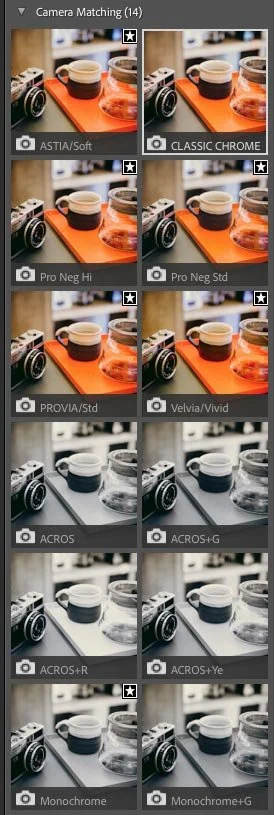
To change colour profiles in Lightroom Classic go to the profile section of the Develop module. Here you have both a list of profiles and a button to access the profile browser. By default, only the Adobe colour profiles will show up in the list. To access the others, you need to click on the button made of four little rectangles in order to go to the profile browser (or choose it from the option at the bottom of the list)
While this is probably fine for most people, personally, I find it a little quicker to be able to just select from the list. Luckily it’s very easy to add profiles to this list. Of course if you prefer the profile browser, then you can just ignore this !
Here’s what to do:
- Go to the Profile browser by clicking on the browse profiles button or choosing it from the pop-up menu.
- Scroll to the camera matching section, and expand the list if necessary
- Find the profiles you wish to add to the list and click on the little star in the top right hand corner of the profile icon. This saves it as a favourite, and it will now show up in the list.
- Repeat for the other profiles you use regularly.
That’s pretty much all you have to do. Now the profiles will show up in the list and you don’t have to go to the profile browser to access them.
Method 2: Create Presets
The second thing you can do is create presets which will allow you to quickly select picture profiles. While this is a little more long winded to set up, it means you can select profiles with just one click. While creating presets are pretty straightforward, here are some tips to make it work a little better for you.
- Start with any raw image shot on a fuji camera.
- Select the colour profile you wish to use
- Create a new preset
- From the preset options, detect everything except “Treatment and Profile”
- From the “Group” option, you want to create a new group, and give it a name you can find easily. Here’s a tip - if you start the name with two dashes, it will stay at the top of your preset list, making it easier to find.
- Name your preset and then save it.
- Repeat this for the other presets you wish to save, and this time choose the group you created in step 5 (you don’t need to create a group each time)

You don’t need to do all the profiles if you don’t want to. Just create ones for the film simulations you use regularly. The advantage of this method is that you don’t have to go to the profile browser, you can apply with a single click, and you can preview the options before selecting.
Top make this easier for you, and in the spirit of all good cooking shows - here’s one I made earlier:
You can download these and use them yourselves. Not that these ONLY select the picture profile. They will only work if the camera has access to that profile, and won’t give you those profiles if your camera doesn’t support them. If your camera doesn’t support a profile it will be greyed out in Lightroom. One other thing, for some reason X-Trans 4 cameras use different profiles for Pro Neg Hi and Pro Neg Std, so I have labelled these as such. Also, I don’t include the filter versions of Acros. You can of course add to these if you wish. There’s no support with these either. I’m supplying them as-is. They require an up-to-date version of Lightroom Classic.
Help Support the Blog
Check out my eBooks and Presets
Check out my photography eBooks , Capture One Styles and Lightroom Presets available on GumRoad.
Buy me a coffee!
If you want to say thanks or help, then you can feed my caffeine habit and buy me a coffee via PayPal with a one off donation to my PayPal tip jar. (Please note that PayPal doesn’t make it easy to respond to these so just know you are thanked in advance)
Join our Facebook Group
If you want to discuss anything you’ve read here on my website, or saw on my youtube channel, or if you want to share images you’ve created using any of my techniques or presets, then I’ve started a new Facebook Group just for that.
Note that this post contains paid affiliate links. We get a small commission for purchases made through these links, which helps run this site.