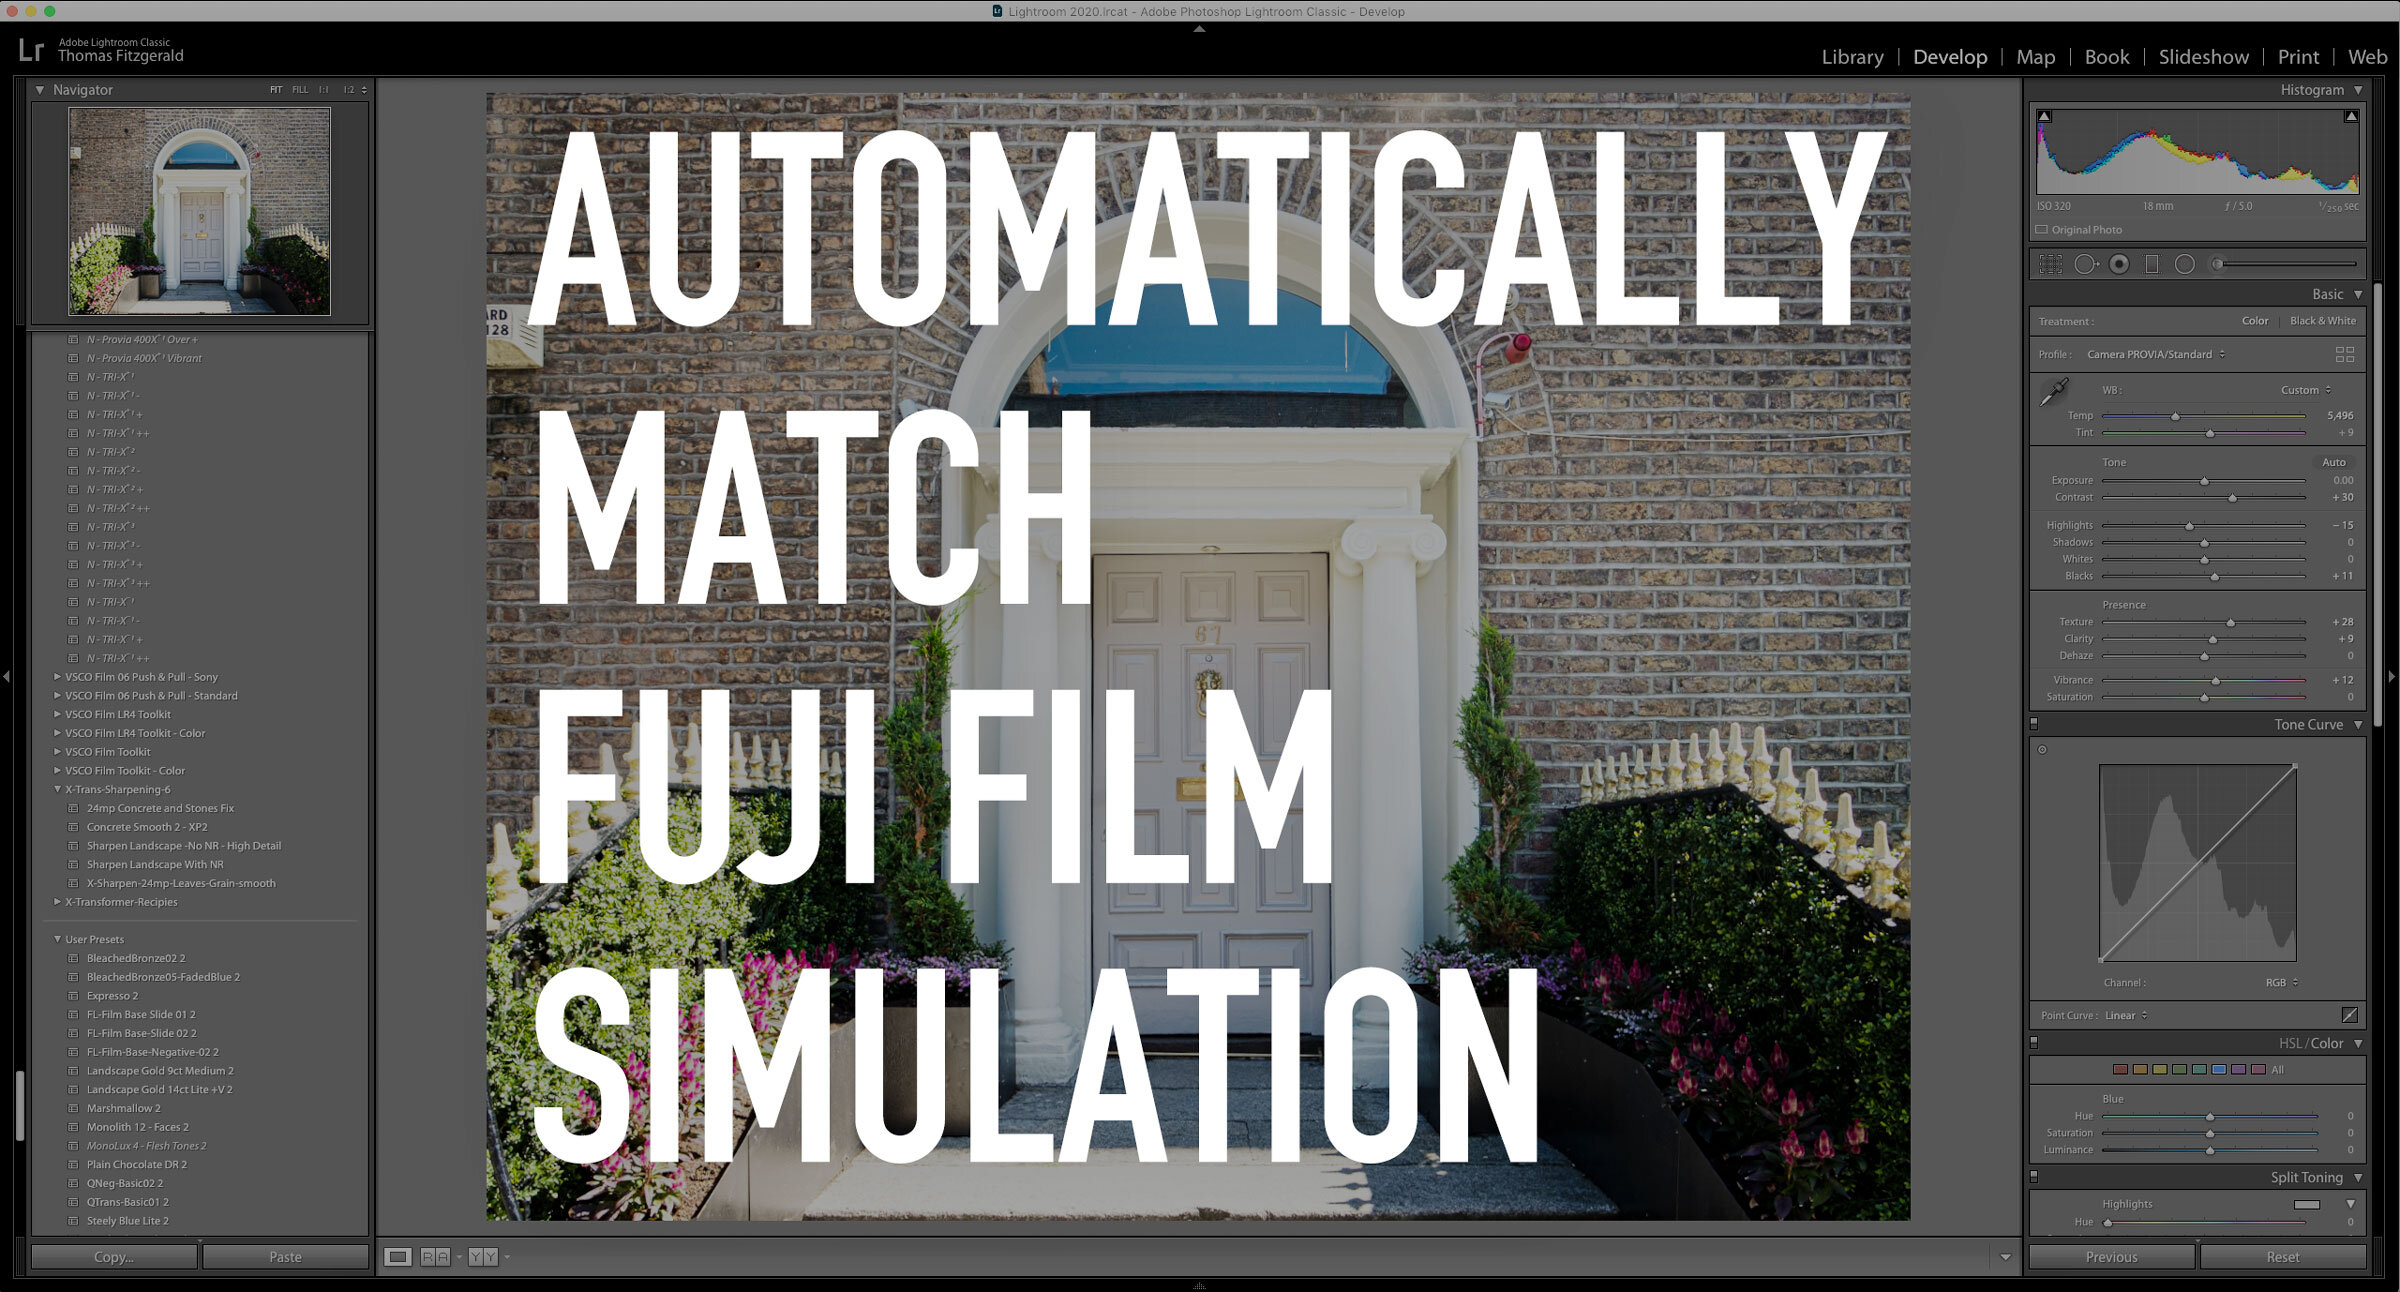
Automatically Apply Fuji Film Simulations in Lightroom 9.2
One of the new features in the recently released Lightroom 9.2 should particularly appeal to Fuji shooters. Thanks to the new RAW defaults options, you can now automatically apply the correct colour profile to match what you shot in-camera. It's pretty straightforward to use, so in this post, I'll show you what to do.
With the popularity of Fuji's film simulations, the issue of matching the raw files to the Jpegs has always been a bit of a problem for Fuji Shooters. In my experience, some Fuji Shooters tend to use different "Film Simulation Modes" in a single shoot, probably more than the typical photographer would change picture profiles. The problem has always been that if you shoot RAW, the film simulation mode would be lost when you import into Lightroom, and you would have to manually match the simulation mode to the corresponding colour profile. There were some workarounds to this, including a handy plug-in. If you used X-Transformer, there was also a setting in that which could embed the corresponding colour profile in the DNG. Now, with the most recent update to Lightroom, you can do it out of the box.
To set it up, you need to use the new RAW Defaults options. Here's what to do:
Step 1
Go to Lightroom > Preferences (on a Mac or Edit > Preferences on a PC)
Step 2
Navigate to the Presets tab
Step 4
If you only have one camera, or you want to set this option globally so it will apply to all your cameras, you can use the "Master setting" this will affect all raw files (Unless you set a different option for a specific camera - see below). Under the “Master" pop-up choose "Camera Settings". This tells Lightroom to match the colour profile to the Film Simulation that you used in-camera.
Step 5
If you want to set this option for a specific camera (if you shoot with more than one camera brand for example, or if you want to use different settings for different cameras) then check the box that says "Use defaults specific to camera model".
Now from the "Camera” pop-up menu, choose the camera you want to set the settings for and from the "Default" pop-up choose "Camera Settings". Then click "Create Default."
Step 7
Close the preferences window
Now when you import new photos into Lightroom, they should already have the colour profiles set to the film simulation mode you used in-camera. There's one crucial thing to note: If you use a preset on import, make sure that preset doesn't include or set a colour profile, as it will override the camera settings. If you're unsure, make sure to set the "Develop Settings" option in the import dialogue to "None".
For more details on how to use this feature, I have a video about it on my YouTube channel.
Some important notes
- This may not work for DNGs. If you're using X-Transformer before importing into Lightroom, use its option to match the film simulation mode.
- If you want to apply this setting to images, you have already imported, hitting the reset button, after you have changed these settings should do the trick
- If you want some more advanced settings, such as the ability to set presets for each simulation mode, then you should use the plug-in X-LR instead.
- If you're importing a folder full of images from your hard drive, and they have XMP sidecar files associated with them, then importing may not set the film simulation modes (because it's being overridden by the metadata in the XMP sidecar files). In this case, after importing, hitting reset should solve the problem.
Help Support the Blog
Buy from our affiliates
If you want to help support our blog, you can do so if you buy anything from our affiliate partners:
- Capture One Pro is available in both subscription and perpetual licences available, in versions for all cameras, Fuji specific , Sony specific or Nikon specific. In addition you can get 10% off the price of any Capture One product by using the following code: TFPHOTO
- Capture One Professional Style Kits from Capture One.
- Luminar AI is available from Skylum Software. Get a 10% discount using the following code: TFP10
- Nik Collection from DXO Labs
- DXO Photo Lab
- DXO Pure Raw
- My Amazon Photo Recommendations
- My Favourite Mac Utility Application: Clean My Mac X from MacPaw
- The VPN I use regularly - Nord VPN - Save on 2 year deal (valid at the time of posting)
If you buy through the above links, we get a small commission, which helps run this site.
Check out my Capture One Style Packs
If you’re looking for some Film Effect, or black and White style packs for Capture One, check out my Capture One styles on my Gum Road Store.
Buy me a coffee!
If you’d rather not use Patreon, but still want to say thanks or help, then you can feed my caffeine habit and buy me a coffee via PayPal with a one off donation to my PayPal tip jar.
Join our Facebook Group
If you want to discuss anything you’ve read here on my website, or saw on my youtube channel, or if you want to share images you’ve created using any of my techniques or presets, then I’ve started a new Facebook Group just for that.
Note that this post contains paid affiliate links. We get a small commission for purchases made through these links, which helps run this site.


