My Fuji X-Pro 2 Settings
A while ago I wrote a post about the settings that I use on My X-E1. In that piece I mostly covered the Jpeg settings that I used on the camera such as the shadow and highlight tone and so on. Since then I’ve moved to an X-Pro 2, and recently a reader gave me the idea of doing a follow up article to talk about the settings that I use on my X-Pro 2, so In this post, I’ll talk again about the image settings, but also about some of the other camera options that I have set.
Image Settings
Shooting Mode: Raw + Jpeg I always shoot Raw + Jpeg when using the X-Pro 2. I do this for a number of reasons. For a start, while I mostly use the raw files, I like to have the Jpeg files handy as they can be used in a variety of ways. Sometimes I will import just the Jpeg files into Photos so that I can use them on my iPhone or in Instagram while I’m processing the Raw files in Lightroom. Another good reason to shoot both is that if you want to use the companion smart phone app to get images straight from the camera over wifi, then that only works with Jpeg files as far as I’m aware.
Picture Profile Settings I mostly shoot using the Provia film simulation, which I have customised. I’ve also used the custom settings options to create customised film modes for various other film simulations too. I generally apply the same settings for each, with a few variations.
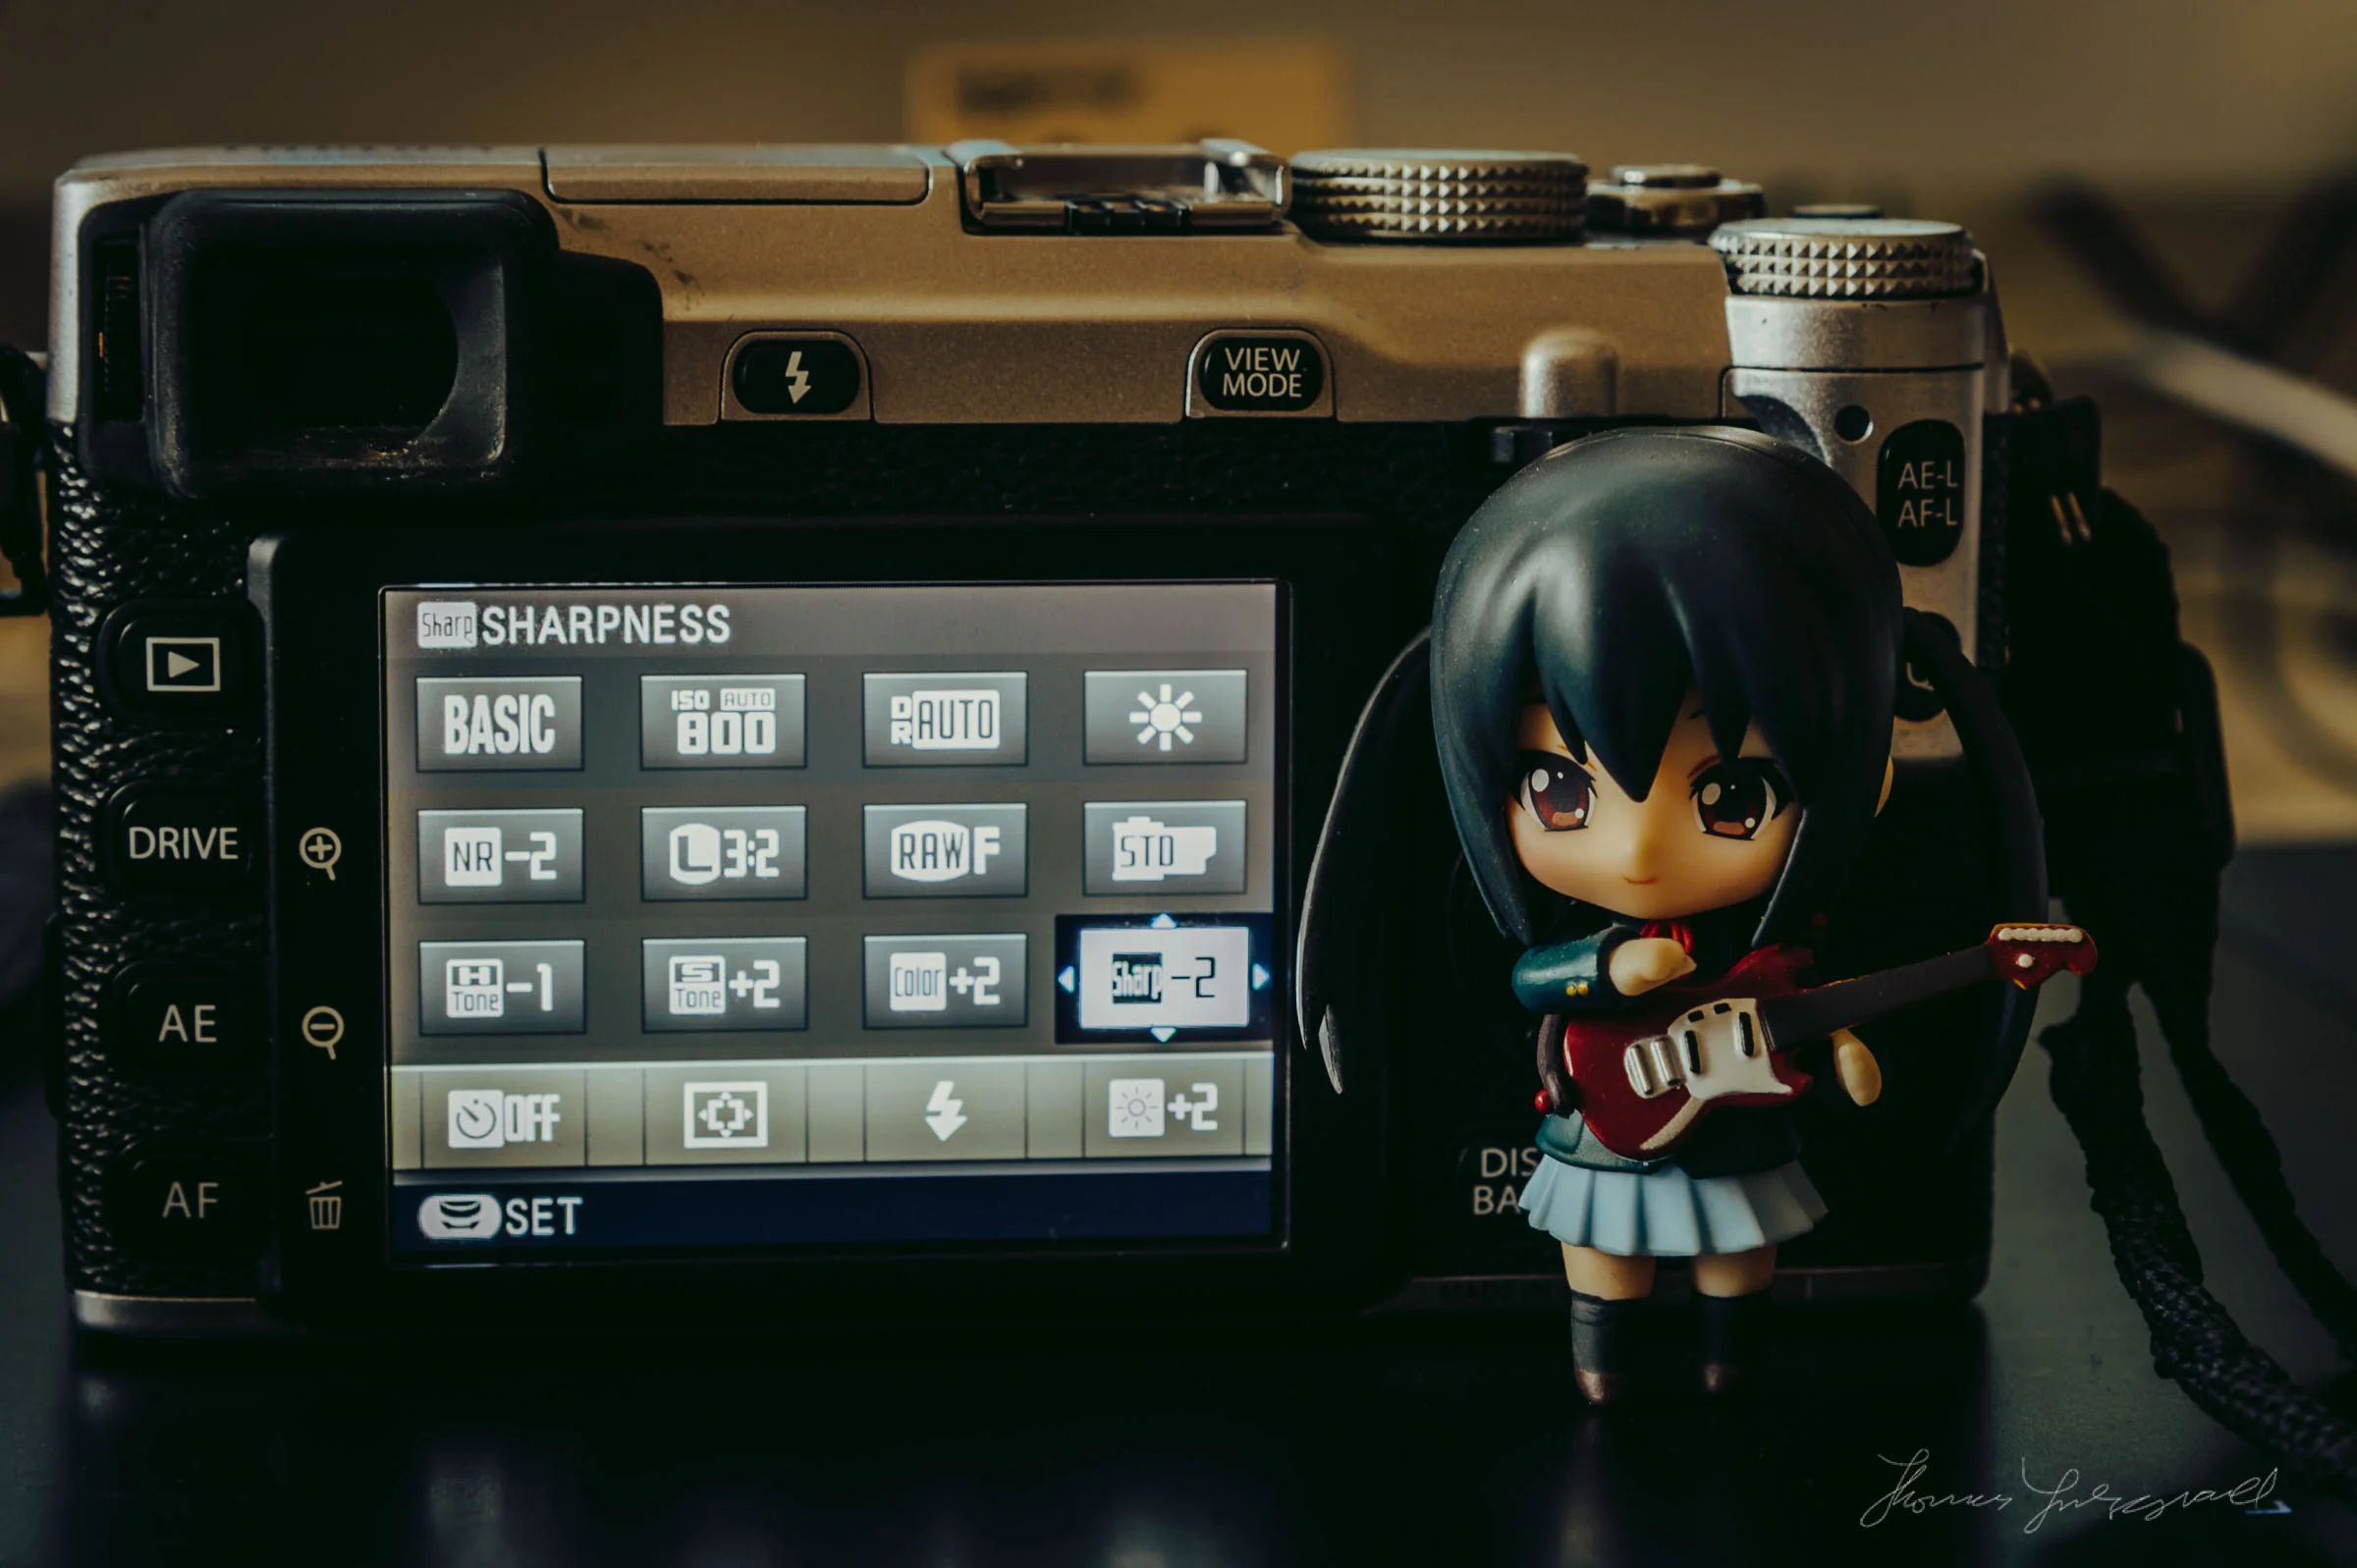
For example I have C1 set to Acros. I have the Shadow tone set to +2 and the Highlight set to -2. I have grain effect set to strong and noise reduction set to -3, and sharpness set to -4.


For Provia, I have almost the same settings, only without the grain effect. I alos have shadow set to +1 and highlight set to -1 for these. I have set the other modes to Classic Chrome, Pro Neg Hi and Velvia, all with the same custom settings.
In the previous post on the subject, I outlined the reasons for the sharpening and noise reduction settings, but I’ll go over them again a little here:
I have the noise reduction turned off because in my opinion it can lead to some image artifacts. I would prefer to reduce noise in software afterwards if necessary, as it leads to a more organic and film like result. The same goes for sharpening. In my opinion, the default sharpening settings are a little high, and I prefer to have a clean image that you can sharpen later if necessary. Even with the sharpening settings turned all the way down, the image is still pretty sharp. If you need to you can add a little sharpening in post afterwards if you want to.
I understand that this philosophy probably goes against what some people believe is the best approach when shooting Jpeg’s, which is to get it as close as possible in camera. Personally I prefer, even shooting Jpeg, to leave some latitude for tweaking afterwards if necessary.
Custom Settings
I haven’t really set that many custom settings on the camera. I have set up the Auto Iso setting to the way I like it, and also I have customised two of the buttons on the back.
For Auto ISO 1, I have the following options set: Default Sensitivity :200 Max. Sensitivity:1600 Min Shutter Speed: 1/250
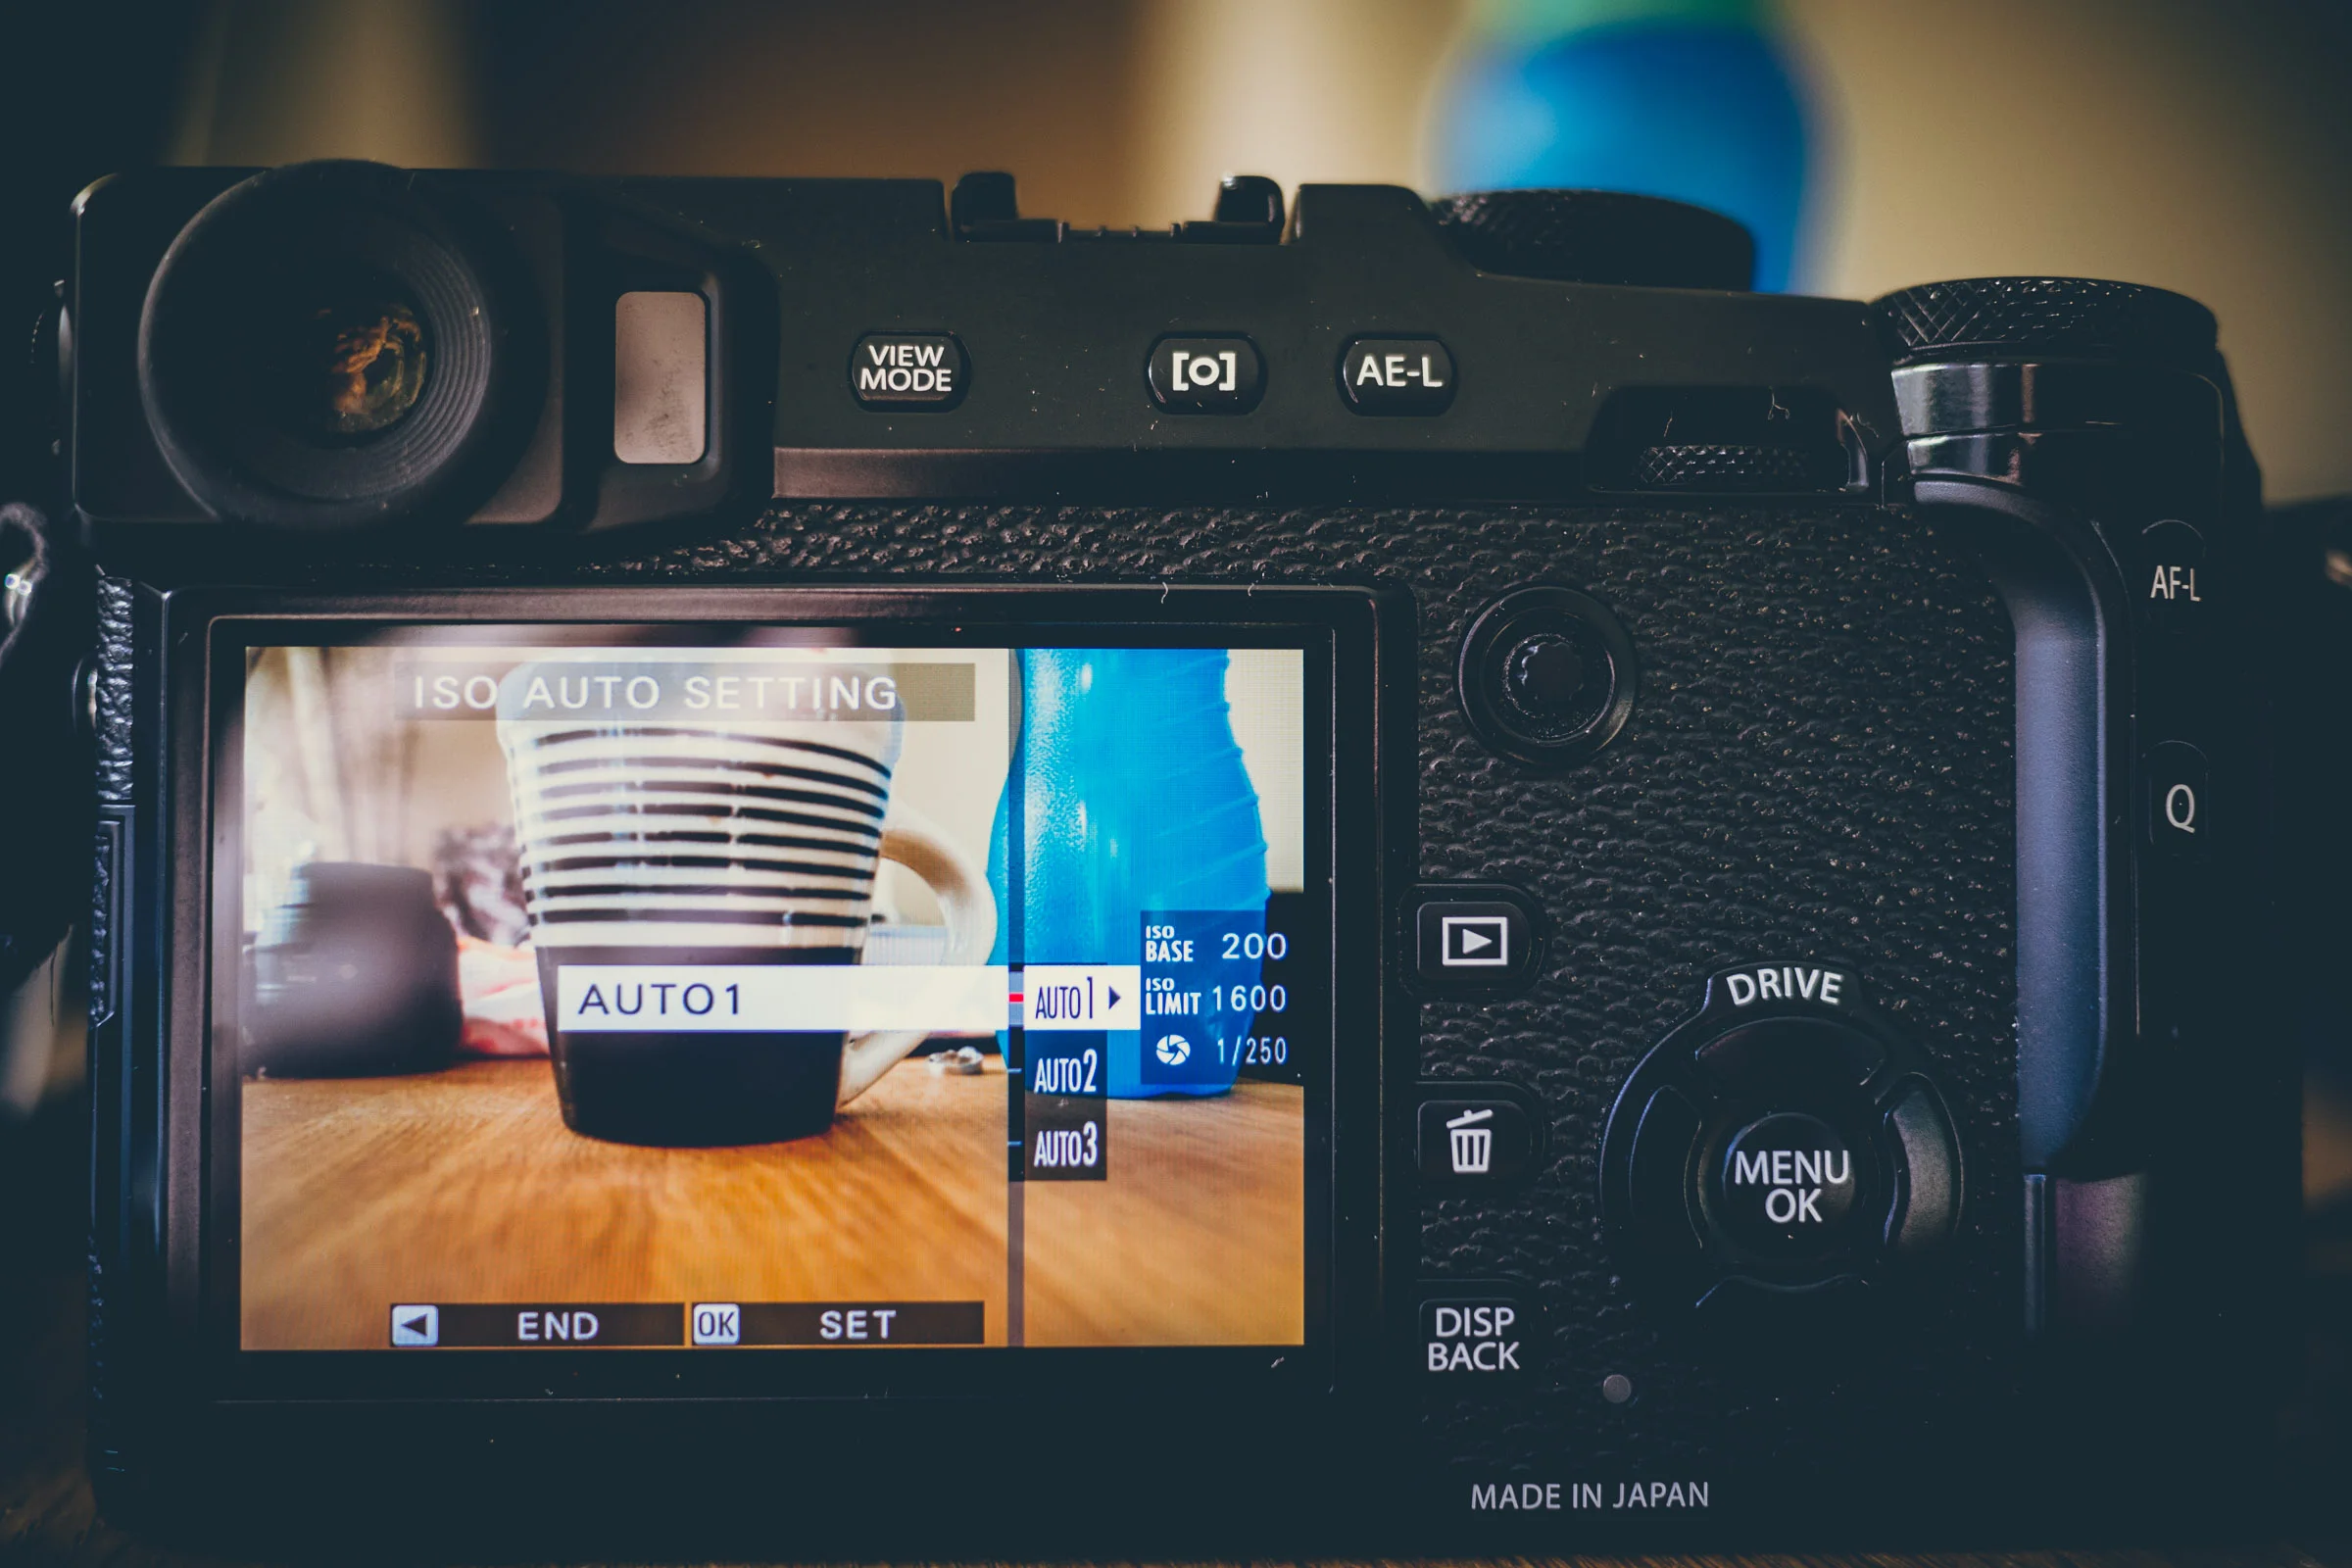
I use these settings mostly when shooting street shots. I have the minimum shutter speed set relatively high as I like to make sure my shots are shake free. I also find that for most of the time, ISO 1600 is high enough for the type of shots that I take in daylight. I will always switch to manual ISO if I need to.
I have Auto 2 set the same except the minimum shutter speed is 1/60. I use this when shooting video on the go.
In order to quickly switch between the Auto ISO settings, I’ve customised the left button on the D-Pad to switch auto ISO values. To change this it’s in the Setup Menu under Button/Dial Settings.
For the right button, I’ve set this to quickly switch between the custom modes, which I have set for the various customised film simulations which I’ve talked about above.
Other settings that I have changed from the defaults are as follows:
- Setup > Power Management > Performance: High Performance
- AF/MF Setting > Number of Focus Points > 325 Points
- Pre AF > Off Movie Settings > Movie Mode > 1080/25p
That’s about it really. A lot of these are personal choices, and your shooting style may differ, but I hope this has been useful as a starting point, or as inspiration in some way.
By the way, just a quick plug: If you’re an X-Pro 2 shooter I recently updated my Lightroom post processing guide to include information on working with X-Pro 2 raw files among many other updates, so if you haven’t seen it before, check it out.

Help Support the Blog
All of the work I do here, and the information on this blog is done entirely free of charge and takes up quite a bit of work. I want to spend more and more time on this blog, and offer more and more of this kind of information, tips and so on, so If you like what I'm doing here and want to show support, then you can do so by buying something from my Digital Download Store. I have Lightroom Presets, and e-books all available for download.
If you're a Fuji X-Trans shooter and Lightroom user, check out my guide to post processing X-Trans files in Lightroom. I also have a guides for processing X-Trans files in Capture One and Iridient Developer.
For Sony Alpha shooters I have a new guide with tips on how to get the best from processing your A6000 Images in Lightroom.
If you want to get regular updates, and notices of occasional special offers, and discounts from my store, then please sign up for the Newsletter.