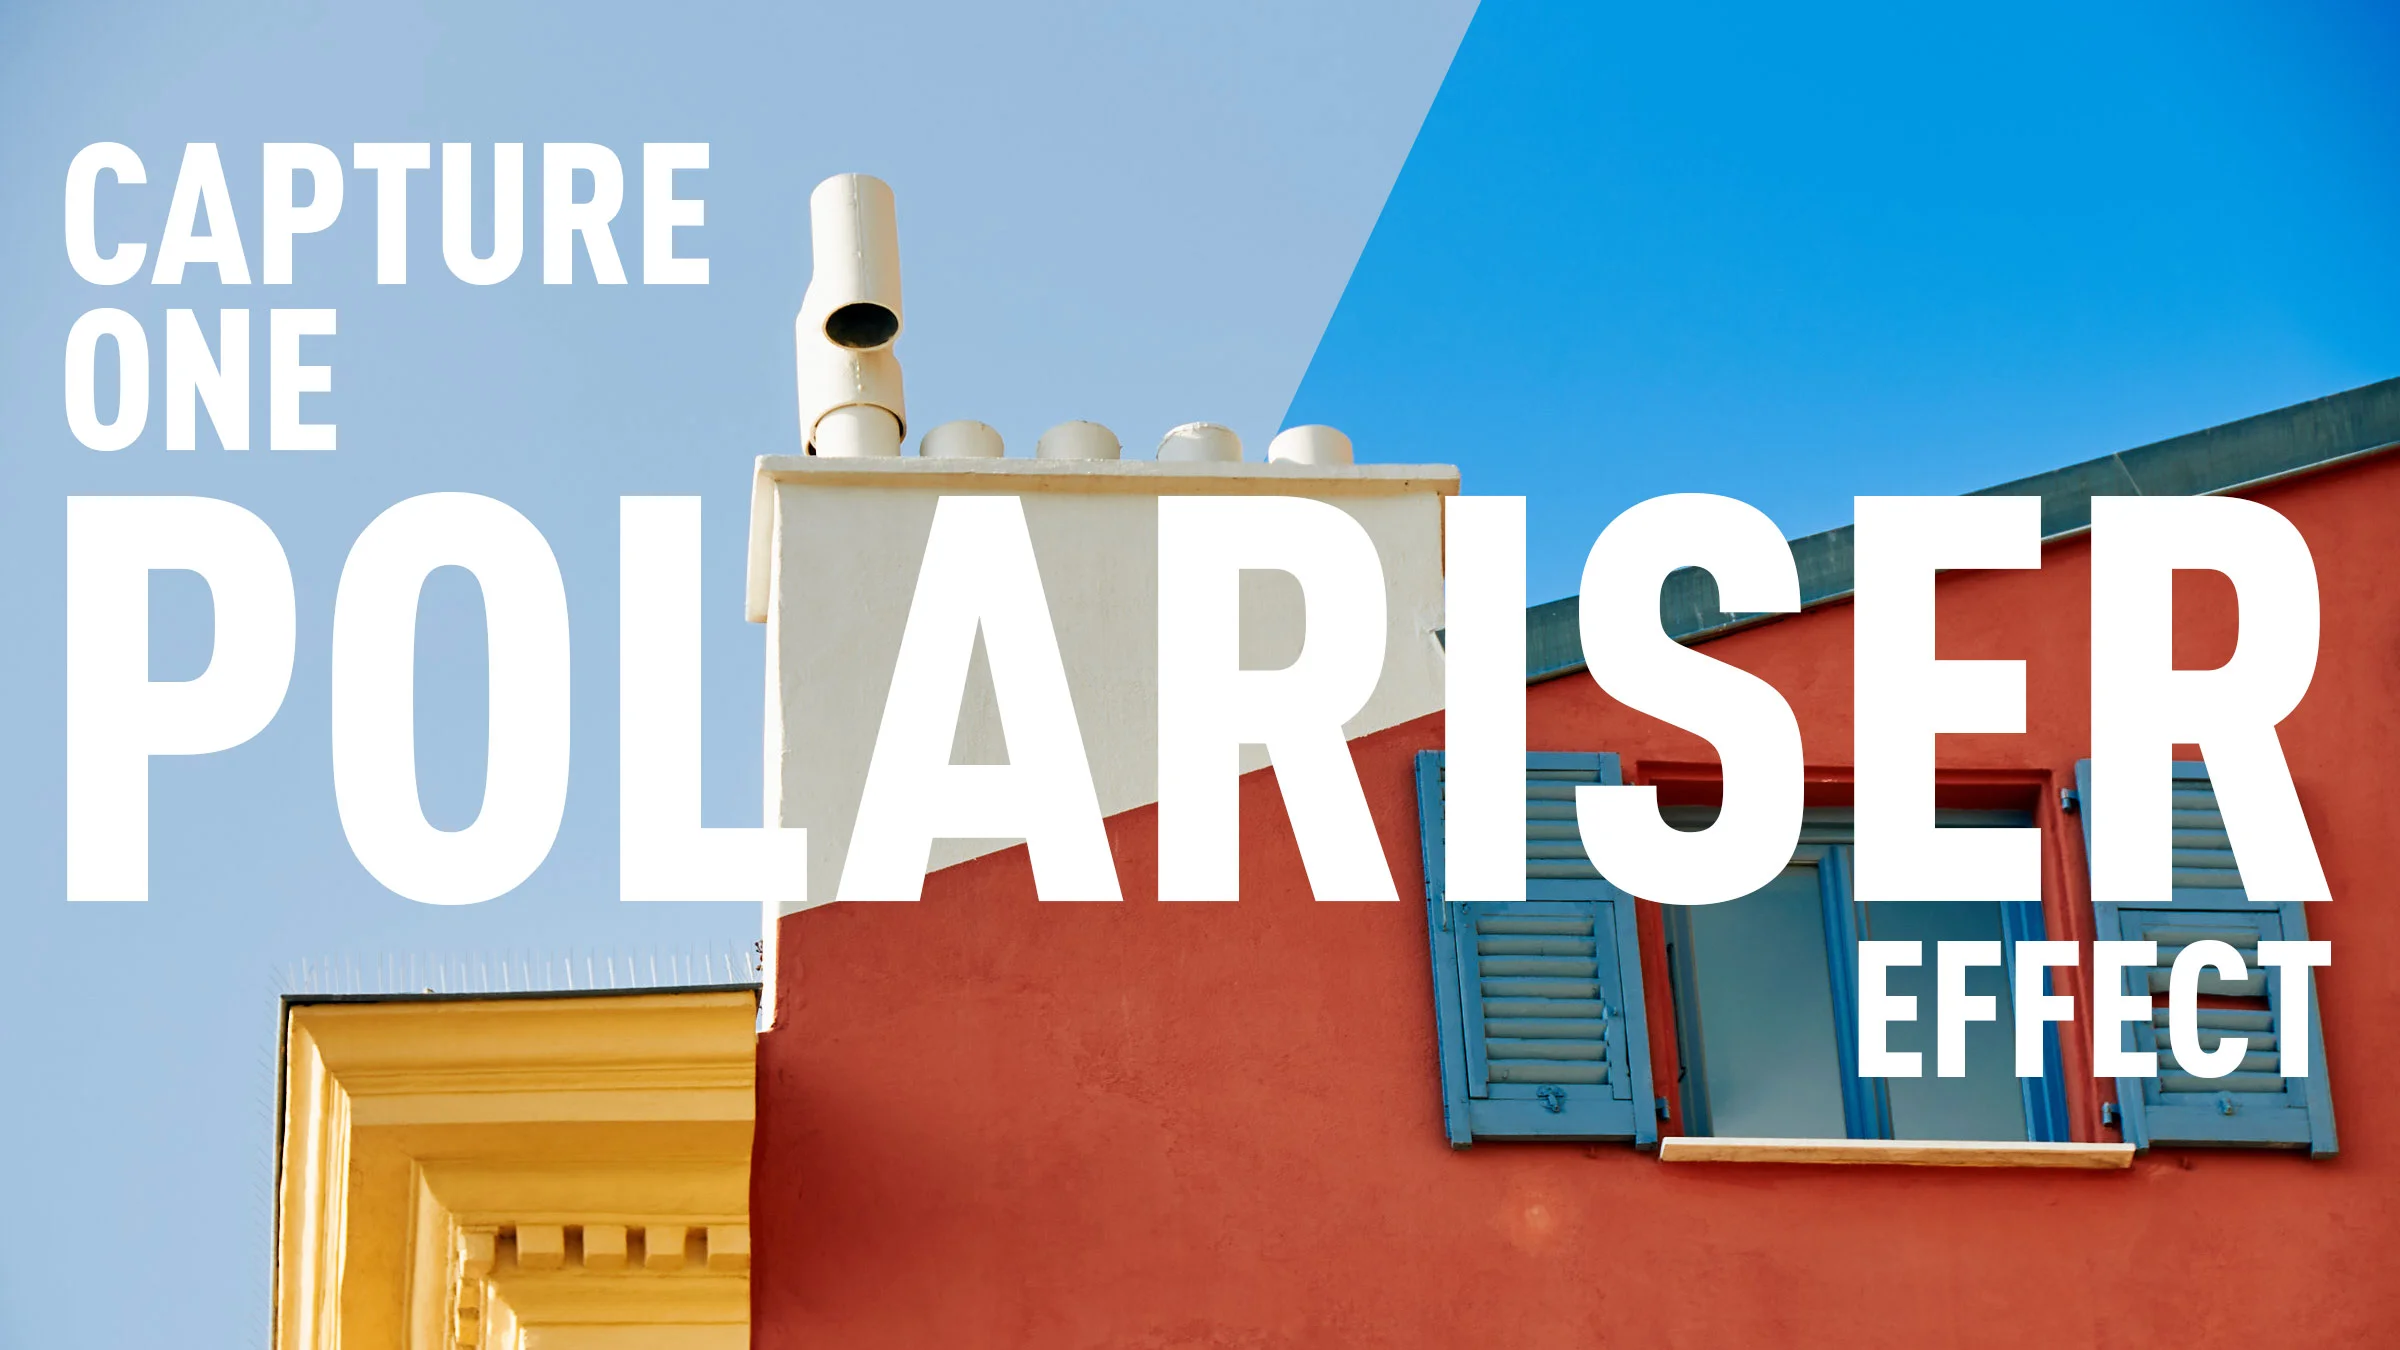
How to create a Polariser effect in Capture One
Using a polariser to enhance the blues in your image was probably one of the first filters that I ever used when learning photography. You can also match this effect in software, although you can’t easily replicate a polariser’s other feature which is to cut down on reflections. In Capture One, the obvious way to replicate a polariser is to use the colour editor tool, however, it’s not as straight forward as it seems. In this short video I show you how to create a polariser effect and save it for reuse.
The basic tab in the colour editor allows you to adjust the hue, saturation and lightness of various colours, much like it does in other software. However, it has one limitation. You an only adjust the lightness slider to a value of -10 and this isn’t enough to replicate the polariser effect. So instead, we need to use the advance tab.
In the advance tab we can use the colour picker (located on the bottom right of the panel) to select a starting colour from the sky. With the initial colour selected, we can then increase the range by dragging on the edges of the arc in the colour wheel. This shows the range of colours selected. You also want to increase the smoothness, to control the fall off of the effect. This makes sure there is no hard edges or artefacts.
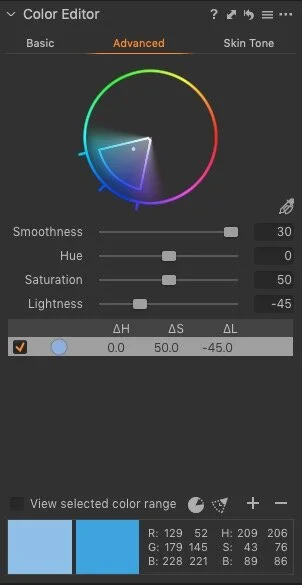
Now we can make our colour adjustments. In the advance tab, you can drag the lightness slider down to a value on -100, but we don’t need to go that far. A value of 45 seems to work. We can also increase the saturation to around 50. This is now a fairly effective polarising effect, but you can tweak these values to your own tastes.
Finally you can save this by going to the “Preset” menu and choosing the option to save a preset. When the dialog pops up asking which options to save make sure to untick the basic tab adjustments, as we only want to store the advance tab. You can now use this again on any image by recalling it from this menu.
Join our Facebook Group
If you want to discuss anything you’ve read here on my website, or saw on my youtube channel, or if you want to share images you’ve created using any of my techniques or presets, then I’ve started a new Facebook Group just for that.
Help Support the Blog
This blog is pretty much my day job now and I work to bring you my own take on photography, both tutorials and tips, as well as inspiration from my own art. I support this work, and my YouTube channel entirely either via sales of my eBooks and Lightroom presets, or the kind support of my readers. (I also have some affiliate ads). Running all this isn’t cheap, and so If you like what you see and you want to help keep this all going, there are a number of ways you can do so:
- If you’re interested in buying Capture One but haven’t yet bought your own copy yet, then by going through my affiliate link I’ll get a small commission!
- You can buy any of my Capture One Styles through my online store!
- If you’re buying anything on Amazon, you can help by using my affiliate link: Amazon US or Amazon UK.
- You can support me on Patreon. If you like what I do here and find the information useful, then you can help by subscribing to me on Patreon. As well as helping keep this blog going with even more useful news, tips, tutorials and more, members also get special Patreon only feed, which gives you behind the scenes content, as well as monthly downloads (for the top tier), for only €2 or €5 a month Stop by and check it out.
- Buy me a coffee / Tip Jar. If you want to support the blog but don't want to sign up for Patreon, you can buy me a coffee via PayPal with a one off donation to my PayPal tip jar.
You can see more of my photography and keep up to date by following me on social media and checking out my other websites: