10 Capture One Quick Tips
Capture One is a complex application and I’m always discovering new things with it. It’s one of those things where there are often features or techniques hidden in plain sight. I’ve collected a series of tips below, which you may find useful. Some of these are from the point of view of someone moving from Lightroom, but they should be applicable to any Capture One user. You may, of course, know some or all of these already, but anyway, I hope this is useful.
Use the gradient or brush tool to create a masked layer without adding a layer first
If you want to create a new layer with a gradient mask, rather than first creating a new empty layer, and then adding a gradient mask, you can do both of these tasks in one step by selecting the gradient tool from the menu, and drag out a gradient. This will add a new layer with a mask in one step. The same also works with the brush tool.

The gradient tool may be hidden under the brush tool. Press Shift + G to switch to it.
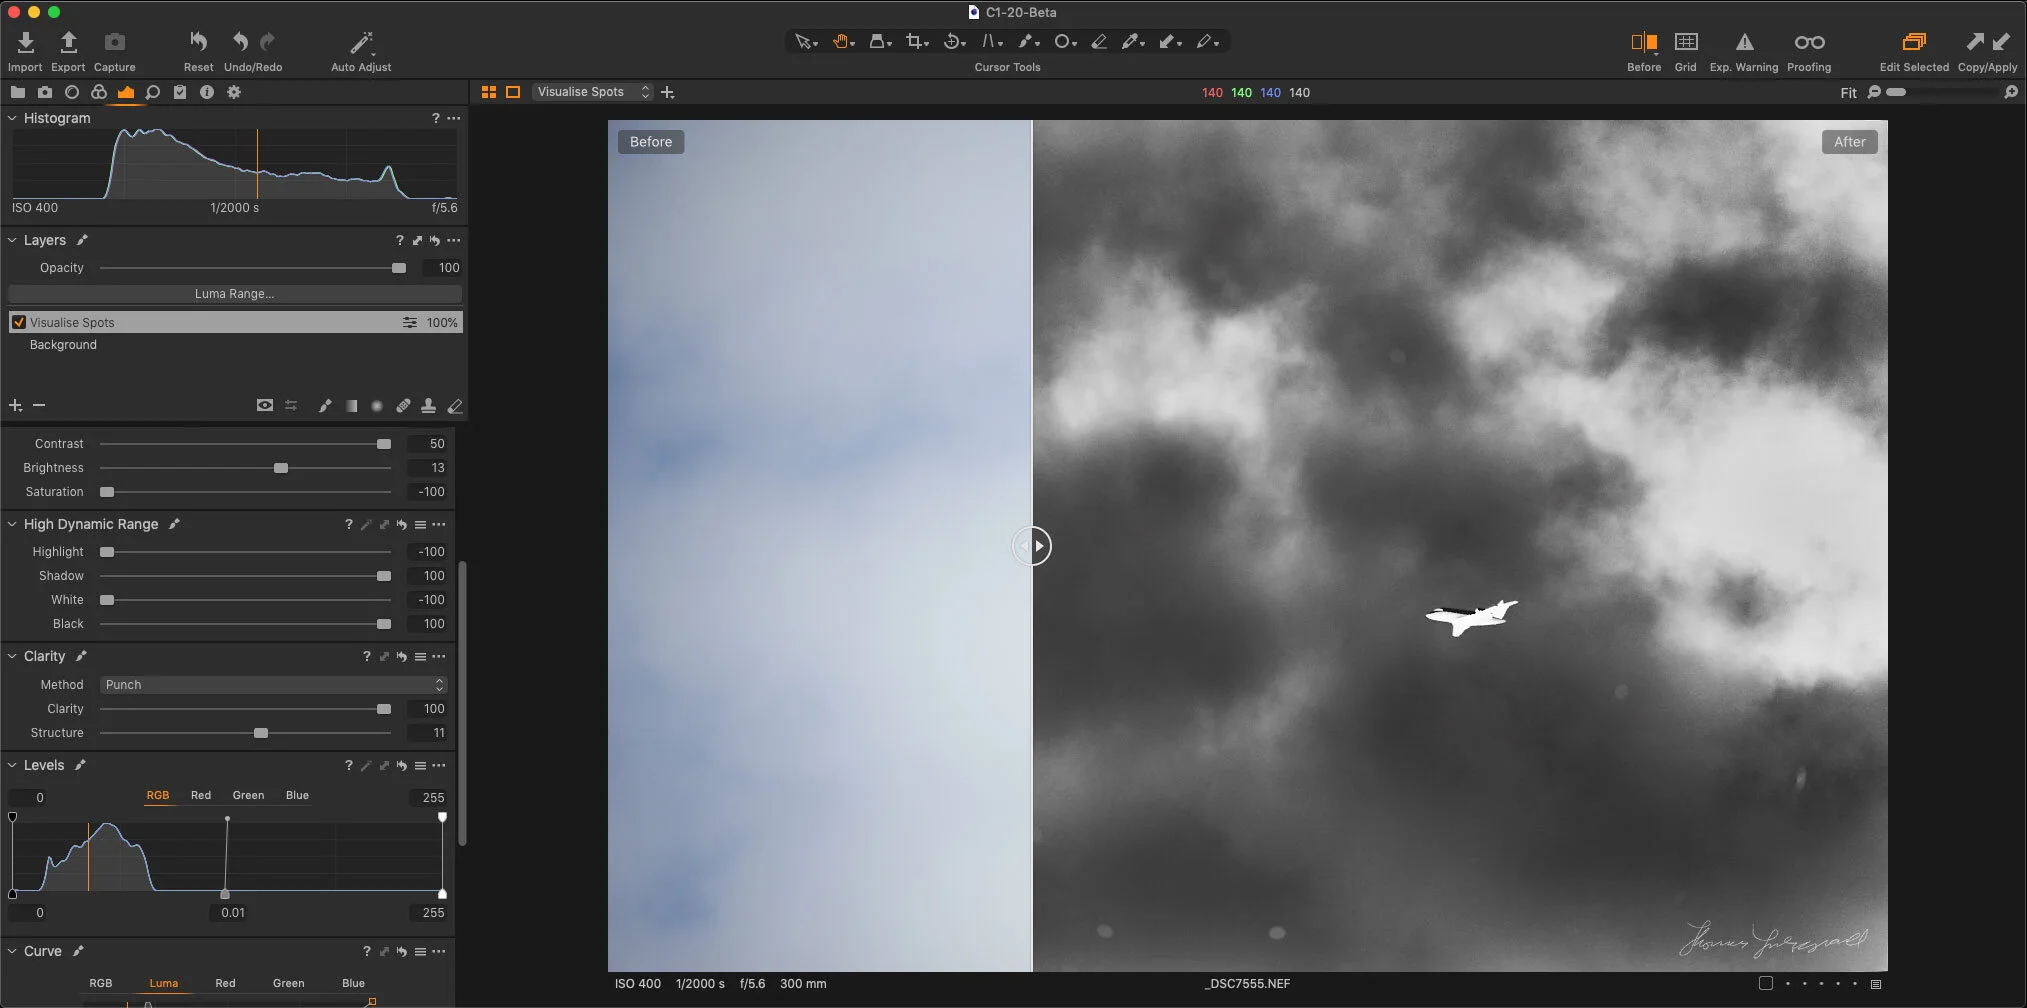
How to see before and after
If you’re not sure how to do this, don’t worry, you’re probably not alone as its kind of hidden. This feature was only added in a fairly recent release (as in version 9 or 10, I can’t remember which) and to access it you hold down the option key (alt on a PC) and click and hold on the reset adjustments button. This will show you the before image so long as you hold the button down.

Vignette correction is not on by default.
Unlike in Lightroom, where vignette correction is turned on by default when you enable lens corrections, in Capture One it isn’t, although distortion correction is enabled by default. Vignette correction is called “Light Falloff” and can be found in the Lens Correction tab. Set it to 100% to completely eliminate vignetting based on the lens profile.

Unfortunately, there is no way to set this on by default, but you can save it as a preset (see below).
Saturation and Vibrance
In Capture One, the saturation slider in the exposure controls behaves a bit more like the vibrance slider you might find in other software. If you want a more traditional saturation control, you can find it in the Colour Editor. In the basic tab, at the very bottom after all the colour swatches, you’ll see one swatch which is a colour wheel. This controls overall hue and saturation and behaves more like a traditional saturation control. The difference may be subtle depending on the image.

Use other camera profiles
Capture One uses colour profiles to control how the software interprets colours from the camera. If you’ve come from Lightroom, this is similar to the way Lightroom works, except Capture one only has one colour profile (in general) for each camera, and is based of the company’s own profiling, rather than the camera’s picture modes.
However, unlike Lightroom, you can actually use profiles from other cameras. So for example, if you have a Sony camera, you can try a Canon profile and so on. This is actually relatively easy to do.
- Go to the base characteristics panel in the “Colour” tab
- From the ICC profile, pop-up menu, select an alternative profile.

Luma and RGB Curves
Capture One has two types of curves that can control the brightness and contrast in an image. The standard RGB curve and also the Luma curve. The Luma curve is supposed to increase contrast without affecting the saturation of an image. This is one of those things that you really need to play with to see the difference, and sometimes it’s not obvious.

However, both of these curves produce different results, and you can also produce interesting results by using both together, in different ways. For example, you can use an s-curve in the RGB curve and offset it by an opposite curve in the Luma curve. If this all sounds a bit technical, as I said, it’s something that you need to play with to get a feel for what it does.
Try different Clarity Modes
The clarity control in Capture One has a number of different modes. These produce different results. You should try the different modes when adjusting clarity. They all give you a slightly different look, and as with the Luma curve tip, you really need to play with them to get a feel for how they look.
If you’re coming from Lightroom, the clarity controls in Capture One behave differently from Lightroom. “Classic” is probably the most similar, but they’re all slightly different. I personally like Punch!
Try Negative Clarity
Another interesting thing to try is to use Negative clarity. This can give your image a nice soft glow. If used in small amounts it can be quite effective. I like to use it when simulating film. As with some of the other things mentioned here, it behaves differently to the Lightroom version, which can be a bit tacky when used with a negative value.
Drag and Drop Raw Files
If you want to quickly send a RAW file to another application, and you’re not concerned about returning the result to Capture One, then the easiest way to do so on the mac, is to just drag and drop an image onto an application in the dock. This will send the RAW file to that application.
This works well with HDR apps for example. When I want to use Aurora HDR with Capture One for creating a HDR file, I sue this method. I just select the images in Capture One, then drag them onto the Aurora app in the dock.
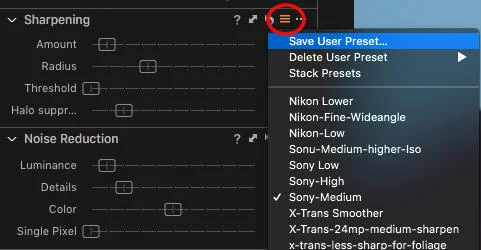
Make use of Presets (not styles)
Capture One uses two different methods for storing commonly used settings. These are “Styles” and “Presets”. This can be a bit confusing for new users, as Styles are more like what you would expect presets to be. Styles are a collection of settings that can control multiple adjustments at once. In other words, applying a Style will set lots of different parameters on your image. If you’re coming from Lightroom, “Styles” in Capture One are the same as Lightroom’s Develop Presets or what is often referred to as presets from other applications.
Presets, on the other hand, are settings for a single adjustment. These settings are found in the pop-up menu that is on the top corner of individual adjustments. This means that you can save your own custom settings for various panels. This can be really useful. For example, I have presets saved for sharpening, noise reduction and so on, and they’re accessed from the pop-up menu at the top of each panel. To save your own presets, you can do so from the top of most panels in Capture One.
Shameless Plug
If you're a capture one user - I have a number of Capture One styles available, and I'm planning to add more, so check out the Capture One section on my store.
That's just a short collection of tips. I'll try and post more soon, and some longer tutorials. I keep going back and forward as to whether I prefer Capture One as my primary tool or not. At the moment I'm using it a lot for processing Sony files. I also use it for Fuji files, but I have been using Lightroom and X-Transformer for that more lately - but then, as I said in a previous post, I go back and forward a lot. anyway, I hope you have found this useful, and don't forget to check out my Capture One tutorials on YouTube too.
Help Support the Blog
This blog is pretty much my day job now and I work to bring you my own take on photography, both tutorials and tips, as well as inspiration from my own art. I support this work, and my YouTube channel entirely either via sales of my eBooks and Lightroom presets, or the kind support of my readers. (I also have one affiliate ad). Running all this isn’t cheap, and so If you like what you see and you want to help keep this all going, there are a number of ways you can do so:
You can support me on Patreon. If you like what I do here and find the information useful, then you can help by subscribing to me on Patreon. As well as helping keep this blog going with even more useful news, tips, tutorials and more, members also get special Patreon only feed, which gives you behind the scenes content, as well as monthly downloads (for the top tier), for only €2 or €5 a month Stop by and check it out.
Buy me a coffee / Tip Jar. If you want to support the blog but don't want to sign up for Patreon, you can buy me a coffee via PayPal with a one off donation to my PayPal tip jar.
You can also show support by buying something from my from my Digital Download Store where I have Lightroom Presets, and e-books available for download. If you're a Fuji X-Trans shooter and Lightroom user, check out my series of Fuji Guides. For Sony Alpha shooters I have a guide with tips on how to get the best from processing your A6000 Images in Lightroom.
If you like this post then you can see more of my work on Instagram, Twitter and Facebook. I also have a YouTube channel that you might like. You should also check out my other Photography Project: The Streets of Dublin. If you want to get regular updates, and notices of occasional special offers, and discounts from my store, then please sign up for the Newsletter.