I was recently visiting a somewhat famous waterfall not too far from where I live and of course I took some photos while I was there. We went primarily to enjoy the fresh air and scenery, so it wasn’t a specific photo shoot, but even so I got some interesting images. One worked out particularly well, and I thought my process for editing it would make an interesting video, so here it is!
All tagged Editing
New Video: Generative Fill is the Best Way to Remove Reflections from Photos
A little while ago I was going through some photos and I came across a cool shot I had taken in New York of a dog in front of a large window. Unfortunately it was ruined by the reflection of yours truly. Normally removing something like this would be quite time consuming, so I thought, why not try Generative Fill. Not only did it work, but it worked perfectly at removing the reflections and keeping the other detail. So I made a video to show you the process…
The Problem with Many Photo Editing Tutorials
Recently, I was trying to record a tutorial on editing landscape photography. In the end, I didn’t publish it because I felt that the edits I had done weren’t dramatic enough for people to watch. In fact, I even had that criticism about some of my editing tutorials before, that the edits I was making weren’t significant enough. This led me to realise the paradox of photo editing tutorials, especially on YouTube or other socially driven platforms. Unless you’re dramatically changing the image or doing extensive edits, people will find it “boring” and not watch or complain. But the reality is, in most cases, restraint will lead to better images.
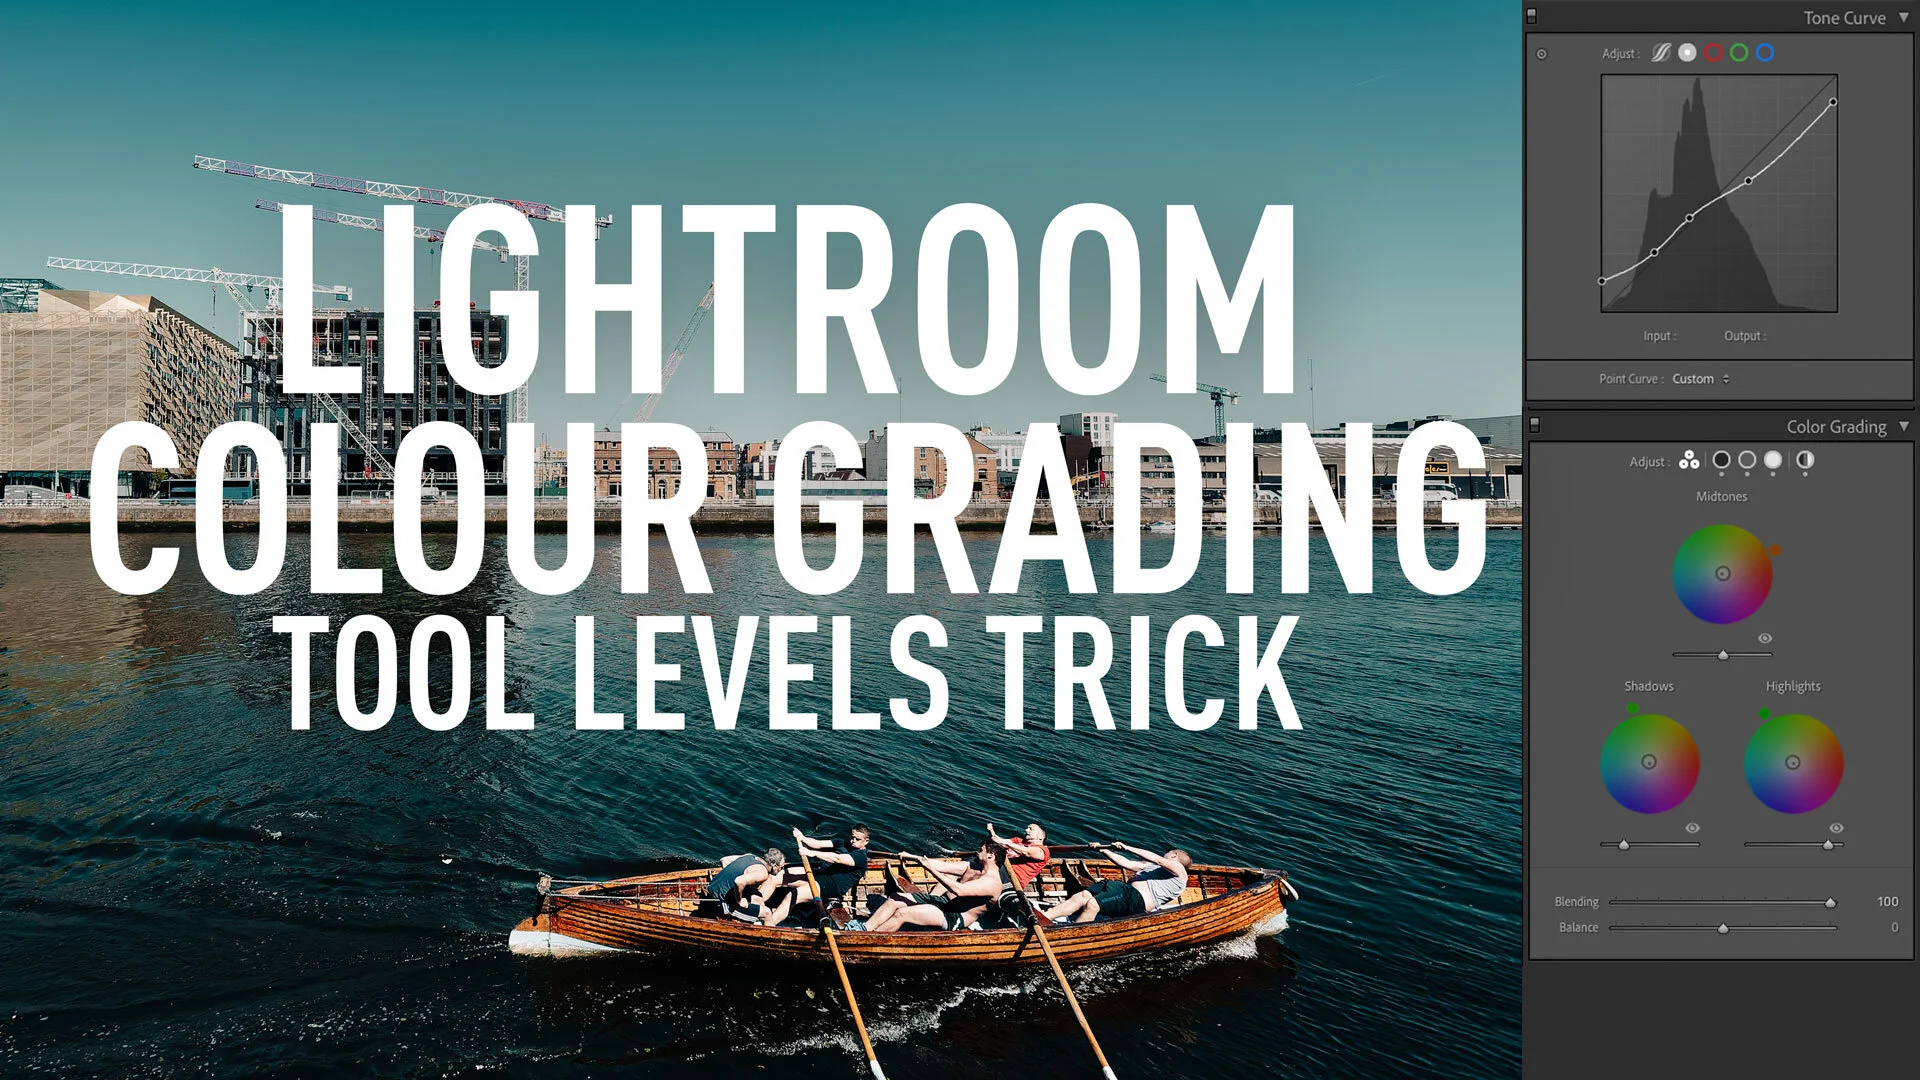
A Super Nerdy Lightroom Colour Grading Tool Trick to Solve a limitation of the Curve Tool !
This is one of those tips, that I actually exclaimed out loud when I realised it, but I’ve struggled ever since to figure out how to write about it. The reason is that it’s kind of a very specific nerdy thing, and while I was very excited when I discovered it, trying to figure out a way to explain why you should be excited too, has eluded me. The thing is, for years I’ve had a very specific problem in Lightroom, and there’s been no way around it, until recently. So what is this problem? Read on for more.
Landscape Photo Editing Tutorial - Using Lightroom and Photoshop to add drama to a dull photo
It’s been a while since I’ve had a photograph that I’ve been really pleased with, what with the Pandemic and lockdown limiting photo taking opportunities. I had actually created this photo and posted it to Instagram, when some people asked me if I could do a tutorial explaining how I had edited the photo. So, I went back and recreated the edit and in this video I walk you through my process from start to finish.
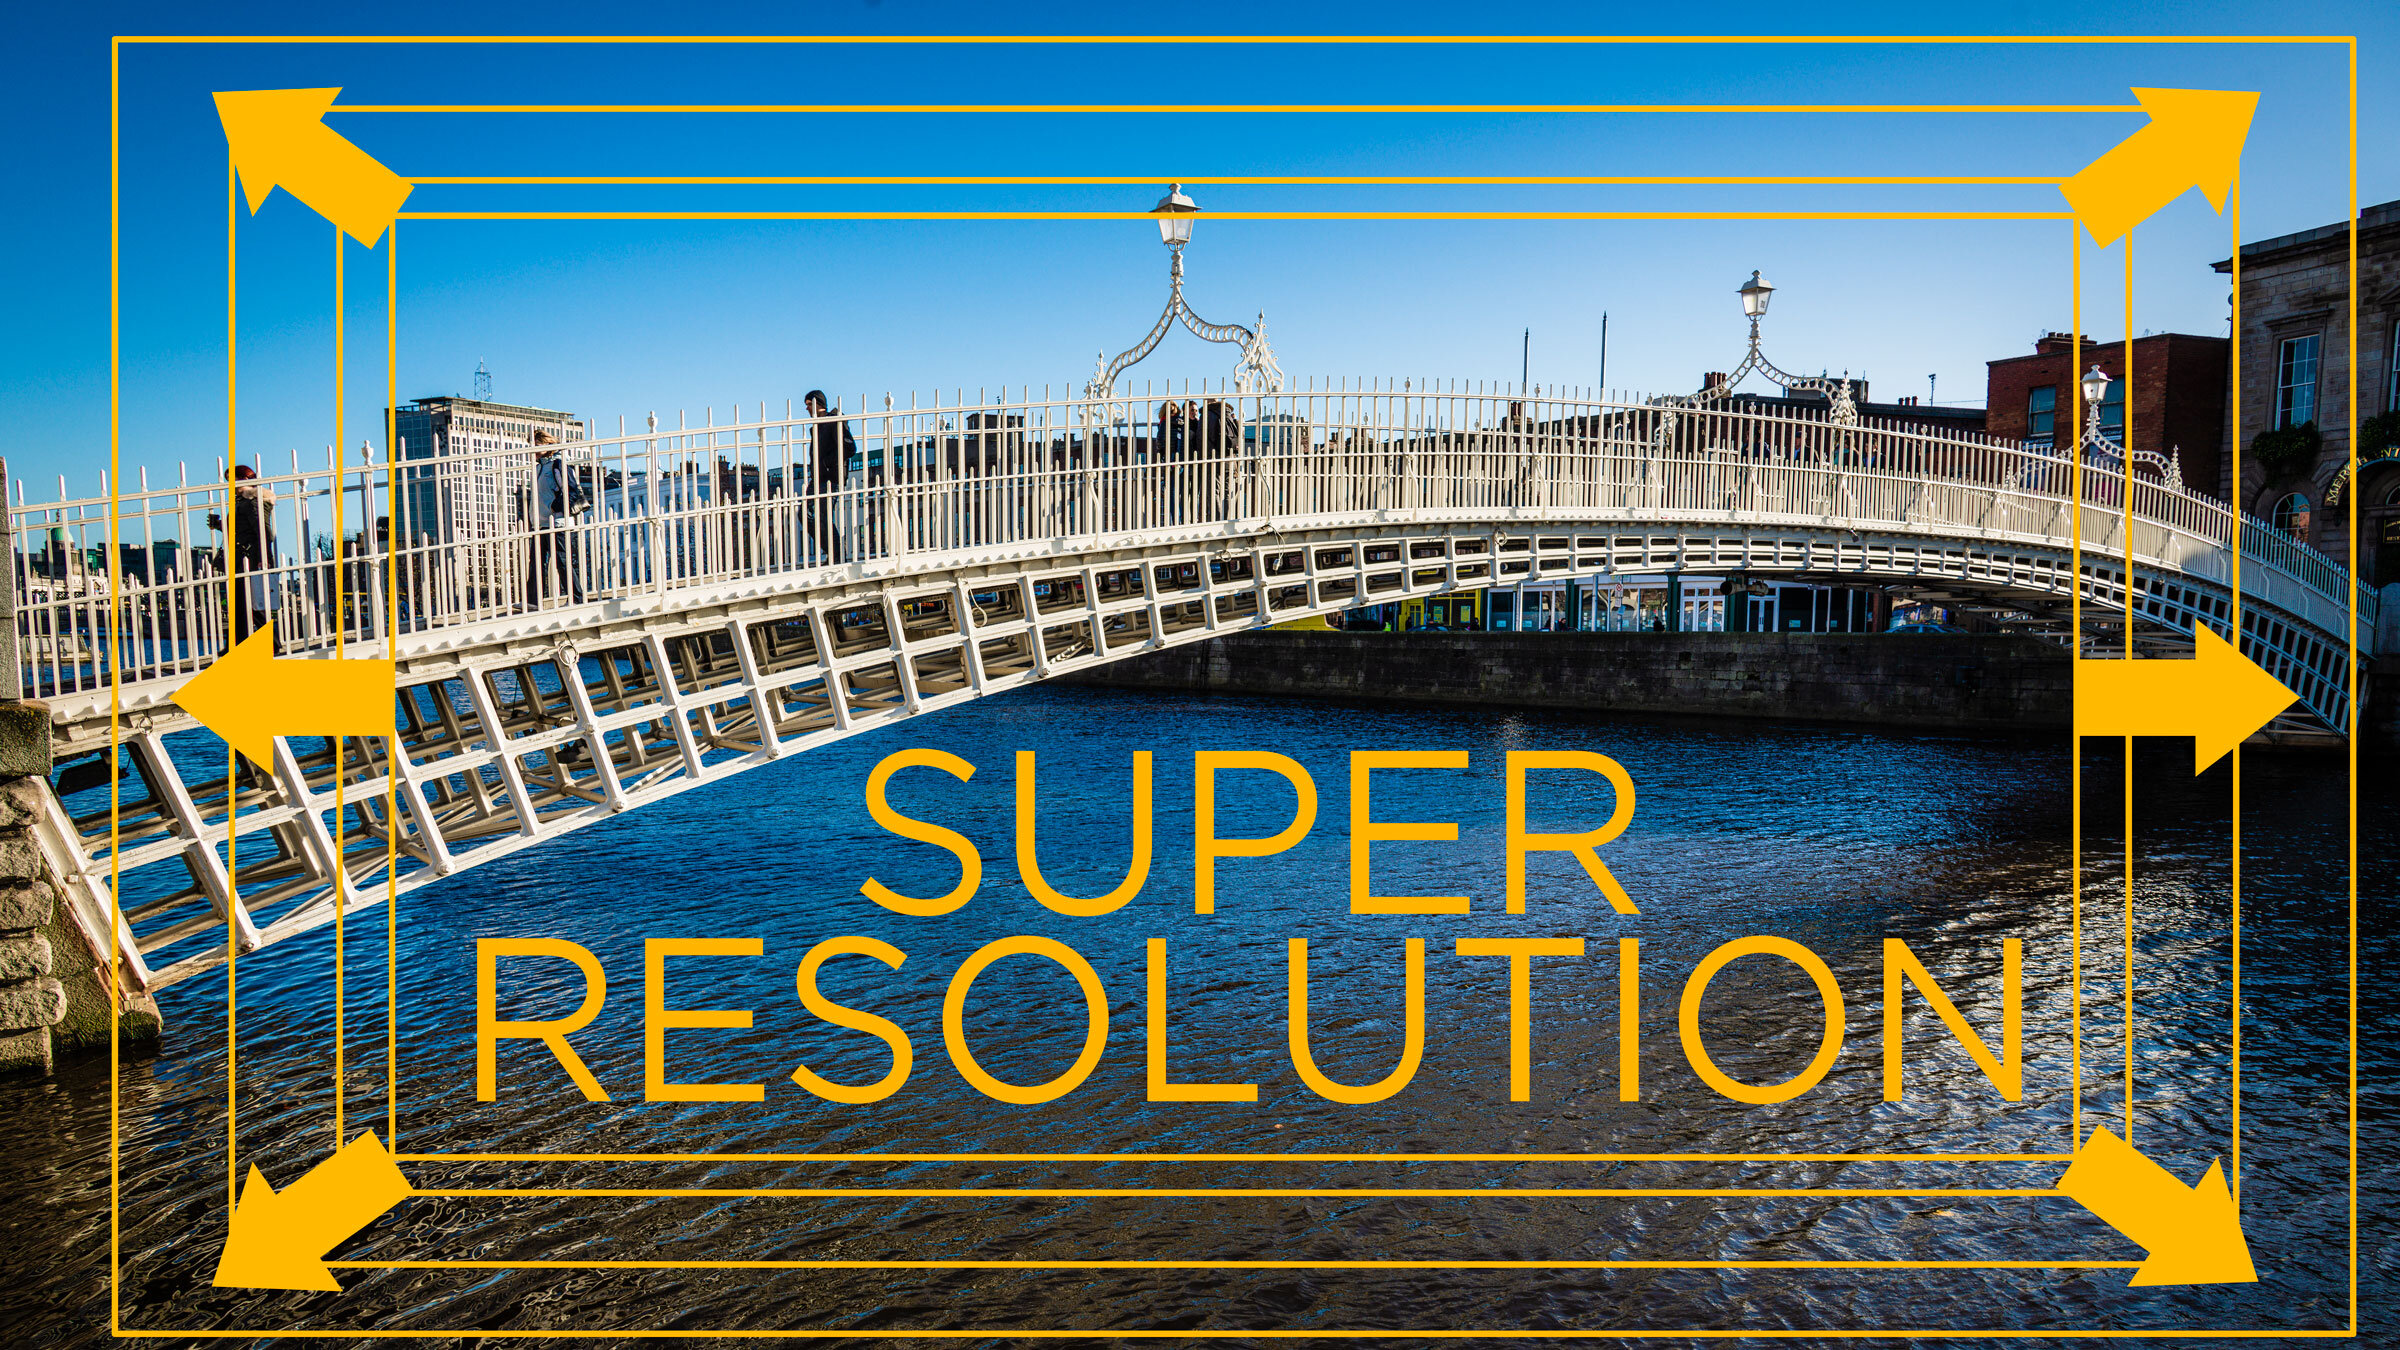
Adobe’s new “Super Resolution” in Camera RAW- What it is, what it is not, and tips for use
Ever since the most recent update (at the time of writing) to Photoshop included the new “super resolution” feature in Camera Raw there has been a lot of discussion, and an equal amount of misinformation about this feature. In case you missed it, “Super Resolution” is Adobe’s new method of upscaling a file using artificial intelligence to give a superior result to previous methods. There have been some wild claims about this online, including some claims that it doubles the resolution of your camera, and that you no longer need to buy a high megapixel system, as this is just as good. In this article, we will take a look at “Super Resolution”, discuss its actual usage case, and talk about some tips on how to use it.
Editing Sony A6000 Street Photography in Lightroom - Live Editing Session
This video is a complete and mostly unedited recording of my whole editing process of editing a street photography shoot in Lightroom. I go through the whole process from culling shots in the Library module to editing the photos in the develop module. It’s also kind of like a video podcast, in that I talk (ramble) through my process.
Creating some Wall Art - A look at my Process for Creating This Image from Start to Finish
I’ve been trying to spruce up my office for a while now, and I wanted to get some wall art printed to hang up behind my computer. As I had been going through some old projects and shoots, I came across an old set of images I had shot of NewYork to turn into a panorama, so I figured that would be a good option. So, below I will detail some of the steps I took when creating the finished image (above).
How to Pixel Peep Responsibly
The term “pixel peeping” is one of those loaded terms in photography. Like “chimping” it has become an insult used by photographers to cast shade on others. Also, like chimping, the “evils” of pixel peeping have been blown out of proportion. The actual act of viewing an image at 100% on a screen actually has some valuable merits; however, it’s also essential to understand its value and limitations.
Capture One 20 HDR Tool | Understanding the new options and how they’re different from other tools
When Capture One 20 Was Released at the start of December 2019, one of the key new features was the revised HDR tool. Since the release, there has been a lot of commentary around this that indicates that there is a degree of confusion about the changes, and in particular how they relate to other software, or other tools within Capture One. In order to try and explain the differences, I wanted to take a deeper look at the revised HDR tool in Capture One 20.
Video: The best way to use Luminar Flex with Lightroom
I wrote a post a while ago about what I felt was the best way to use Luminar Flex with Lightroom. In that post I explained that I use a bit of a roundabout method, by sending the image to Photoshop first. By doing this and using smart objects, you can keep your edits non destructive, so that you can go back and change your image without having to start over. Here is a video version of this tutorial.
Video: How to do “Dehaze” in Capture One
In the post I wrote yesterday about Capture One, I listed some of the things that it doesn’t have that are features of Lightroom. One of the things that I didn’t mention was Dehaze, and a reader Kindly pointed this out. The thing is though, you can achieve a similar effect to Lightroom’s Dehaze in Capture One, but it’s just a little bit more work to set up. In order to show you how to do this, I created a little video..
Video: Luminar Raw Image Editing Tutorial
I’ve been trying to catalogue a drive full of Raw files going back several years (more on that in a future post), and during the process, I got sidetracked and started playing with some of the older images. I came across one shot that I had taken in Washington DC a few years ago, which I really liked at the time, but now I realise that I had over-edited it originally. I wanted to have another go at it, and so I thought It would be interesting to try it in Luminar, and it would make a good tutorial.
My Two Pass Approach to Photo Editing
Whenever I set about editing an image or a whole shoot, I usually break the task down into two passes. First, I do any necessary corrections to the picture, and then I do more creative editing. I use this approach regardless of what software that I’m using, and by doing this, it makes it a bit easier to manage your editing process, and also to make multiple versions of an image. Let me explain a bit further.
Video: Shooting with the SonyA6000 and Adapted Lenses
A while ago I attempted my first “blog” style video, where I filmed myself shooting street photography and editing the results. I’ve done another similar video and in this one I spent some time shooting with the Sony A6000 using adapted lenses. I used two different lenses on this shoot: an old Nikon 105mm f2/2.8 macro lens, and a Canon 17-40 f/4 L wide angle lens. I started in a local park shooting some flowers and then did a little bit of street photography too.
Enhancing Images with Luminar
I’ve talked about MacPhun’s Luminar here before. Specifically I discussed it in the context of the software being a new RAW converter, and I talked about the possibilities it offers. However, there’s another way to use the application, which also works really well, and that’s as a plug-in. You can use it as a plug-in for either Photoshop or Lightroom, and it offers a lot of functionality. Recently I was using it on an actual project, and so I thought that I’d discuss what I did and how I used the software.
A Quick Look at Polarr Photo editor for Mac OS X
I came across an interesting photo editing app in the Mac app store the other day. I’d seen it come up in the suggestions a few times and I’d even bookmarked it to come back to and have a look at later. I finally got around to trying it the other day, and I’m really impressed by the application. It’s called Polarr Photo editor, and it’s just $19.99. It’s available for Windows too, but in this short first look, I’m only talking about the mac version (as that’s all I’ve used)


