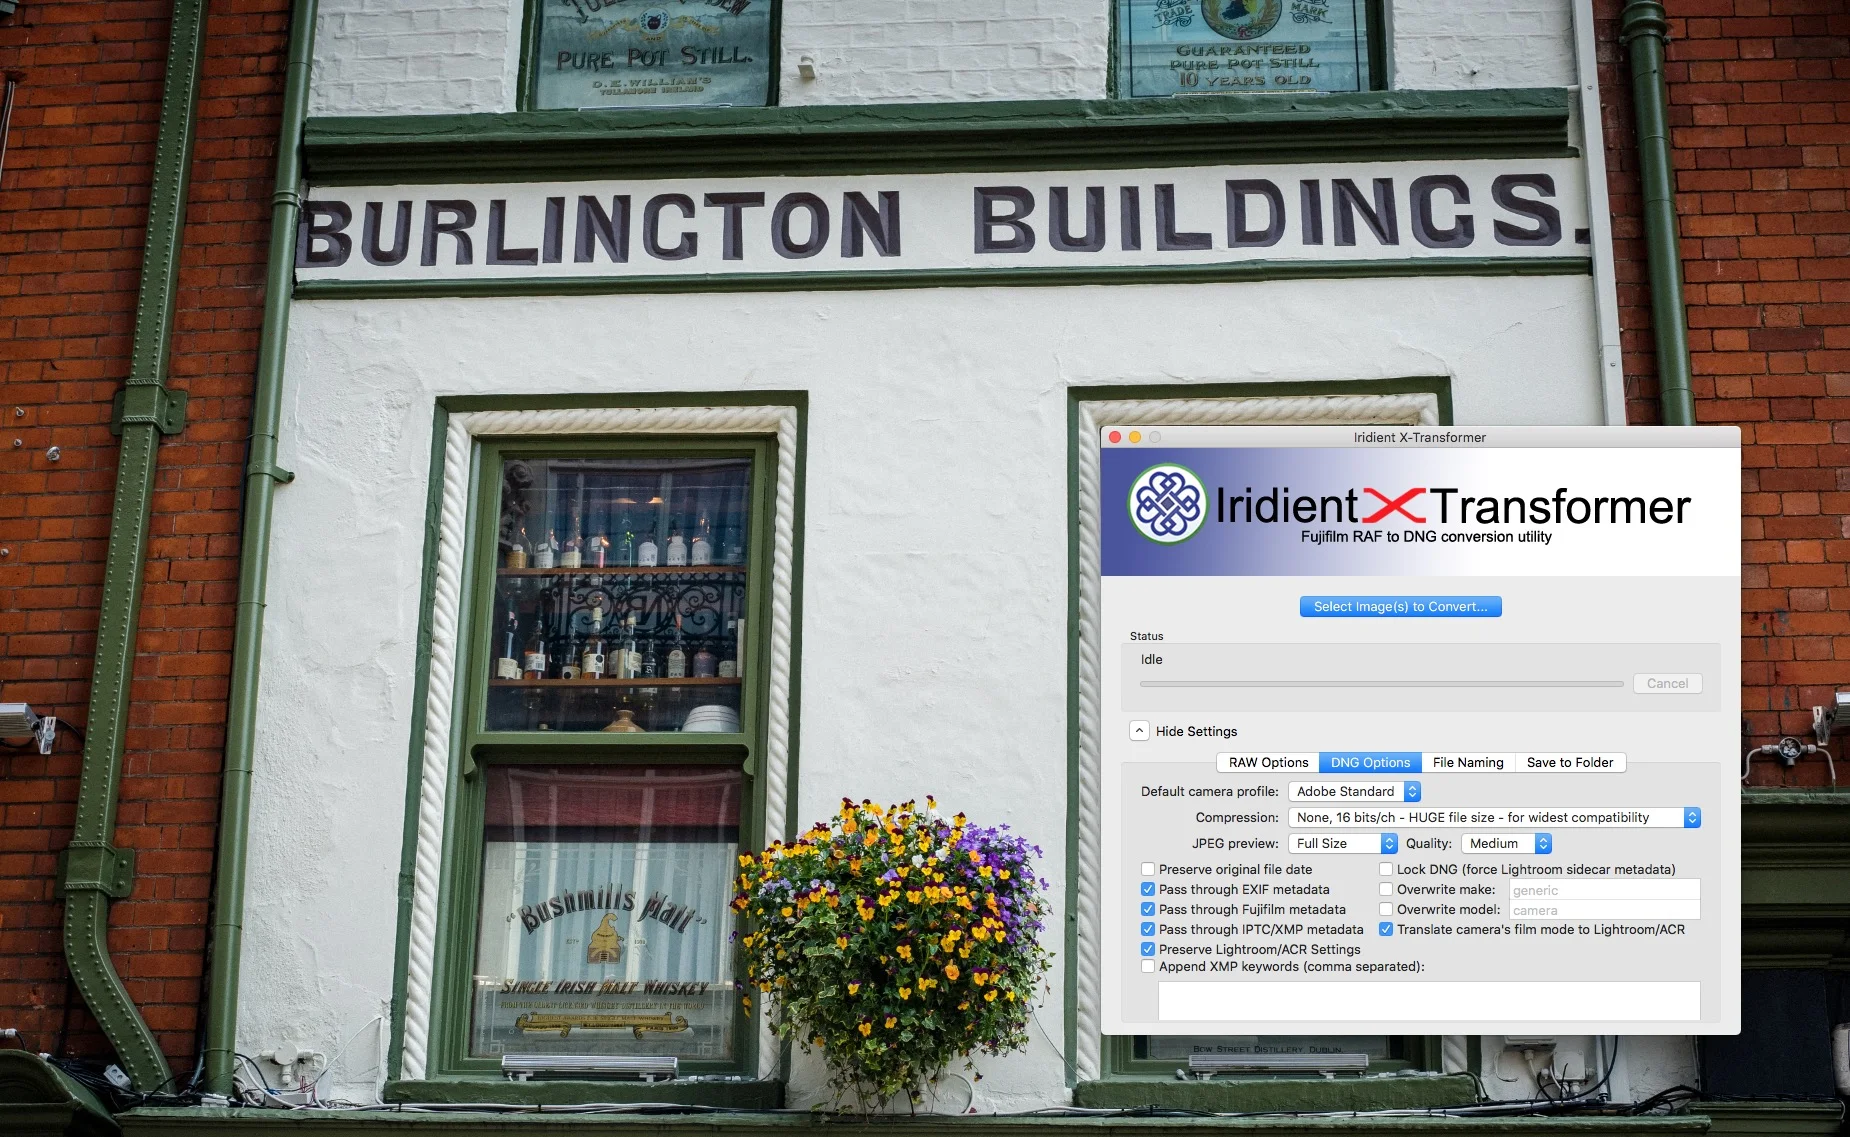
A Quick Note on Compression Options in Iridient X-Transformer 1.5
I’m really behind on this post, so apologies. I haven’t really been paying much attention to X-Transformer, as I haven’t been using it that much lately, so I missed the 1.5 update that came out in March. This update changes a couple of things in the software, but the most noticeable is that it adds some lossy compression options and changes the interface a little.
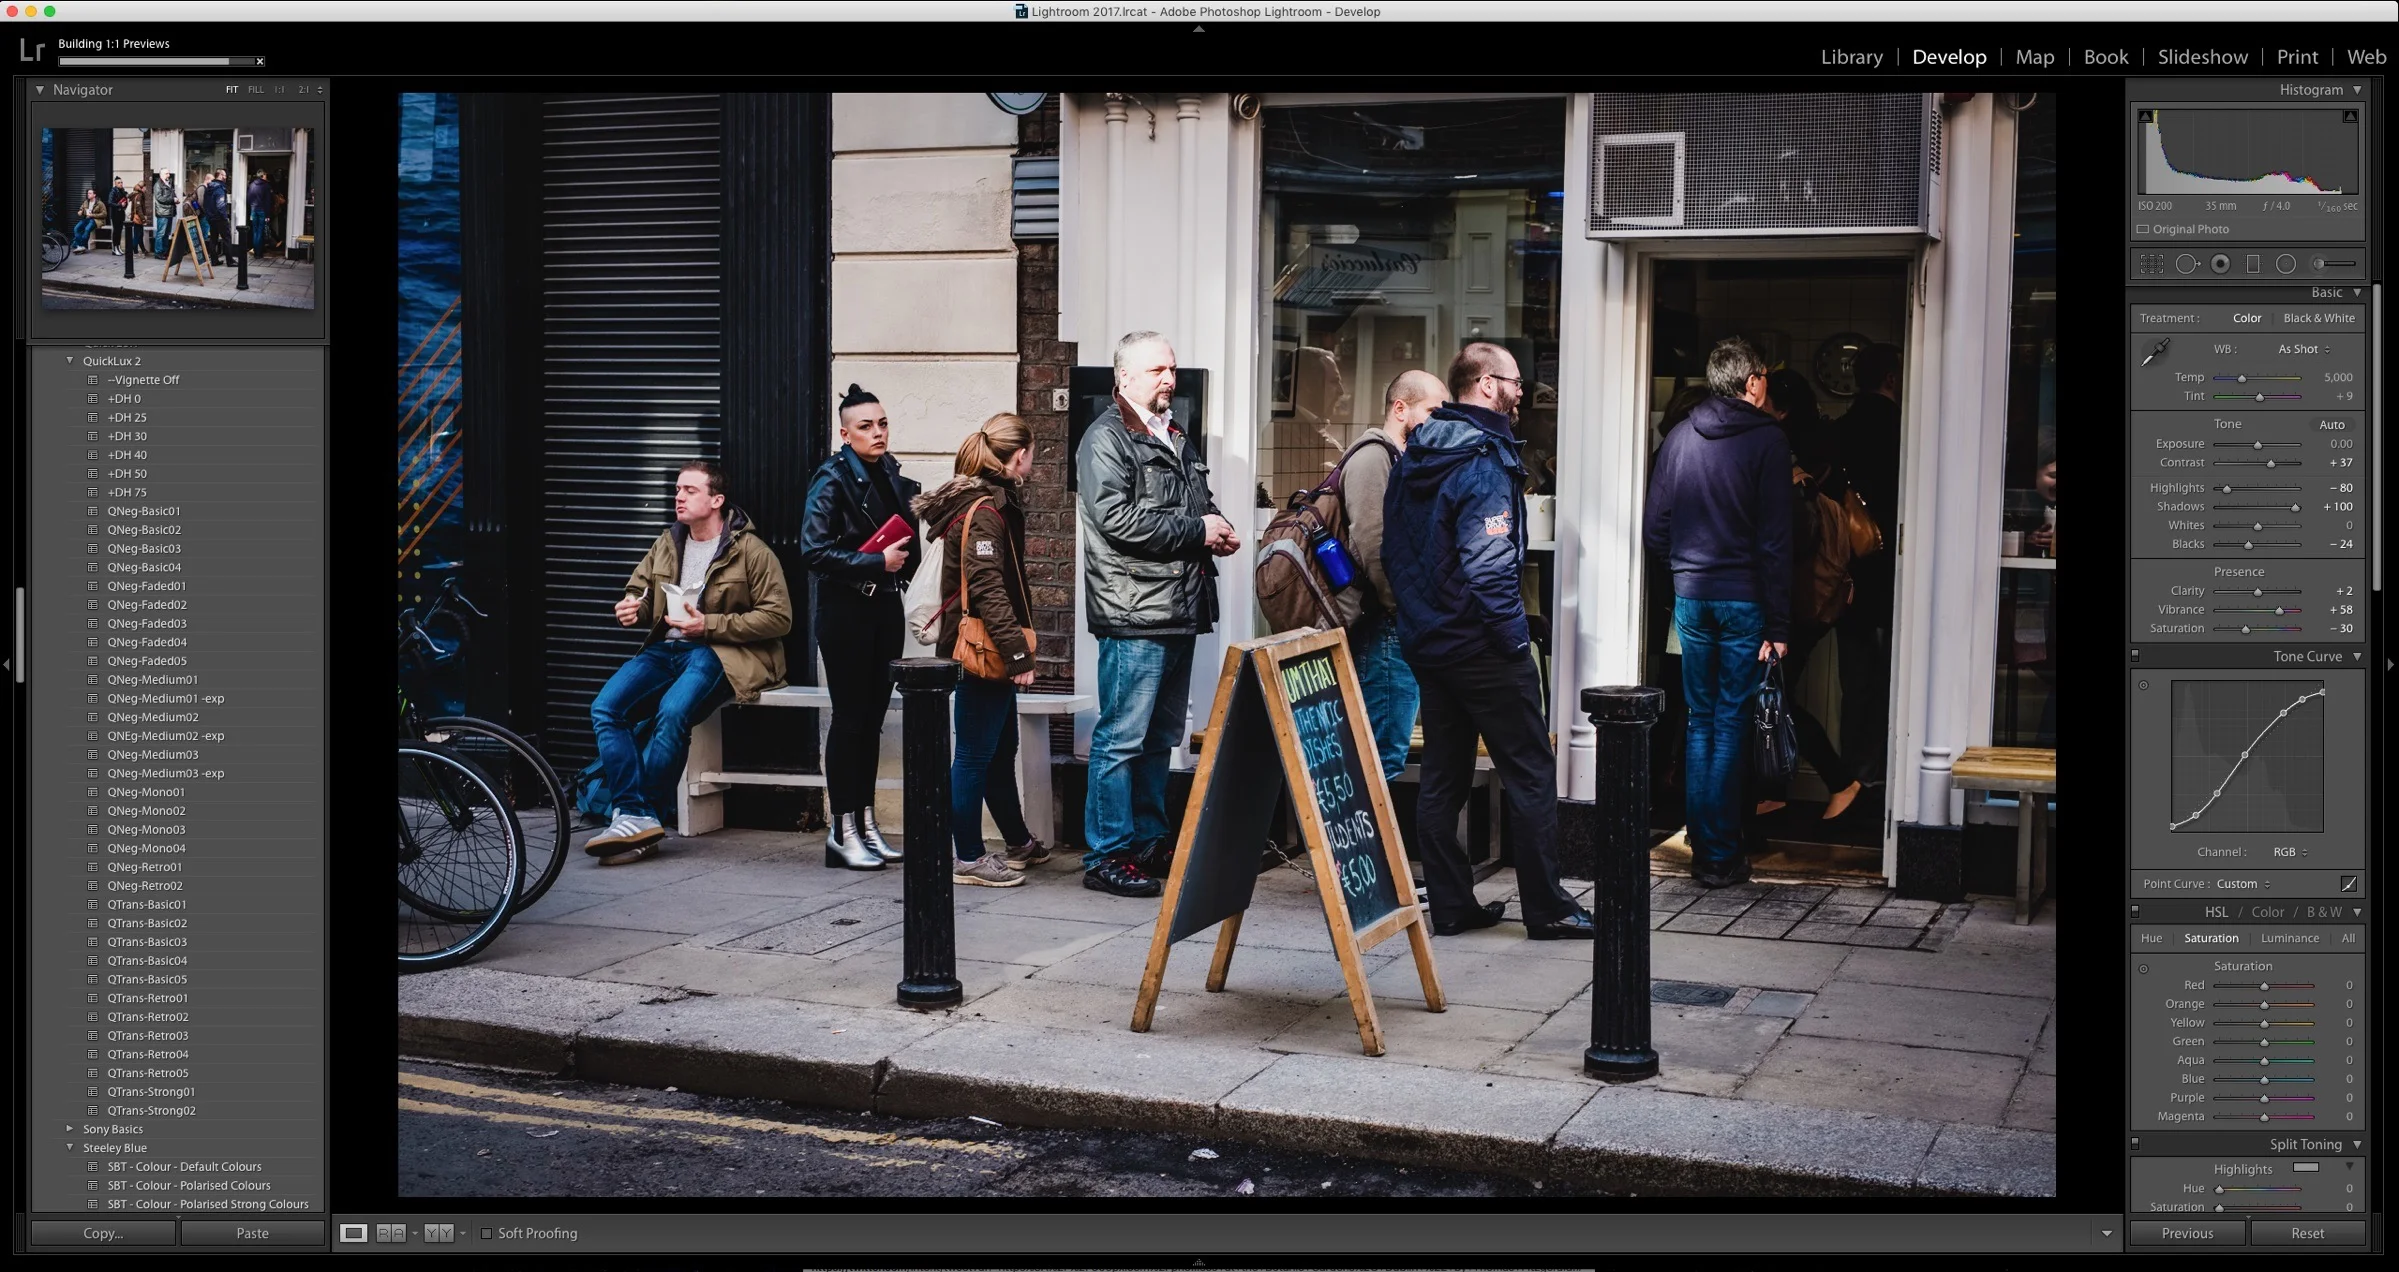
In 1.5, the DNG compression options and the Bit Depth options were combined into a single pop-up menu giving you a list of options. These include two new “Lossy” compression options. So now, instead of choosing the bit depth, and then toggling the option for compression or not, you select from the list of available options.

Just to clarify, in case there is any confusion, these options refer to compression in the resulting DNG file, and not the source RAF file.
I did a quick test using all of the options and here are the file sizes that I got. Bear in mind that the lossy compression results will change based on the contents of the file, and so this is just an example.
- Original RAF file: 50.6mb
- Lossy, Smallest: 10.6mb
- Lossy, Small: 16mb
- Lossless, 8bit: 34mb
- Lossless, 10bit: 52mb
- Losless, Native Bit: 74mb
- Losless, 16bit: 92.6
- Uncompressed: 148mb
Given that for a lot of people, the side of the DNG files when using X-Transformer was an issue, this could be a useful solution, if you are short on disk space. I haven’t done extensive testing to see the effects of the compression, as it would require a lot of testing on various different files, but I suspect it should be the equivalent to using a Jpeg file, but with extra headroom. I did do a few quick tests and I can’t see any major compression artefacts, however they probably would become prominent if you start extensively editing the file.
If you’re short on space, I would definitely consider using these, but be sure to keep a backup of your raw file. Having said that, to maintain the maximum quality, I still recommend using one of the lossless compression options, and either native bit depth or 16bits. Either of these should produce the best quality file. I see no reason to use uncompressed, other than for compatibility options.
I will be updating my X-Transformer guide in the near future for these changes - which will be a free update to existing customers of this guide. I don’t have a timeframe for this update at the moment though.
Help Support the Blog
This blog is pretty much my day job now and I work to bring you my own take on photography, both tutorials and tips, as well as inspiration from my own art. I support this work, and my YouTube channel entirely either via sales of my eBooks and Lightroom presets, or the kind support of my readers. (I also have one affiliate ad). Running all this isn’t cheap, and so If you like what you see and you want to help keep this all going, there are a number of ways you can do so:
You can support me on Patreon. If you like what I do here and find the information useful, then you can help by subscribing to me on Patreon. As well as helping keep this blog going with even more useful news, tips, tutorials and more, members also get special Patreon only feed, which gives you behind the scenes content, as well as monthly downloads (for the top tier), for only €2 or €5 a month Stop by and check it out.
Buy me a coffee / Tip Jar. If you want to support the blog but don't want to sign up for Patreon, you can buy me a coffee via PayPal with a one off donation to my PayPal tip jar.
You can also show support by buying something from my from my Digital Download Store where I have Lightroom Presets, and e-books available for download. If you're a Fuji X-Trans shooter and Lightroom user, check out my series of Fuji Guides. For Sony Alpha shooters I have a guide with tips on how to get the best from processing your A6000 Images in Lightroom.
If you like this post then you can see more of my work on Instagram, Twitter and Facebook. I also have a YouTube channel that you might like. You should also check out my other Photography Project: The Streets of Dublin. If you want to get regular updates, and notices of occasional special offers, and discounts from my store, then please sign up for the Newsletter.