Tips for Using Iridient X-Transformer with Fuji X-Trans Files
Now that Iridient X-Transformer has been out on the Mac for a little while I’ve had a chance to play around with it for a bit. After lots of testing and trying various combinations, I’ve come up with what I believe is the best approach to take if you prefer natural looking images. In this post, I’ll outline the settings that I’m now using and some other tips for using the software. As always, I based these on my preferences, and so, you may prefer a different approach. However, if you’re looking for somewhere to start, then have a look, try the recommendations, and judge for yourself.
A Quick Primer
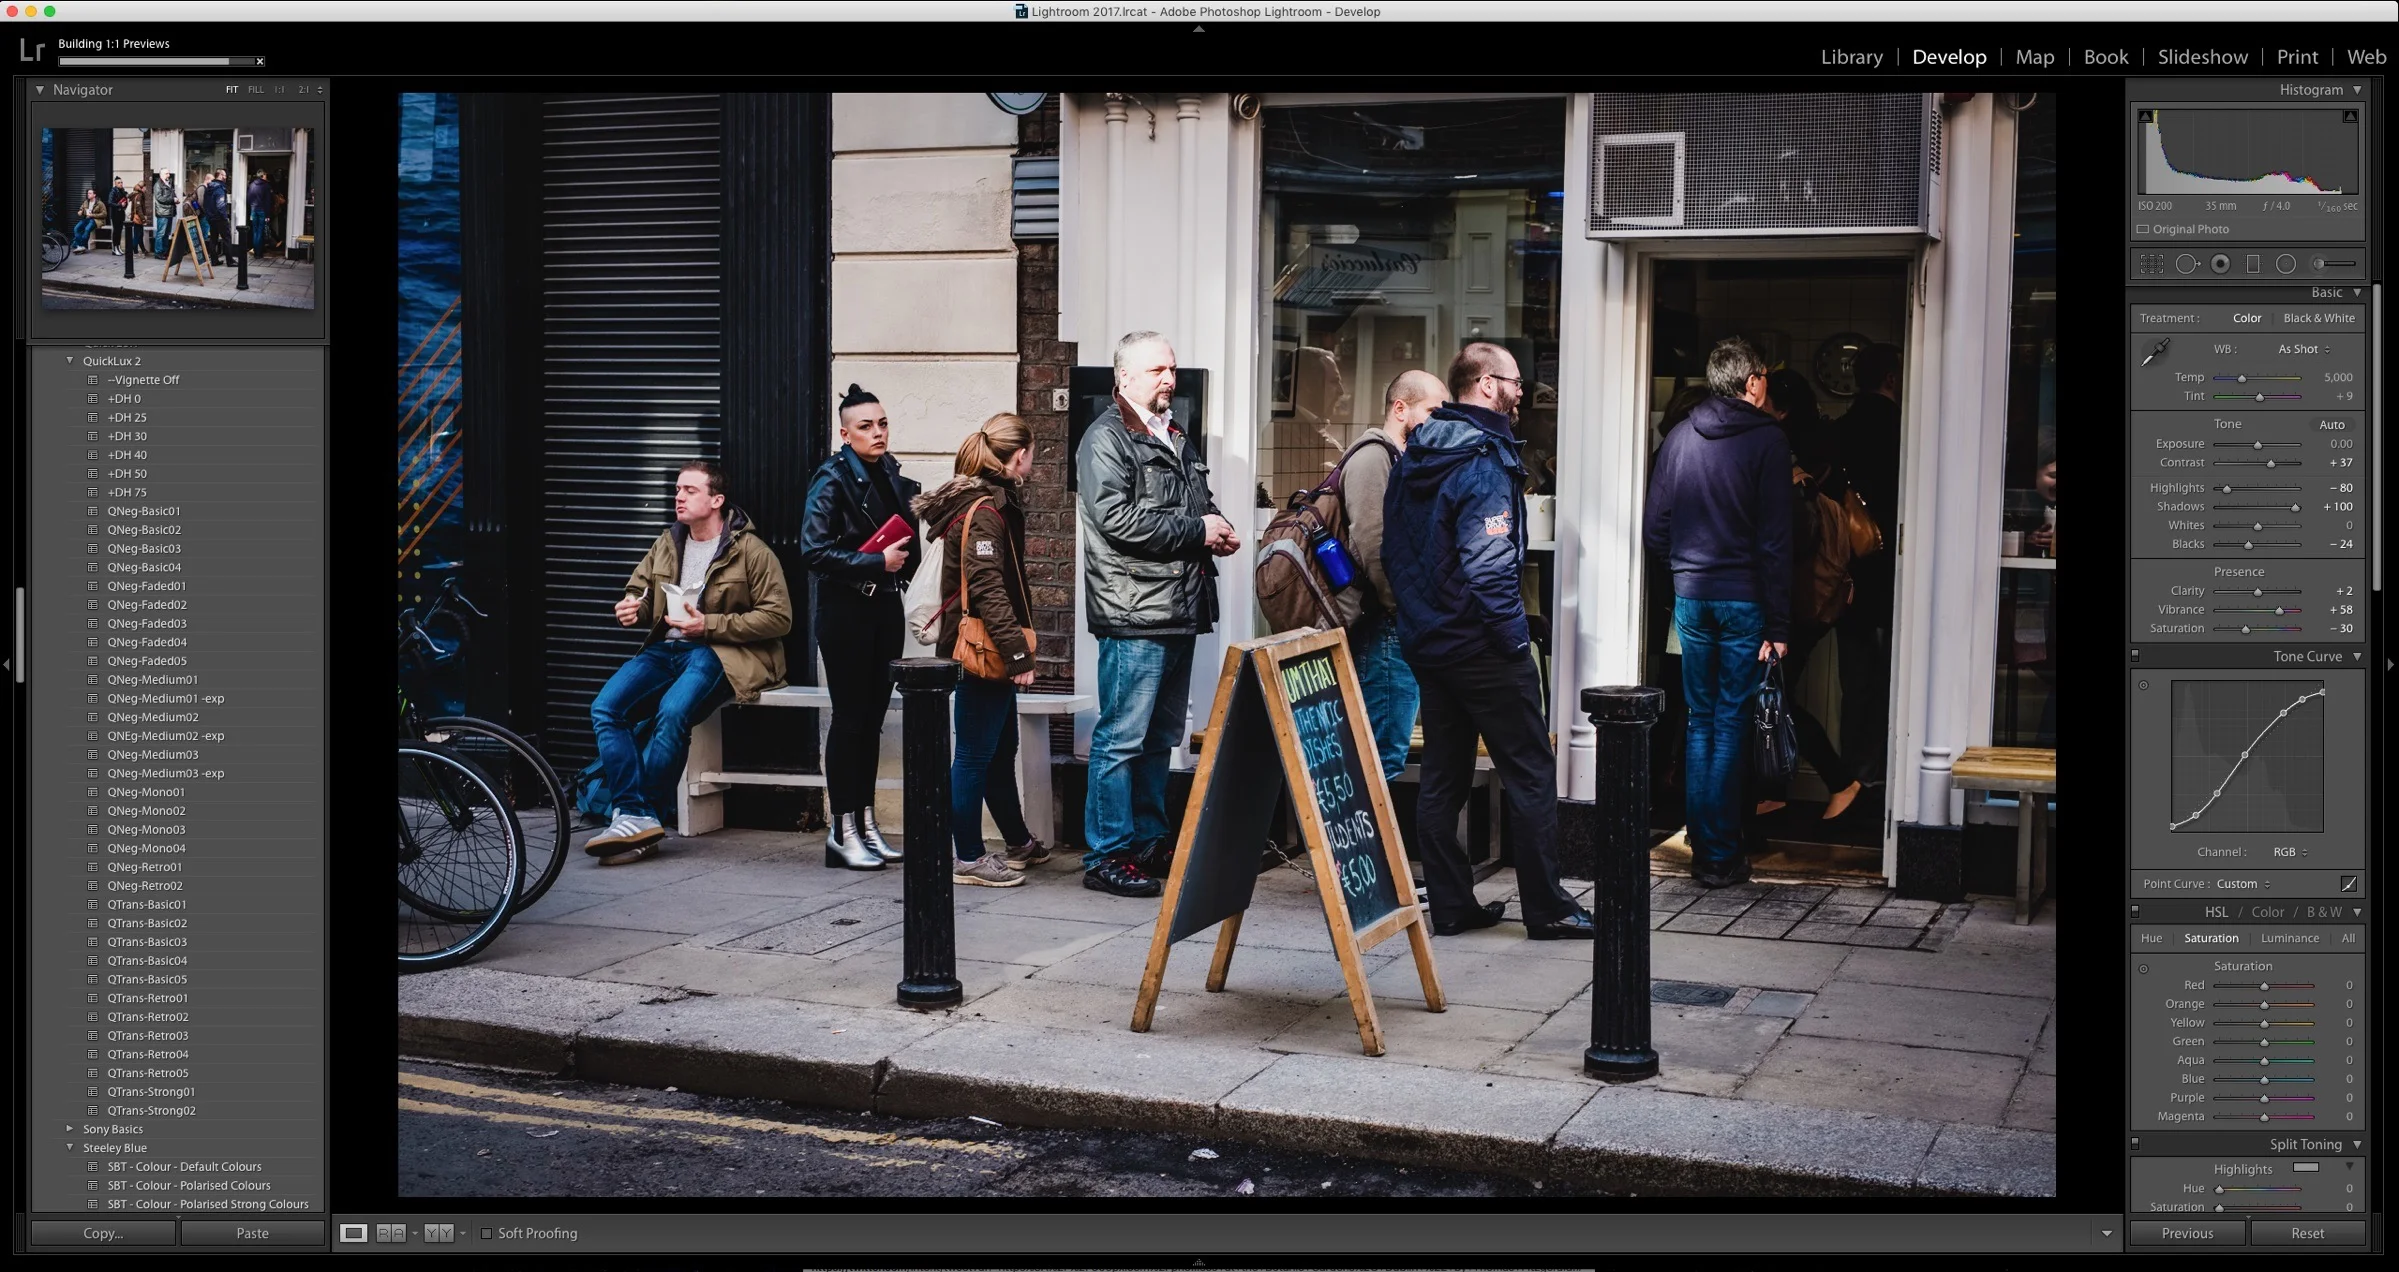
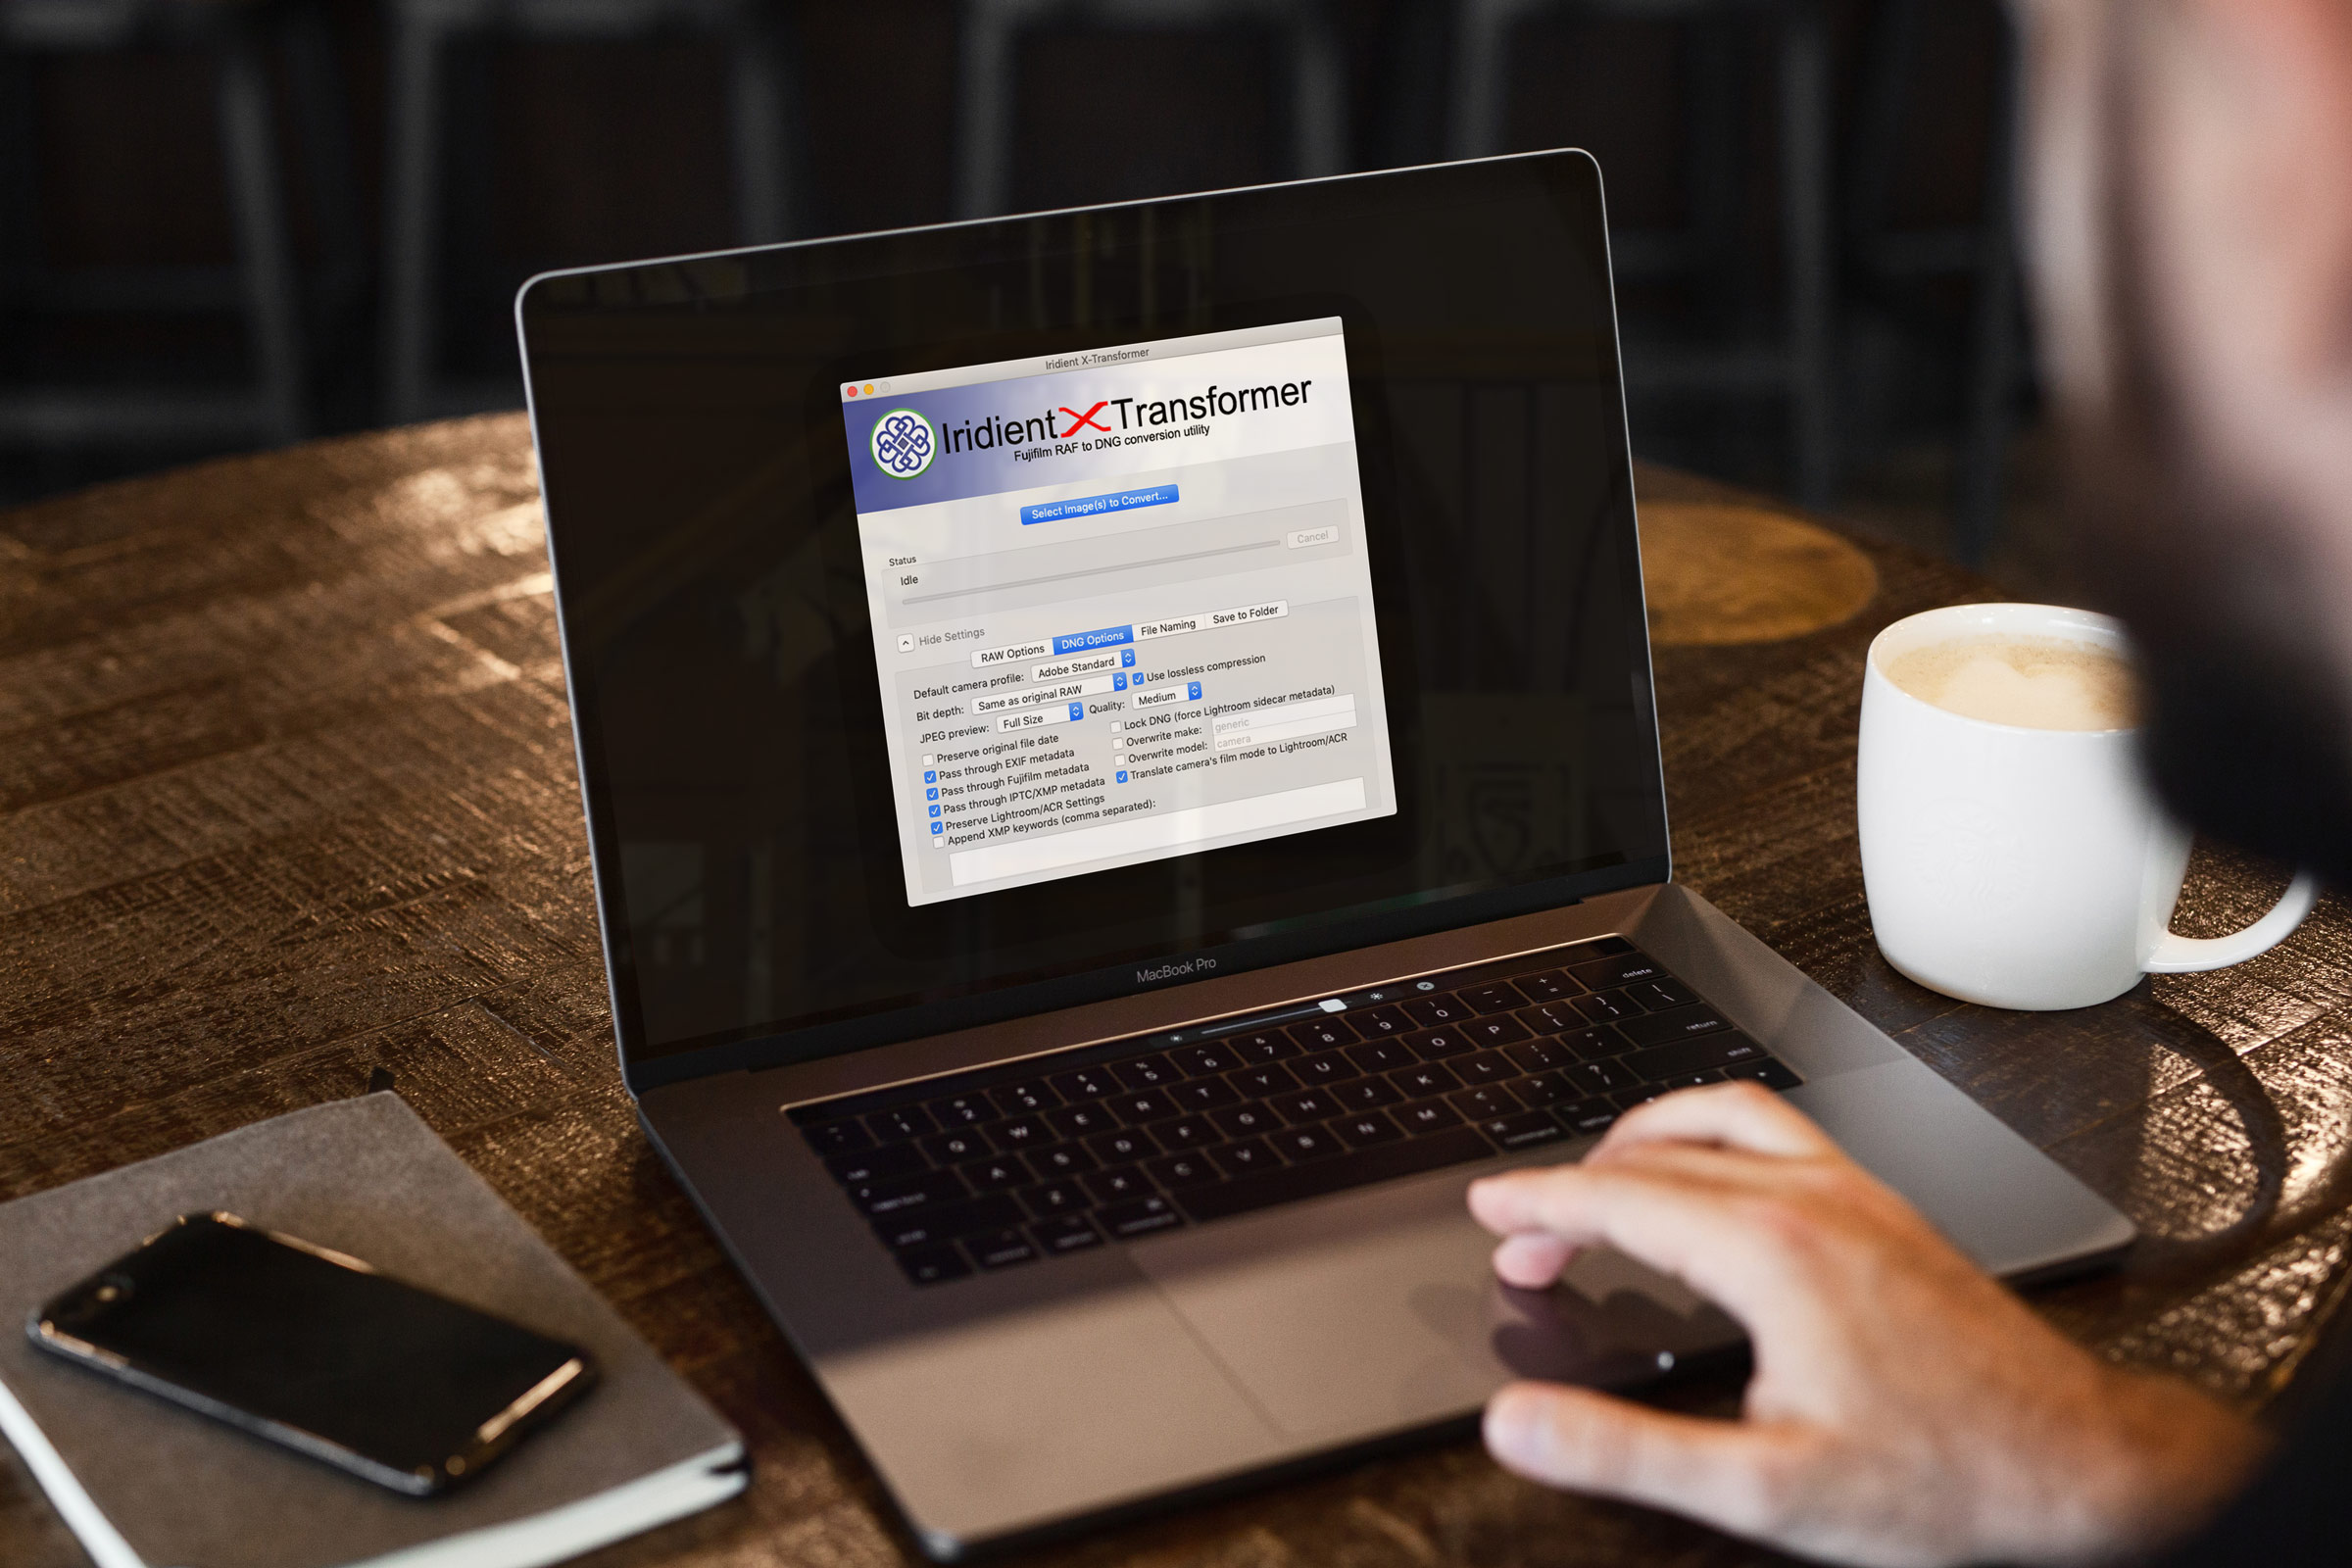
If you haven’t used it before, or come across it, Iridient X-Transformer is a new piece of software (currently still in beta) from the makers of Iridient Developer. The software converts Fuji X-Trans files to DNG from the native RAF, and during the process demosaics the images using Irident’s own engine. This process converts the RAW data to RGB data but retains the advantages of using a raw file, such as highlight recovery and so on. This way, when you import the resulting files into Lightroom, you’re bypassing the Lightroom raw decoding process, but you are still able to use the files as if they were raw files. It effectively lets you use Iridient’s decoding engine in Lightroom.
The software lets you set lots of settings to apply during the decoding process. You can decide just to demosaic the files or, apply various degrees of sharpening and noise reduction. You can also choose to add lens correction, or just embed the data in the DNG file and let Lightroom handle the process.
Approaches to use
Because of the variety of options and settings, there are many different ways that you can approach using Iridient X-Transformer. You can do no processing during the conversion, and then do all the sharpening and so on in Lightroom. Alternatively, you can set sharpening and noise reduction parameters in X-Transformer, and turn them off in Lightroom. A third option is to do a low level of sharpening and noise reduction in the software, and then do another level in Lightroom.
In my experience, the third option is the best. By applying a small amount of sharpening during the conversion process, you can keep your settings fairly low in Lightroom, and in most cases, the defaults will work.
My Settings
Here are the settings that I use in Iridient t X-Transformer
- RAW Process: Smoother (I find this works best if you’re applying sharpening - otherwise the images appear over-sharpened)
- Sharpening: Low
- Turn Off Lightroom Sharpening: Uncheck
- DNG Baseline Sharpness Tag: Very Low
- Luminance Noise Reduction:Low
- Colour Noise Reduction: Low
- DNG Baseline Noise Tag: Adobe Default
- Lens Correction:Include as DNG metadata
- Lens Correction Options: Check All Three
Once in Lightroom, there are a few things to consider. The default sharpness settings work for the most part, but if you see some noise or patterning in out of focus areas, then try increasing the masking level to about 20 on the sharpening settings. If you have a softer lens, you may need to increase the sharpening amount a bit. You can get away with levels up to about 50 depending on the result.
It might also be worth considering applying a little luminance noise reduction in Lightroom. I find that a value of about ten works. You should also apply some colour noise reduction.
Some Additional Tips and Notes
Here are some more tips for using X-Transformer, in no particular order
Apply Settings First
You should set your settings before you do anything else, and then add your images to the software. As soon as you add images to it, it will start processing, so be sure to change your settings first.
Reduce Processor Usage
X-Transformer seems to be very well multithreaded, so if you have a multicore or multi- processor computer, it will use all available CPU resources. Of course, this can be a bit of an issue if you’re trying to do anything else at the time, it pretty much takes over your computer. Luckily the developer included an option to reduce processor usage, and you can find it in the Settings menu. If you’re finding hat your computer is sluggish during use, and you need to use it for other things, then using this option should help.
About File Sizes and Compression
Using X-Transformer to convert to DNG increases the size of the final files a little. This isn’t a fault of the software or bad programming. It’s due to the way raw files work. A Raw file effectively stores the raw data directly off the image sensor. This data doesn’t actually contain individual colour channels. It is just a data representation of the amount of light hitting the sensor at each of the sensors photo sites. Colour is handled by the colour filter which is placed over these. Because the filter is fixed, that information is used in combination with the light data to create the image.
In other words, you have only one channel of data really in a raw file. This is combined with the information about where each colour element is in the colour filter, and when you use these two bits of information, you can reconstruct an image from the data. This is what is happening during the conversion process, and so you go from having one set of data, and the filter layout, to having three individual channels of information (red green and blue) so the file will inevitably be larger. At least, that’s my understanding of how it works.
There is an option in X-Transformer to use Lossless compression. This shouldn’t be confused with the Lossless compressed Raw foam that Fuji is using in its newer cameras. The compression used here is part of the DNG spec and is nothing to do with the RAF compression that Fuji uses. So if you’re using software that doesn’t support the RAF compression, it should support the compression options here.
Is it worth it?
This is a difficult question to answer. The effect can appear subtle, compared to Lightroom’s own conversions. It certainly addresses some of the Lightroom smeariness when it comes to RAW files, but again, this may appear subtle depending on your image. I still think that the improvements add up, though, especially if you have issues with Lightroom’s edge artefacts and smeary detail. However, it’s not a vast and dramatic improvement either. It all depends on your own tastes and how much a small amount matters to you.
Because you just have a range of preset settings for things like sharpening, you don’t have as much control over the conversion as you would in Iridient developer itself, so you can probably get better results from the full software, however, doing that you still need to use two separate applications. At least this way, once your processing is done, you’re still using Lightroom. You really do need to try it for yourself and be the judge.
Help Support the Blog
If you like this post then you can see more of my work on Instagram, Twitter and Facebook. I also have a YouTube channel that you might like. You should also check out my other Photography Project: The Streets of Dublin. If you want to get regular updates, and notices of occasional special offers, and discounts from my store, then please sign up for the Newsletter.
All of the work I do here, and the information on this blog is done entirely free of charge and takes quite a bit of work. I want to spend more and more time on this blog, and offer more and more of this kind of information, tips and so on. All of this is funded exclusively through my Digital Download store, so If you like what I'm doing here and want to show support, then you can do so by buying something from my Digital Download Store where I have Lightroom Presets, and e-books available for download.
If you're a Fuji X-Trans shooter and Lightroom user, check out my guide to post processing X-Trans files in Lightroom. I also have a guides for processing X-Trans files in Capture One and Iridient Developer.
For Sony Alpha shooters I have a new guide with tips on how to get the best from processing your A6000 Images in Lightroom.