Updated X-Trans Sharpening Presets for Lightroom
UPDATE: You can now get all of my X-Trans Sharpening Presets in One Download. See this post for more details:
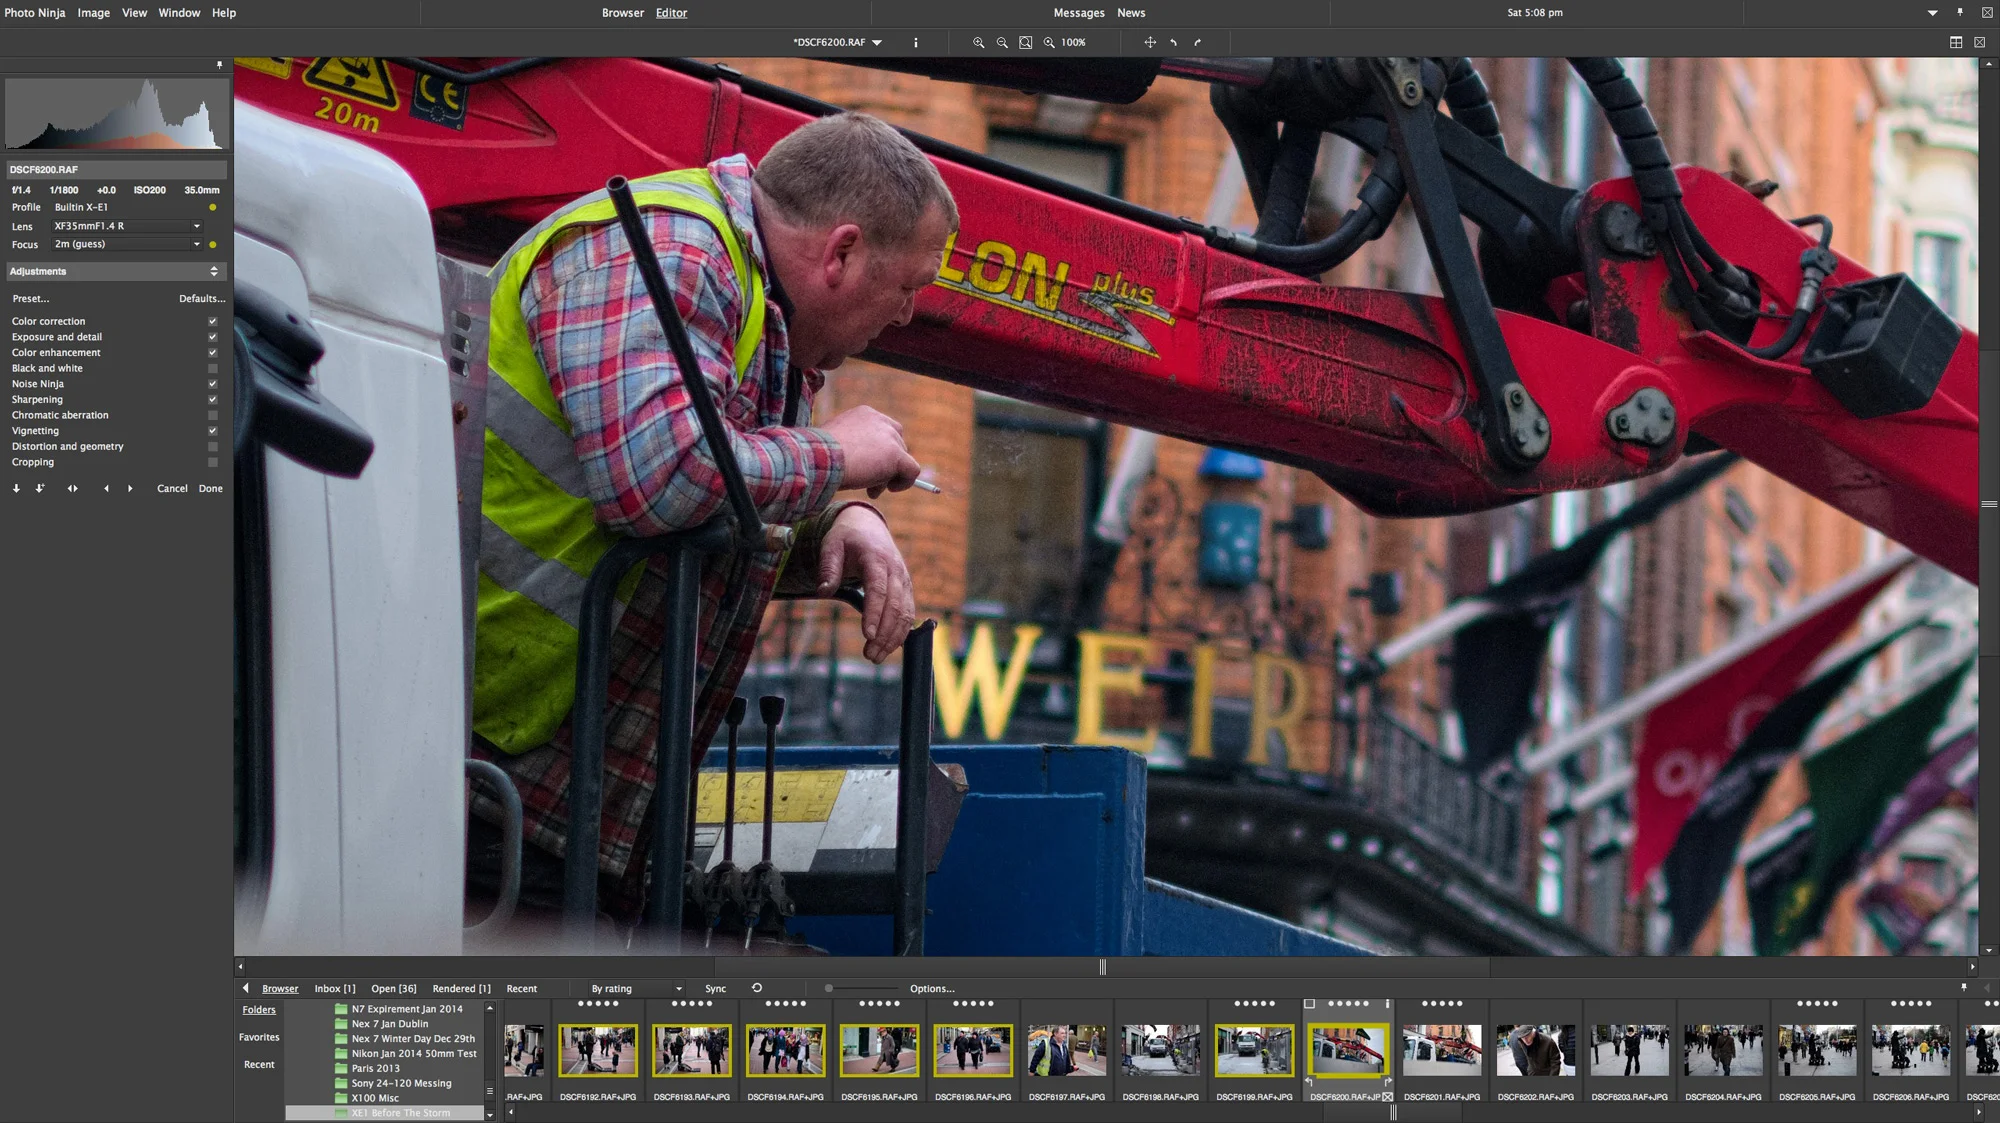
A while ago I posted some sharpening presets for sharpening images taken with one of Fujifilm’s X Series of cameras in Lightroom. I was attempting to find a way to minimise some of Lightroom’s idiosyncrasies when it comes to X-Trans processing. They were well received and people seemed to like them. Since then I’ve kept working on it and I’ve been continuing my quest to get the best out of X-Trans files. While I’ve been focusing on using third party applications in recent blog posts, I’ve still been working behind the scenes on best practices if you’re just using Lightroom. I believe that most of the issue revolves around sharpening. Whatever it is about Lightroom’s sharpening algorithms, it doesn’t seem to play well with Fuji’s X-Trans sensor. A lot of people have commented on this across the internet, but most people seem to believe the issue is due to the way that Lightroom / Camera Raw is demosaicing the X-Series files, but having analysed it extensively at this stage, I’ don’t think’m not sure that’s the main problem. I think it’s the sharpening, or how the sharpening interacts with the demosaicing. I’ve been playing around with files from Sony’s A7R and if you sharpen them, they too have some issues in Lightroom including the odd edge duplication that the X-Trans images suffer from. I could be wrong, but it’s possible that Lightroom has an issue with cameras without a AA filter. The other thing that leads me to suspect that the sharpening algorithm is the culprit, is that if you set sharpening to zero and send the image to Photoshop and sharpen there, the results are much more natural looking.
Anyway, that’s all well and good, but people have been asking for a solution that doesn’t involve having to leave Lightroom. As mentioned earlier, I had posted some sharpening presets a while ago. I’ve updated these based on my research, and I believe that they can get you descent results in Lightroom. Unfortunately, in my personal opinion, Iridient Developer (or Photo Ninja or Capture One) is still probably better for detail, especially when it comes to repetitive patterns like tries and grass. However, under normal circumstances, unless you are cropping a lot, or are scrutinising the images at 1:1, these sharpening settings should get you results that are more than good enough. If you combine them with a little bit of photoshop processing you can get even better results, but more on that in another post.
Of course, as with all things visual it is a matter of personal tastes, so you may not like the results yourself, but try them, and if you don't like them then that's fine.
About the Settings
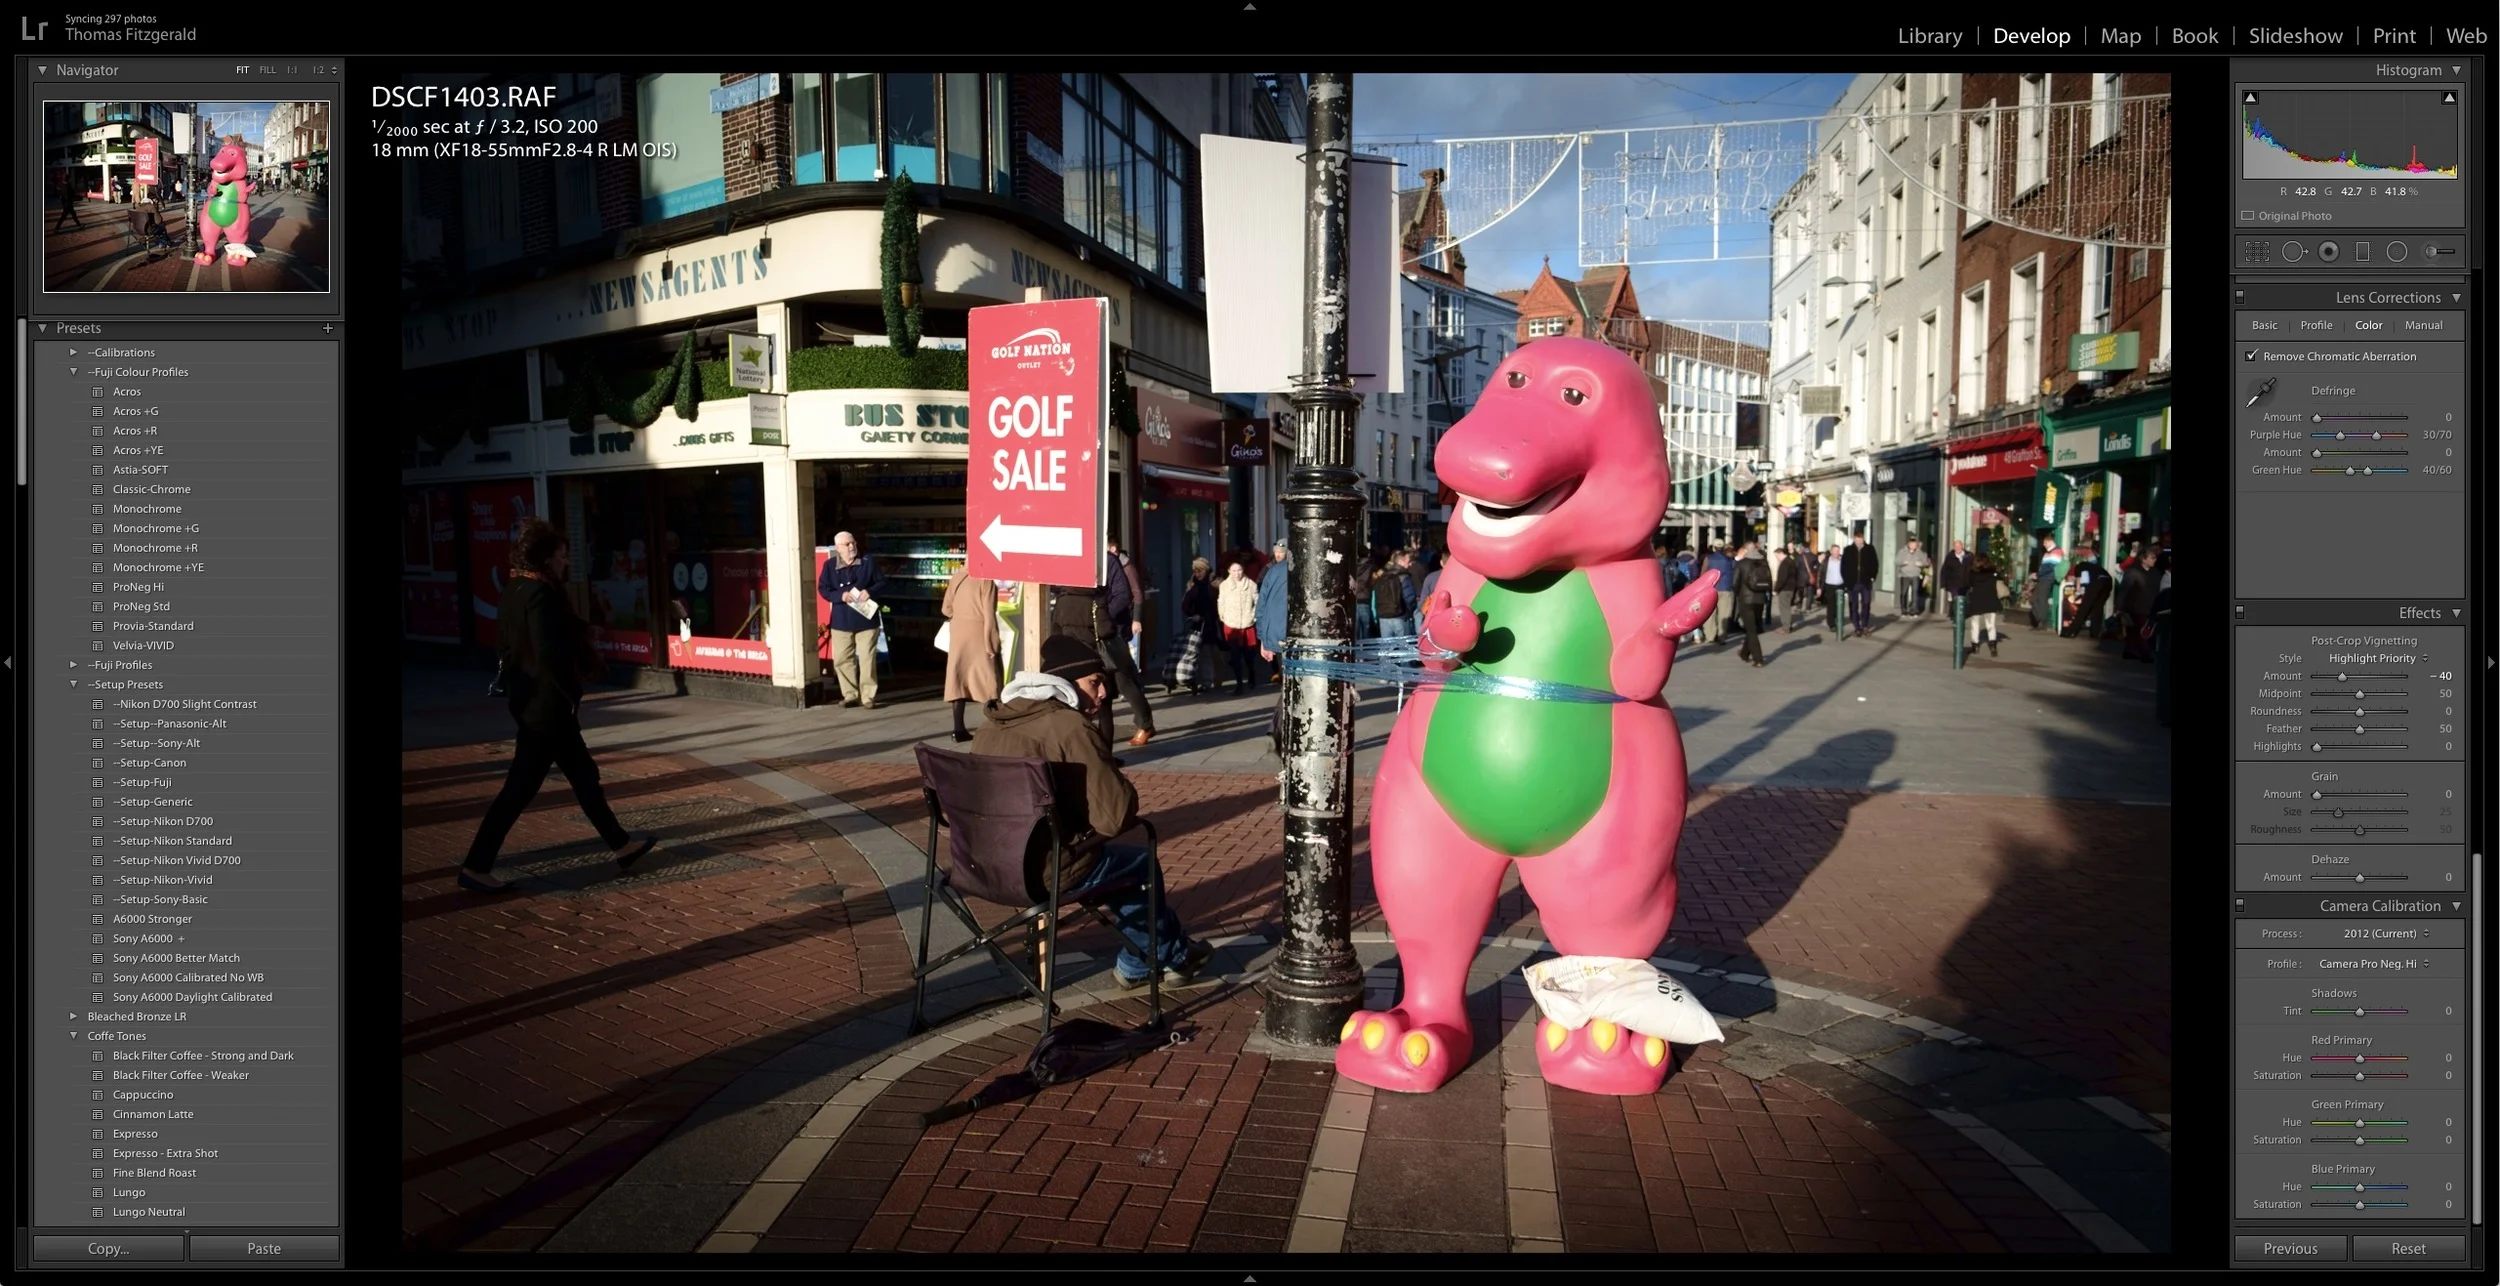
I’ve created a whole new set of presets. There’s 4 different sharpening settings, and a couple of looks which can be a useful starting point. I’ll talk about the sharpen settings first:
There’s four different presets fro sharpening which you can apply and they are each aimed at different uses.
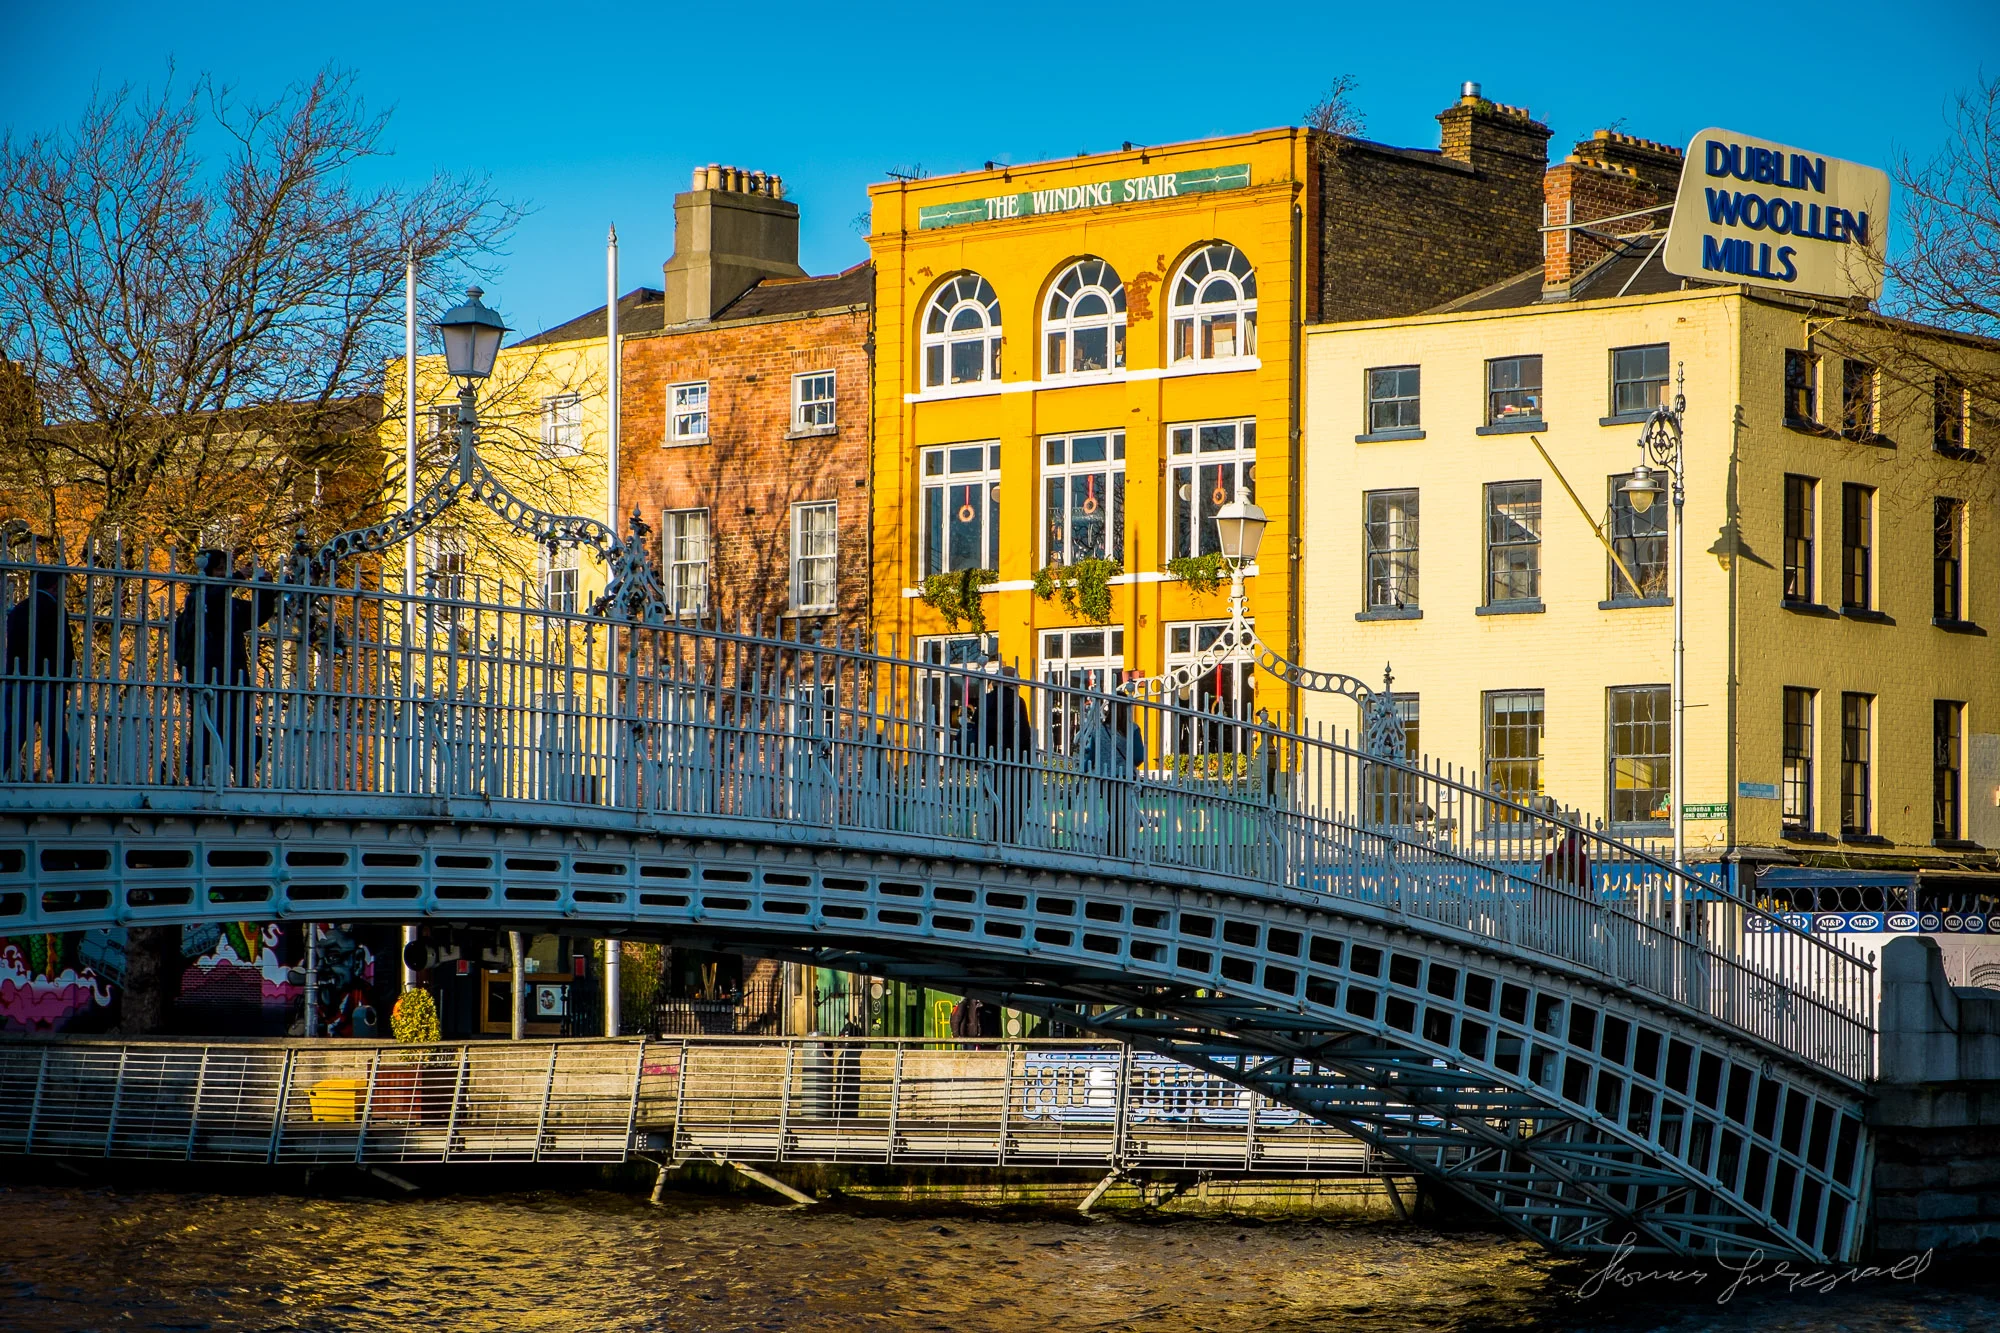
X-Trans-Sharpen-SuperSharp - This is the main preset. It should give you good sharp edges. It works well all round and it’s very good with architectural detail, landscapes and anything where you have a lot of detail you want to sharpen
X-Trans-Sharpen-SuperSharp-Cleaner - If the previous one is too sharp, this version adds a tiny bit of noise reduction. The edges in this are a bit smoother and the over-all look is more organic. This too should work well for most subjects
X-Trans-Sharpen-Smooth - This is less sharp, but again, more natural looking and works well when you have details in focus and areas out of focus.
X-Trans Sharpen-High-Radius-Low-Detail - This is form the old set and is useful if you have people or faces in the foreground and the background is de-focussed. It can work well with buildings too.
I’ve also added some looks which are inspired by the picture modes from the camera, but are not trying to emulate them. There’s standard, Vivid and Neg. The standard and vivid have variations which expand the dynamic range and simulate the in-camera DRO settings (albeit roughly!)
Some general Notes about the Presets
The looks presets are there as a starting point. They’re there to get you in thew ball park, and you can then tweak the settings to your own tastes. Each of the looks uses the “SuperSharp” sharpening settings
The sharpening presets only adjust the sharpening. Because of the way Lightroom works, you may not notice any change in the image after you apply the preset when zoomed out. You may need to change Lightroom’s zoom setting to 2:1 or 1:1 before you notice the changes. They should still have an impact though when you export a file (at a reasonable size) or when you print.
To install the presets complete the following simple steps.
On A Mac
- Download the File from your account page or the email you received from the store.
- Locate the downloaded file (usually in your Downloads folder). Unzip the File if it did not unzip earlier.
- In Lightroom, choose “Preferences” from the Lightroom Menu. This will open the preferences dialog.
- From the list of tabs across the top of this window, click on the one called “presets”
- Click on the button that says “Show Lightroom Presets Folder…”
- This will bring you to the finder and the folder Lightroom should be highlighted inside a window that says Adobe
- Open this folder and Navigate to folder called “Develop Presets”
- Copy the folder that unzipped from the file you downloaded earlier into the “Develop Presets” folder that you just opened. Be sure to copy the whole folder and not just the individual .lrtemplate files.
- Restart Lightroom
On a PC
- Download the File from your account page or the email you received from the store.
- Locate the downloaded file (usually in your Downloads folder). Unzip the File if it did not unzip earlier. To unzip the file right click on the zip file and choose extract all.
- In Lightroom, choose “Preferences” from the Edit Menu. This will open the preferences dialog.
- From the list of tabs across the top of this window, click on the one called “presets”
- Click on the button that says “Show Lightroom Presets Folder…”
- This will bring you to Windows Explorer and the directory “Lightroom” should be highlighted inside a window that says Adobe.
- Open this directory and Navigate to the directory called “Develop Presets”
- Copy the folder that unzipped from the file you downloaded earlier into the “Develop Presets” folder that you just opened. Be sure to copy the whole folder and not just the individual .lrtemplate files.
- Restart Lightroom
Please Help Support the Blog
I am a fine art Photographer and do not shoot commercial projects. I do my best to keep this site regularly updated with lots of tips, reviews, news and photography advice, all for free. If you like what you read here and want more, then sign up for our newsletter to get regular site updates and occasional special offers. You can also follow my photographic exploits on Facebook and Twitter
If you're a Lightroom user check out my original Lightroom Presets