iPhone ProRaw Underexposure in Lightroom and How to fix it
I recently upgraded my iPhone to an iPhone 15 Pro Max. I had been struggling to get buy with an ageing iPhone 10XR for many years now, and it was starting to show its age. Apart from not having many of the latest features, the battery was dying and the speaker, microphone and earpiece had stopped working. It had served me well, but it was time to move on. As a photographer, one of the things I was most eager to try was the new cameras, and in particular, Apple Pro Raw.
While ProRaw isn’t new in and of itself, it was my first time being able to use it. I was curious as to how well it would perform, how much you could edit with the format, and how it would compare to using a different camera app to shoot actual RAW files.
A quick disclaimer: I’m still experimenting and testing, so everything in this post is still a little experimental. I’m also mostly talking about Lightroom Classic when I refer to Lightroom, although most of the techniques here will work with Lightroom Desktop (except for the profile making part). I’m also mostly talking about using the iPhone’s main camera, as that is the high-resolution one.
ProRaw vs. Lightroom (and other apps) DNG Raw
Apple’s ProRaw isn’t really a Raw file in the traditional sense. They do a lot of additional processing including some machine learning and bake it into a pseudo raw file. For example, the demosaicing is already done. It does still allow you to recover highlights, change white balance and so on.
There are several Apps that allow you to shoot a regular RAW file on the iPhone, and my favourite is Lightroom mobile. The camera app in Lightroom mobile will capture a traditional RAW file in the DNG format, and you can process that with any RAW converter, including Lightroom, obviously.
I shot a few test shots with this, and at first, I was impressed. In some respects, they were better than ProRaw. While they were a bit nosier, you could use Lightroom’s AI Denoise on the files, and that would give you super clean results. You can’t use Denoise on ProRaw files because they’re not really RAW files. (Hopefully Adobe will change this in the future)
The big problem though is that when using the main camera, you only get a 12mp image when shooting RAW in Lightroom. To get the full 48mp (or 24 is you set it that way) you have to shoot ProRaw in the main camera app. Which is a pain. And so, while you can get marginally better results shooting RAW in Lightroom and using Denoise, the extra resolution is more of a benefit in my opinion. It gives you more options to crop, and it just generally looks sharper, especially on a retina display. That’s my opinion, anyway.
So after testing that for a little while, I’m now primarily shooting ProRaw when I want a RAW file. Which comes with its own challenges.
ProRaw in Lightroom. WTF?
So far, with the few tests I’ve been able to do, I’m quite impressed with the results you can get by processing Apple ProRAW files in Lightroom. It does require some out-of-the-box thinking to get the best results, though. In particular, there’s one big issue.
When you import ProRAW files into Lightroom, it defaults to using the Apple ProRAW colour profile. The colours on this are…let’s just say, they’re not great. It makes it look like it would if you had just shot it normally and not used ProRAW. In particular, shadows seem pushed too much, and highlights have a weird yellow tone.
No problem, just switch to one of the Adobe colour profiles, I hear you say. This is where the weirdness comes in. If you switch to the Adobe profile, it will be significantly under exposed.
But not always. It depends on the scene.
It seems Apple are underexposing the scene to preserve highlights in high contrast situations. If the shot would normally be HDR on the iPhone, I think that this is when this mode is activated. It’s kind of like how the DR modes work on a Fuji camera, except with Fuji raw files this is automatically compensated for (but it wasn’t when support first came out)
To fix this, there are a couple of options.
You can go with the Apple profile and try to colour correct it, or you can go with the Adobe profile and compensate for the underexposure.
I found that improving the Apple profile was actually quite simple. I just decreased the yellow saturation by about 50% and that seemed to improve the colour. It still had some weird tonality though - as if the shadows were pushed too much, but it was still an improvement.
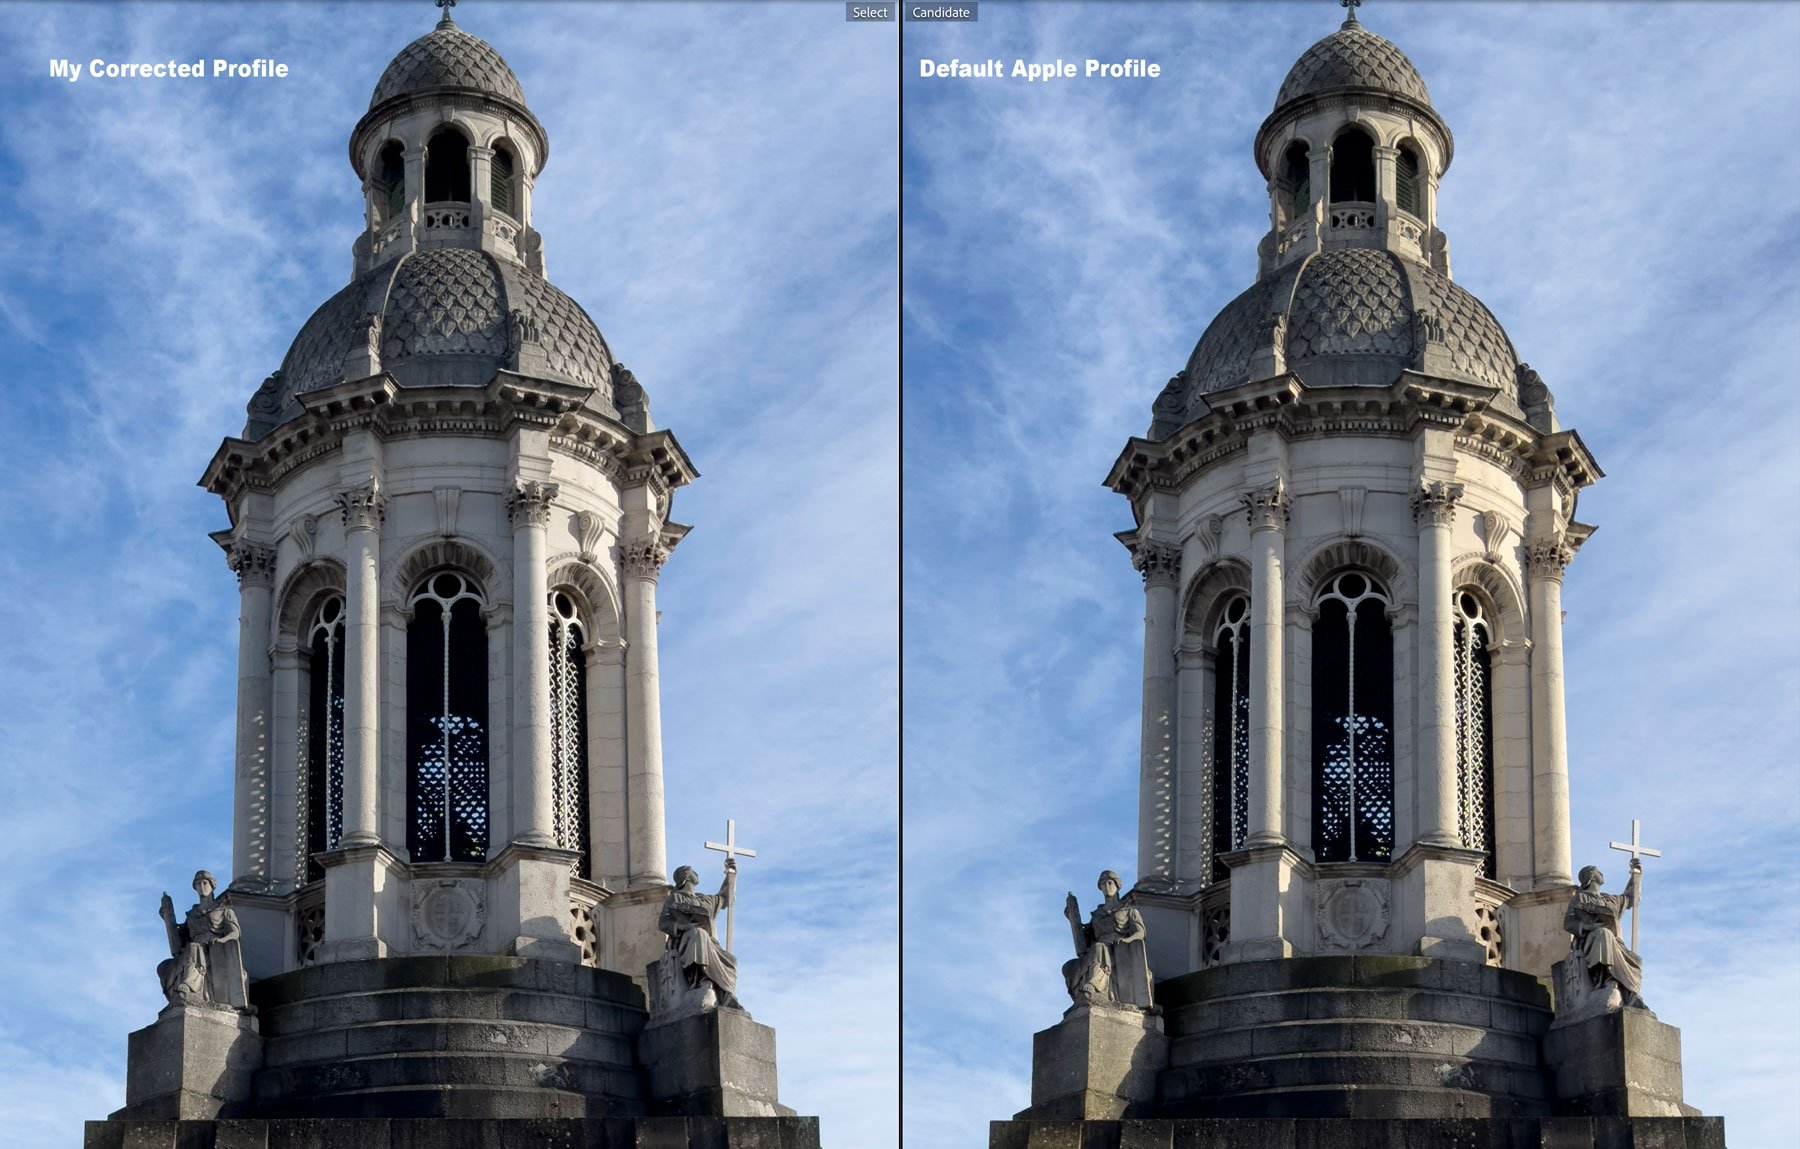
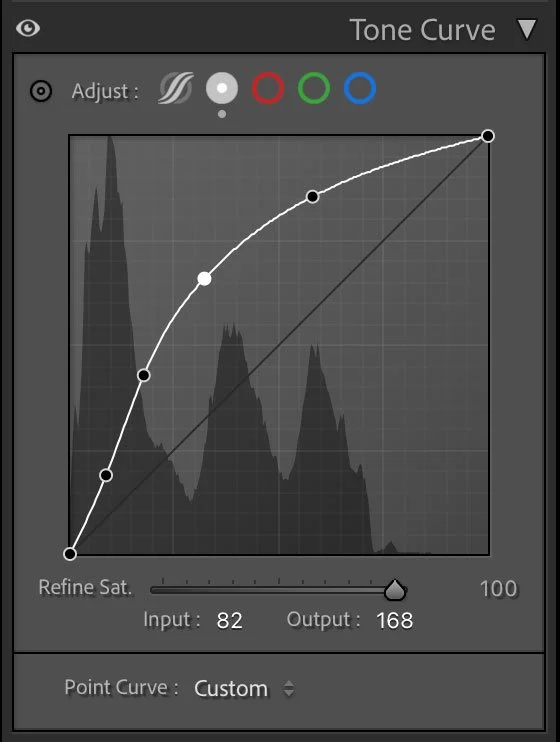
For fixing the underexposure, you might think that it is just a case of turning up the exposure slider in Lightroom, but this doesn’t always perfectly fix it. It can need up clipping the highlights. You can, of course, adjust other things like the highlights and whites, but Instead, I tried a gamma correction using the curves. You will also need to increase the saturation too. It took quite a considerable gamma correction, but to me, this looked like the best result compared to the colour corrected Apple profile, or just turning up the exposure.
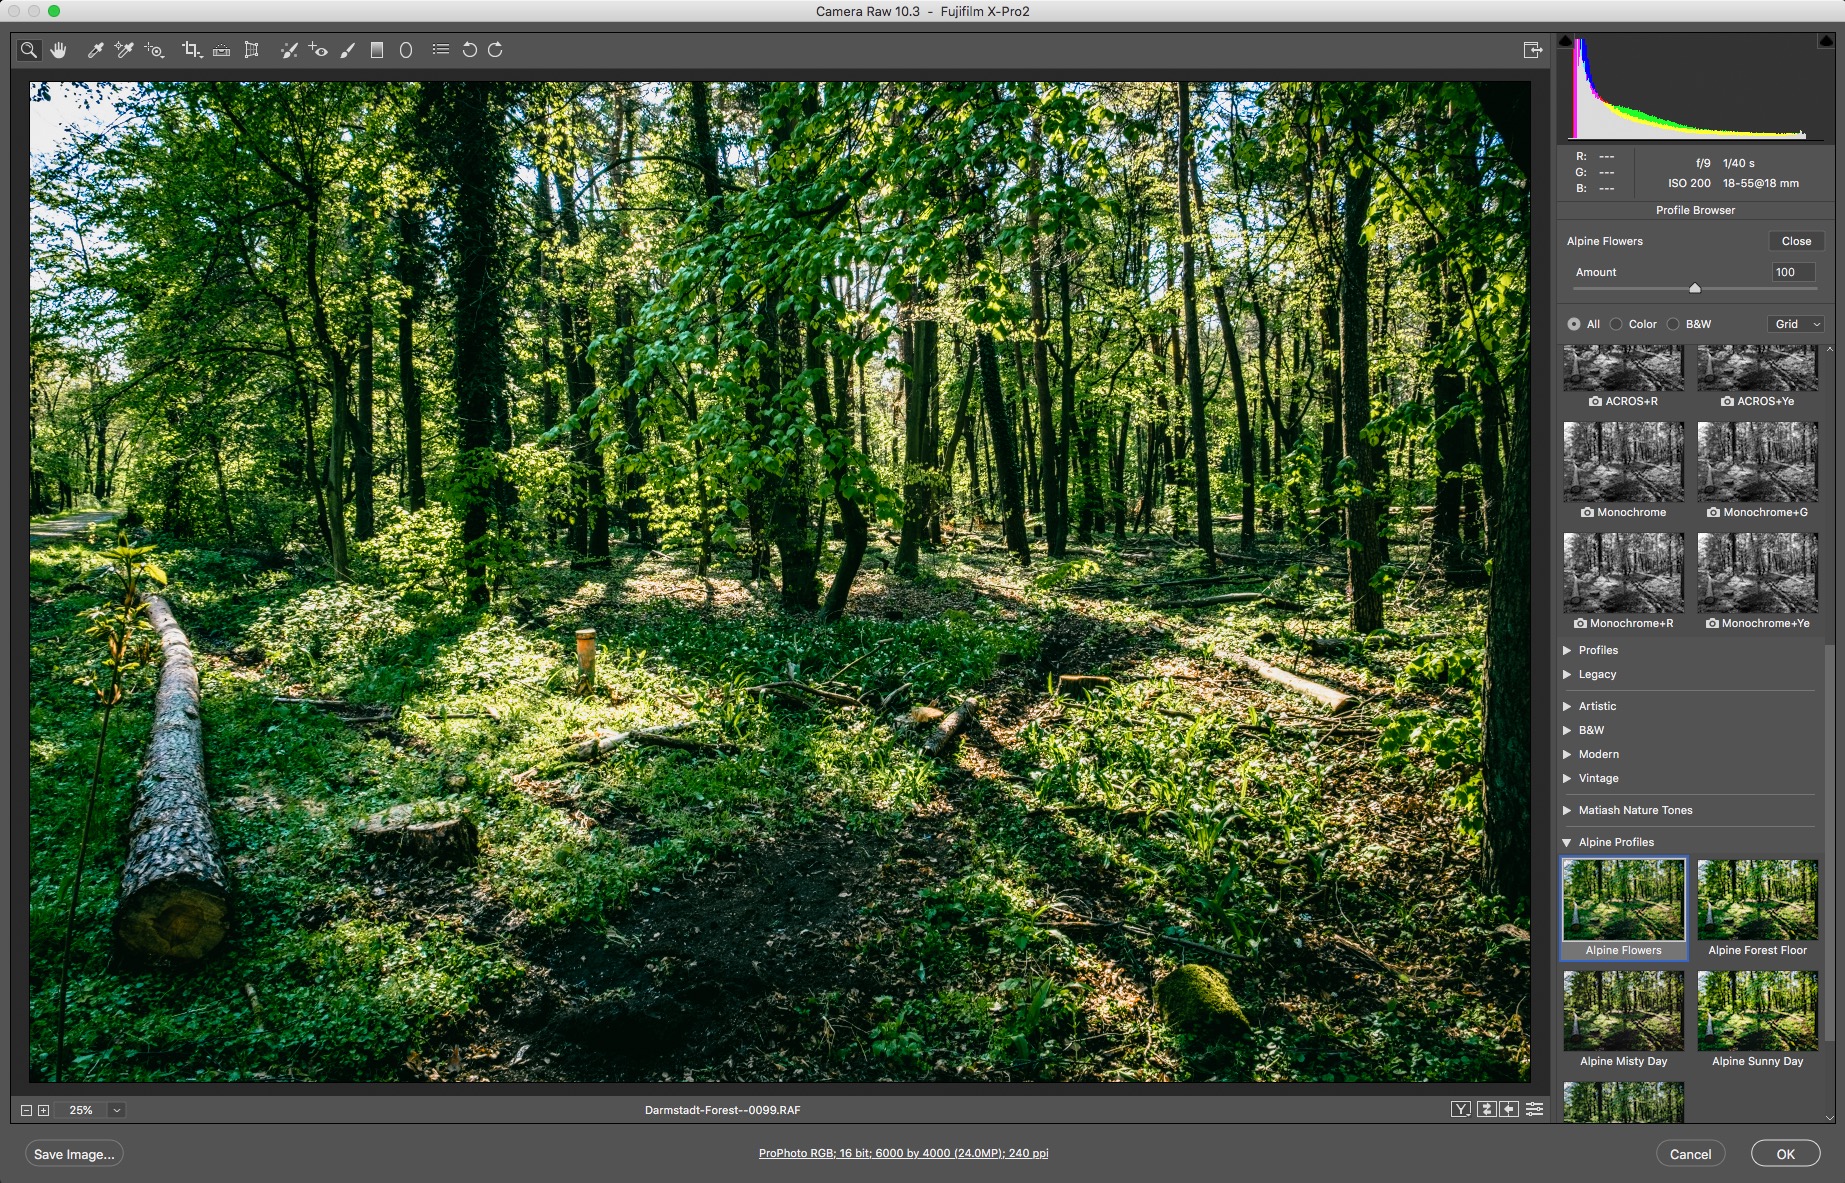
The problem with both these options is that if you'd like to, then use a preset on your photo, it will overwrite them. The solution is to create a custom profile.
Creating a custom profile
Creating a custom profile is actually pretty straightforward. You just need to use Photoshop. Here’s what to do:
Step1
Make the adjustments in Lightroom that you wish to save as a profile.
Step 2
Right-click on the image and choose Edit In > Open as Smart Object in Photoshop.
You need to make sure you use this option and not the normal Edit in Photoshop option or this won’t work.
Step 3
This should open your image in Photoshop. Double-click on the thumbnail icon in the layer palette. This will open Camera Raw. Don’t make any adjustments. Go to the Presets tab and hold down the alt / option key and click on the button to make a new preset. This should bring up the option to create a new profile.

Step 4
Make sure the profile is set to store the correct adjustments (you shouldn’t need to change this), give it a name and click save. This will save the profile. You can now exit camera raw. You don’t need to save the Photoshop image.

Step 5
Once you save a custom profile in Photoshop, it will show up in the profile browser in Lightroom, but first you need to quit and restart Lightroom. Once you relaunch the software, your profiles should now be visible in the profile browser under User Profiles (unless you assigned them to a group)
You can now select one of your new profiles, and this should address the issues. It will also allow you to use any preset you might have on an image, and still maintain your corrections, although some presets change the colour profile so you may need to change it back.
I have created my own two presets for working with ProRAW files using this method. I have included them for download below. There are no instructions with these, and they are experimental. If you’re not sure how to install custom profiles, here is the official Adobe tutorial.
Conclusion
You can get great results with Apple ProRAW files taken with the iPhone. You just need to tweak the defaults a little. My process outline here is still experimental, and I will probably continue to evolve it as I work with more files, but for now, if you are having issues getting the best results, I hope this will help. You won’t always need to use these profiles, but for times when the results from the default Apple profile look wrong, then I hope these will be of use.
Help Support the Blog
Check out my eBooks and Presets
Check out my photography eBooks , Capture One Styles and Lightroom Presets available on GumRoad.
Subscribe to my YouTube Channel
Check out my YouTube channel for tutorials, Vlogs, and more!
Buy me a coffee!
If you want to say thanks or help, then you can feed my caffeine habit and buy me a coffee via PayPal with a one off donation to my PayPal tip jar. (Please note that PayPal doesn’t make it easy to respond to these so just know you are thanked in advance)