Levels in Lightroom? How and when to use levels rather than Contrast
So, way back when Lightroom first came out, many moons ago, one of the complaints from long time Photoshop users was that you couldn’t do a basic Levels adjustment in the software. Well, you actually can, and that is with the whites and blacks sliders. Adjusting the black and white sliders can be useful for a lot of things, but there’s one particular case that I think needs special mention. When working with low contrast scenes, it can be useful to adjust the contrast with a Levels adjustment rather than the contrast slider. Let me explain why.
Note: Many of you may already know the theory and background here, so feel free to skip.
In early versions of photo editing software (and this is still the case in some tools) a contrast slider would basically do what is called a linear contrast adjustment. Now, don’t be put off by the technical jargon here - it’s actually pretty simple.
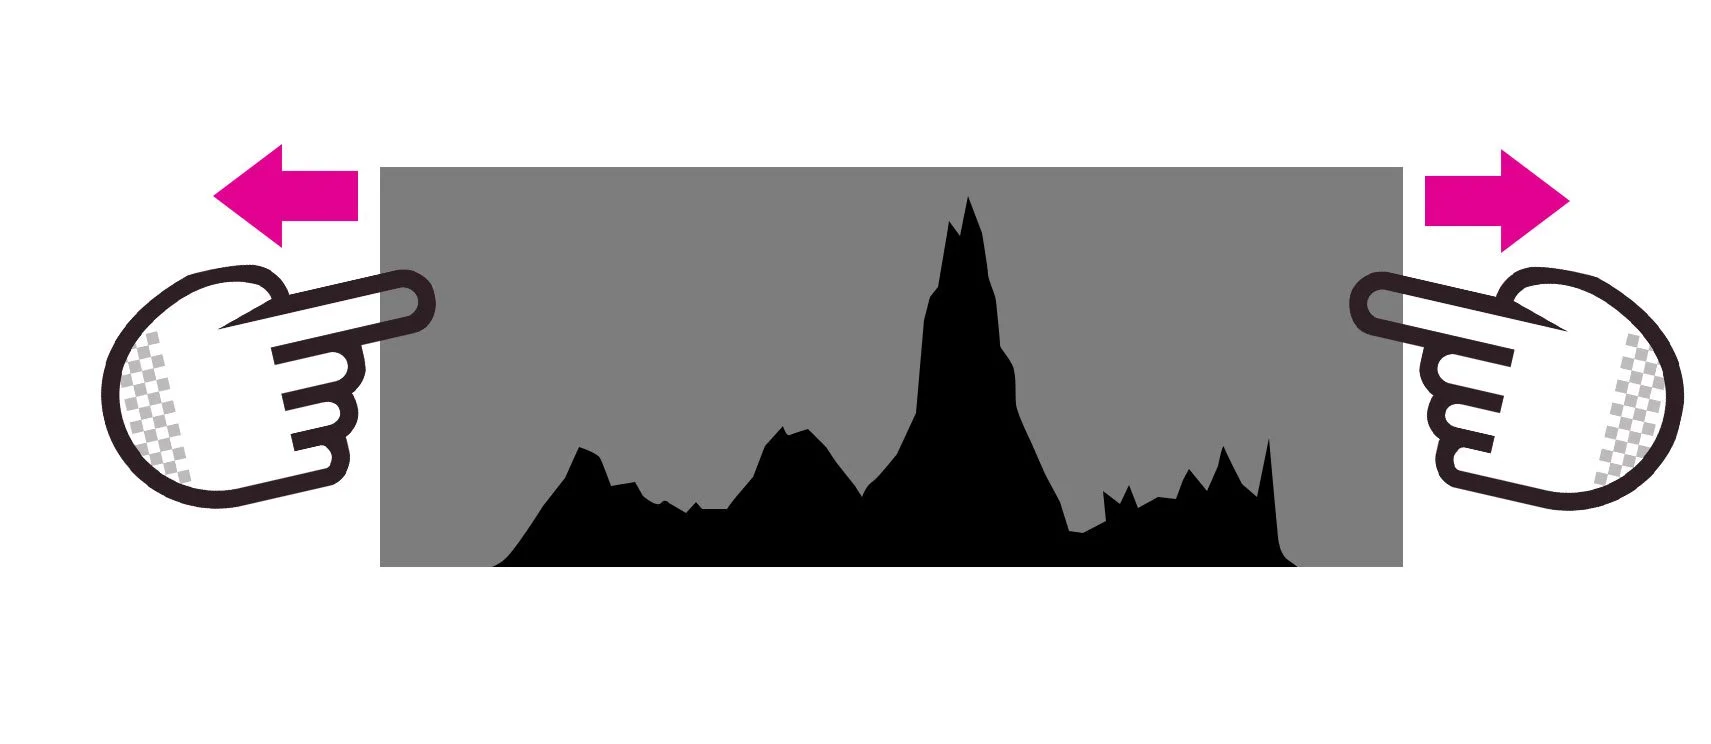
If you imagine a histogram representing the various pixels in your image organised by brightness level. Now imagine that this is printed on a flexible sheet of rubber. You grab both ends and then pull. This extends the histogram in either direction evenly. This is what a linear contrast adjustment basically did. It made the blacks blacker and the whites whiter, and everything in between was adjusted proportionally. This is essentially the same effect as using the levels tool in Photoshop, or the blacks and whites sliders in Lightroom (which are a basic levels tool).
Ok, stay with me - I am going somewhere with this!
There were two problems with linear contrast though, which is why most software stopped using this method. Firstly, you would clip white and black values once they were extended past visible range. And secondly it’s not as natural as the method used for the most part today - the s-curve method.
With an S-curve contrast method, contrast is adjusted using an s-curve. If you imagine the rubber histogram from our last example, only this time put a pin in either end, then put your finger on the bottom third and top third and rage the histogram in either direction. This means that the black and white points stay anchored and increasing contrast doesn’t cause clipping. This is basically how most contrast tools work today.

So then, what’s this all about I hear you ask? Well, there are times when you still need a basic linear contrast adjustment, when this is more useful than a s-curve. More specifically, there are times when a levels adjustment will be more appropriate than an s-curve based contrast adjustment. And that is when you have a low contrast scene. If you have shot a very low contrast scene and your histogram is all bunched yup in the middle say, or even at either end - you may want to uncompress the histogram to expand it back to a normal range. You basically want to stretch it out to fill the normal histogram range. And the simplest, and most direct way to do this is with a levels adjustment.
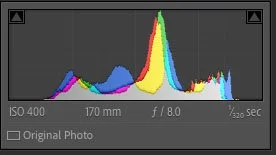
Compressed Histogram
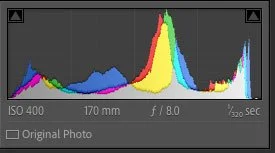
Histogram Expanded with Levels
In this case, either by keeping an eye on the histogram, or by using he clipping tools you can adjust the black and white sliders in Lightroom so that your images brightness range expands to fill the histogram, uncompressing the brightness range, and adding contrast as well as giving you a more naturally exposed image. You can still use the contrast slider after this to add more contrast, and other tools to adjust exposure, but for those cases where you have a very compressed exposure range on your histogram, adjusting levels can be the quickest and most appropriate way to fix it.
Example
So let me give you an example. I was recently shooting in the wast of Ireland, among the mountains of Connemara, and because of atmospherics, the contrast range on some of the photos is quite compressed. Here is one example image.
Before Adjustment (Note - the small exposure adjustment is just to make this example easier to see)
I could just adjust the contrast normally, but that would mean dragging the contrast slider completely up to a vase of 100, and even then it still doesn’t look right. I could use the dehaze slider, but again, this looks wrong. What I want to do is compensate for the compressed brightness values, and then I can adjust normally. So, in this case I just adjust the blacks and whites sliders until the histogram touches the top and bottom of the range, and I end up with an image like this. Now I can continue to adjust as normal.
After Levels Adjustment - Note the histogram now fills the visible range
Here is the final result after some additional tweaks and masked adjustments.

In this case I used the blacks and whites to correct the image and then the other tools to creatively adjust them. Could I have achieved this with other tools or a different approach? Sure, but this in my opinion is the quickest way to achieve the result I wanted.
Help Support the Blog
Check out my eBooks and Presets
Check out my photography eBooks , Capture One Styles and Lightroom Presets available on GumRoad.
Buy me a coffee!
If you want to say thanks or help, then you can feed my caffeine habit and buy me a coffee via PayPal with a one off donation to my PayPal tip jar. (Please note that PayPal doesn’t make it easy to respond to these so just know you are thanked in advance)
Join our Facebook Group
If you want to discuss anything you’ve read here on my website, or saw on my youtube channel, or if you want to share images you’ve created using any of my techniques or presets, then I’ve started a new Facebook Group just for that.
Note that this post contains paid affiliate links. We get a small commission for purchases made through these links, which helps run this site.