A Look at using Capture One Pro for X-Trans Files
I've written a lot on this blog about using different RAW converters (other than Lightroom) to get the best from Fuji X-Trans files. In the past I've discussed using Photo Ninja, Iridient Developer, and Aperture but there is one big piece of software that I haven't really covered in depth and that's Capture One. The main reason was that I didn't really have the time to properly use the software to judge it fairly. The few times I had tried it, I wasn't satisfied with the results, but I've gotten comments from many readers who swear by it so, over the past few months I've been spending time with the software whenever I had a chance to see how I could get the best results from it.
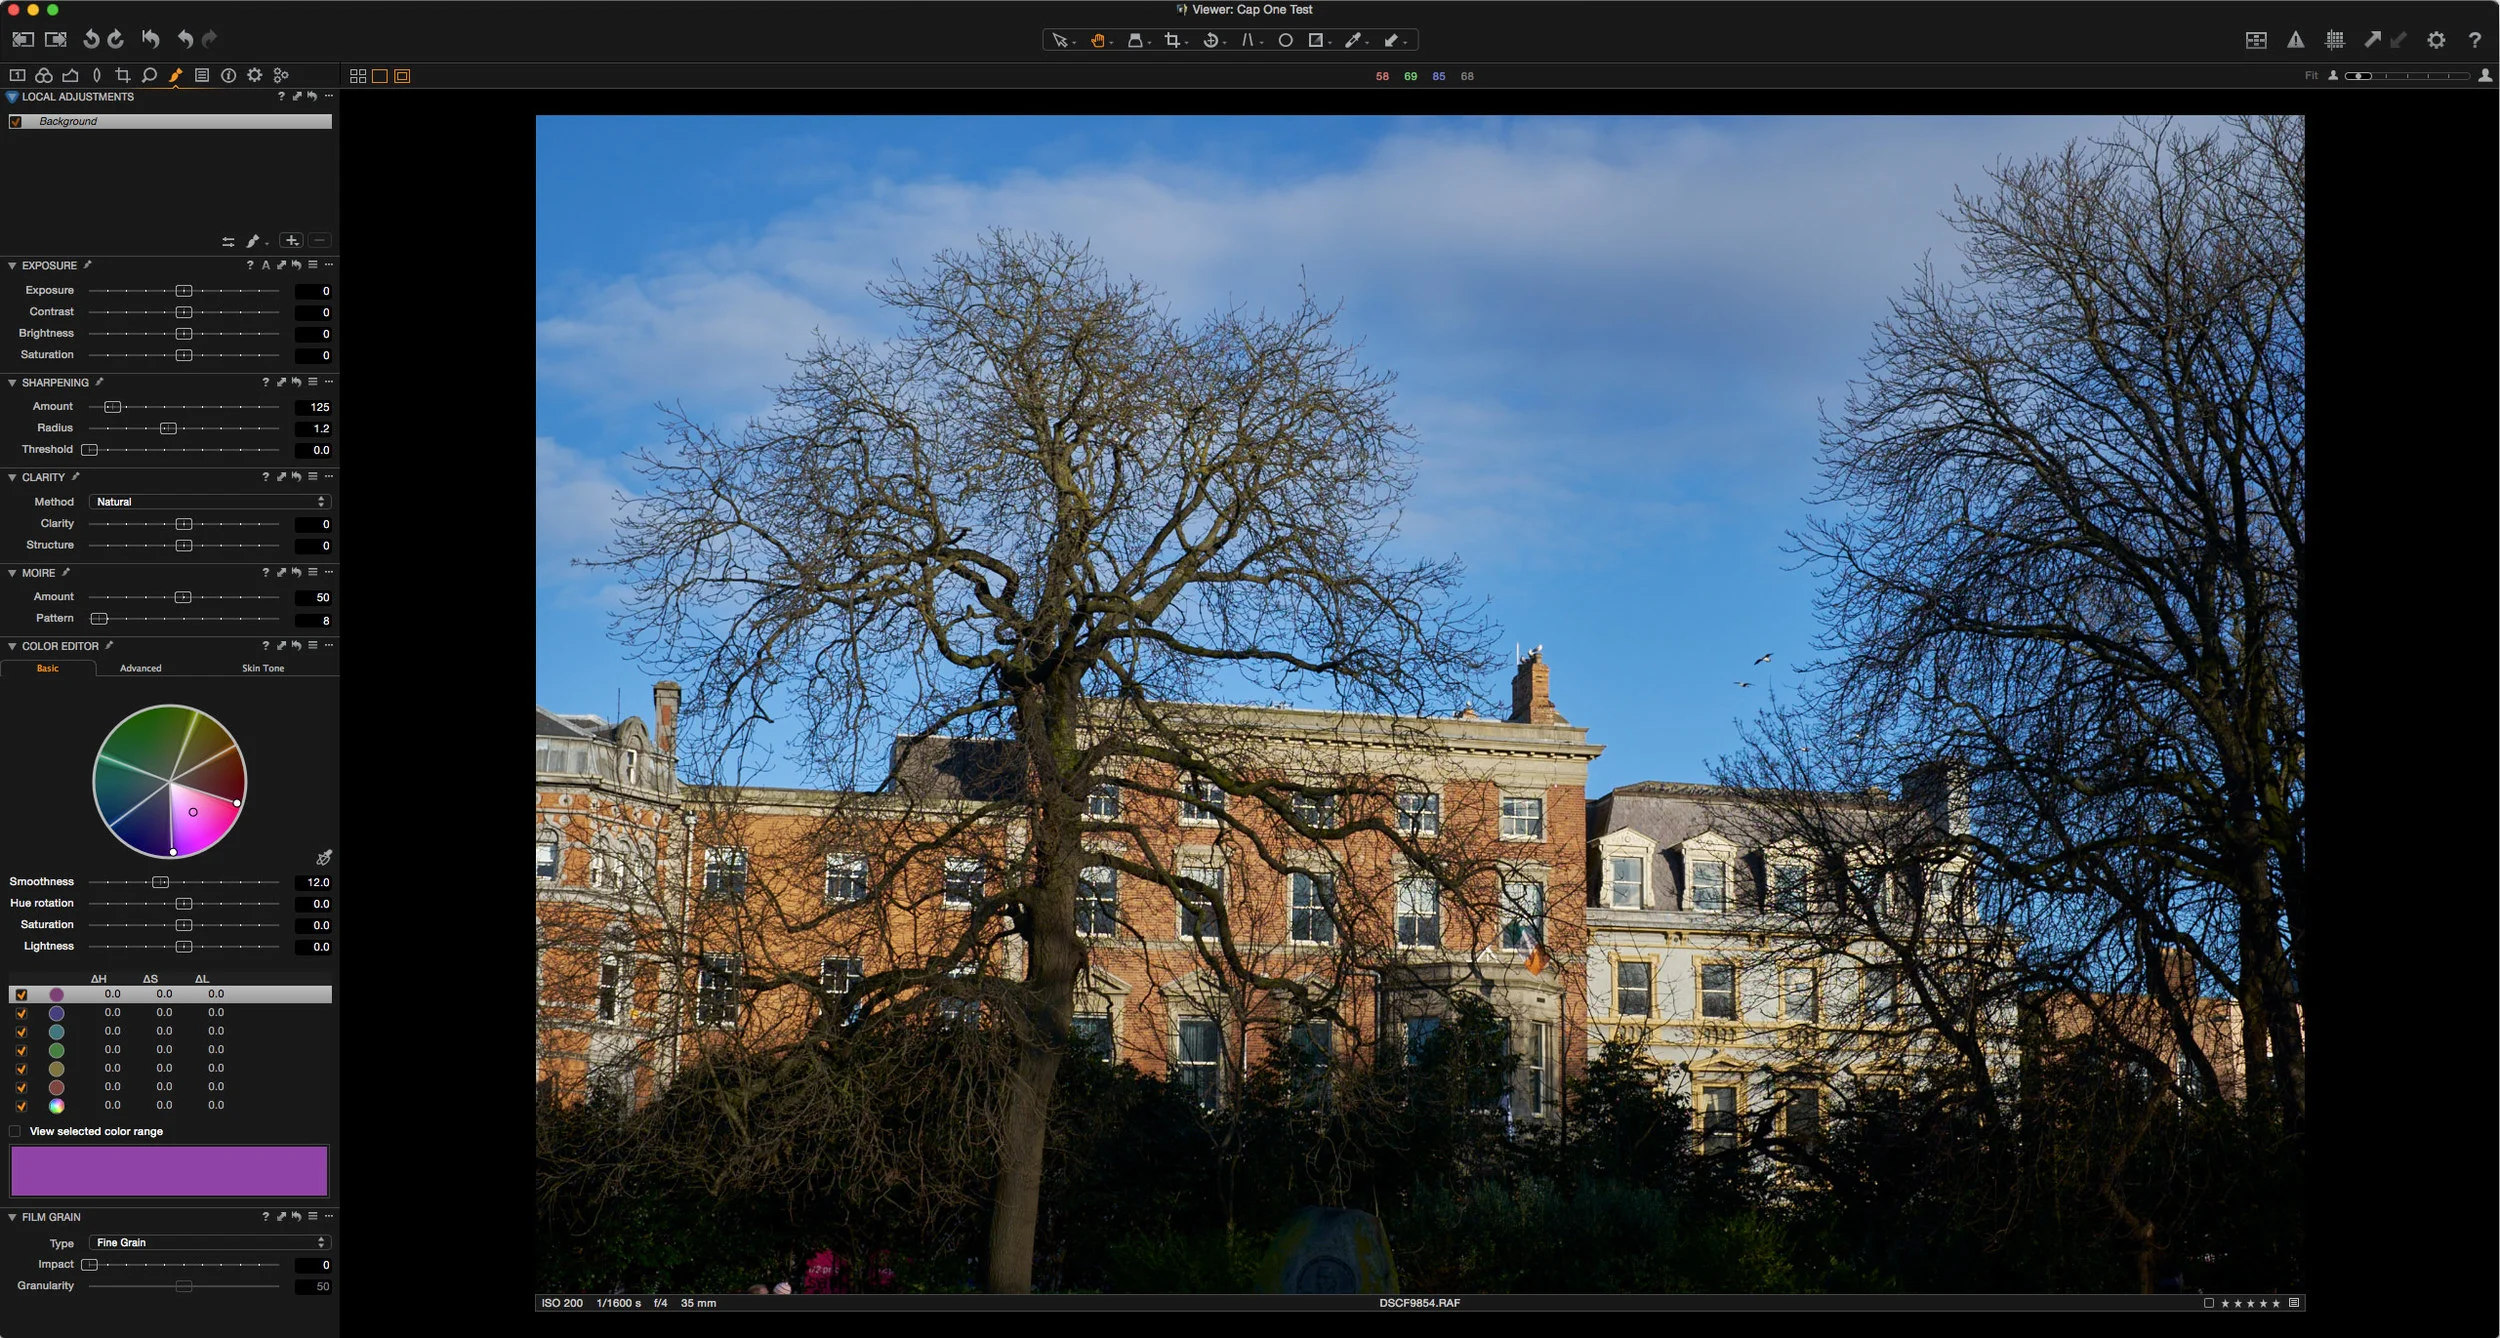
My main go to tools for processing Fuji X-Trans files when I don't want to use Lightroom's conversion (I explained why you might want to do this in the very first post I did in this series on using Iridient Developer) have been Photo Ninja and Iridient developer. Capture one differs from these significantly, in that it's a much larger more comprehensive software suite. It's more capable of standing as an alternative to Lightroom rather than a companion to it. It has a very full toolset including comprehensive colour controls, a powerful layering system, to mention just a few of the features. It also has its own library / database structure and behaves like Aperture with it's single library file. It also allows you to store your image in the catalogue file, again, similar to how Aperture works. I won't go into the whole toolset in too much detail, because there's simply too much to it, and I want to focus on how the program handles X-Trans conversions.
When I first started playing around with it, I must admit I didn't really like the results. I found that while it is cleaner, it was still giving weird mushy results on fine detail, in the same way that Lightroom does occasionally. However, after some time experimenting, I realised that this was mostly due to the default sharpening settings being somewhat odd. Once I tweaked these I was getting much better results. In fact you can get really good clean files, with lots of clean detail and very little of the "watercolour" effect that can be visible in other converters. It's certainly not completely perfect. You still get weird patterning in areas of complex repetitive textures, such as concrete or paving. It's not too bad, but it's there. I use a couple of different sharpening settings depending on the image.
I've found that the following range of settings are a good place to begin. I generally try and keep the sharpness amount as low as possible. Between 100 and 150 works well. I keep the radius set at 1 for the most part, but if you have a lot of fine texture and it's smearing increasing it to 1.2 can sometimes alleviate the issue. Similarly if you have fine detail that's not clear, reducing the radius can help.
For noise reduction I generally turn the Luminance smoothing off, and only turn it back on if I need it. If you're getting weird colour errors around fine edges and details, then turning up the moire slider to around 50 can get rid of them.
Obviously, these settings are just based on my personal opinion and as such, you may have different opinions as to what looks good to you, but I'm sharing these as a courtesy should you wish to know the settings that I've been using.
Where Capture One really shines for X-Trans processing is with the colour of the images. The Capture One raw decoding engine produces beautiful results with Fuji files. Colours are rich and vibrant, and images have an immediate oomph off them, and that's before you even start to change any settings. In the feedback I'd gotten about using Capture One for X-Trans files, this was the thing that many readers pointed out to me as the reason they liked it so much.


One of the other good things about using Capture one, is that because it has such a comprehensive toolset, you can do much more in the software, without having to send the images to something else to finish off. In my previous reports on using Photo Ninja and Iridient Developer, I would often send the images back to Lightroom for finishing, but you don't really need to do that in Capture One. You have controls for clarity, structure (kind of like Photo Ninja's detail slider) shadow and highlight recovery, curves and levels, all the basic controls, as well as a fairly good vignette tool and even film grain. And that's not remotely all the options either. It also has lens correction, purple fringing reduction, the ability to use layered adjustments, great moire reduction and lots and lots more. With all these controls you can pretty much finish your images right in Capture One and not use Lightroom at all if you want, or just render out JPEGs and Tiffs and send them back to Lightroom for organising.
If you do want to use it as part of a Lightroom (or other software) workflow there's a very useful feature called Sessions. Sessions are like mini catalogues that you can use for just one shoot. A session creates a folder structure for your project. By default it contains the following:
- Capture folder
- Selects folder
- Trash folder
- Output folder
It's a handy way of woking if you want to keep a whole shoot together and work and keep your images sorted on a per-project basis. Of course there's nothing to stop you using a normal catalogue either. I don't really use sessions personally, as I keep everything in the one catalogue
When I'm working with Capture One, I work a little differently that I would if I'm using Lightroom and Photo Ninja. Capture One is fast enough that you can do your rating and editing in the software, without having to do that in Lightroom first which is what I would do if I'm using Photo Ninja or Iridient Developer. I import my images straight to Capture One, but I store the raw files in a folder on my hard drive, which I'll also import into Lightroom if I want to try different settings there too (such as using the VSCO presets). I process out Tiffs for finished files and import them into Lightroom.
As always, this is just how I work, and I don't claim that it's the best or the only way of working, it's just how I do it.
The one big downside to Capture One is the price. It's pretty expensive, especially if you're only planning to use it occasionally. To be honest, I'm not sure the results are different enough from Lightroom to justify the additional cost for many people. If you do want to eek out every last ounce of detail from your X-Trans files and you're not happy with Lightroom's rendering of Fuji images, then it's worth considering. It's more fully featured than the other options that I've covered before (Photo Ninja and Iridient Developer), but whether those extra features justify the cost is something you'll have to decide for yourself.
If you want to try Capture One for yourself, there's a 30 day trial available from Phase One's website.
Please Help Support the Blog
I am a fine art Photographer and do not shoot commercial projects. I do my best to keep this site regularly updated with lots of tips, reviews, news and photography advice, all for free. If you like what you read here and want more, then sign up for our newsletter to get regular site updates and occasional special offers. You can also follow my photographic exploits on Facebook and Twitter
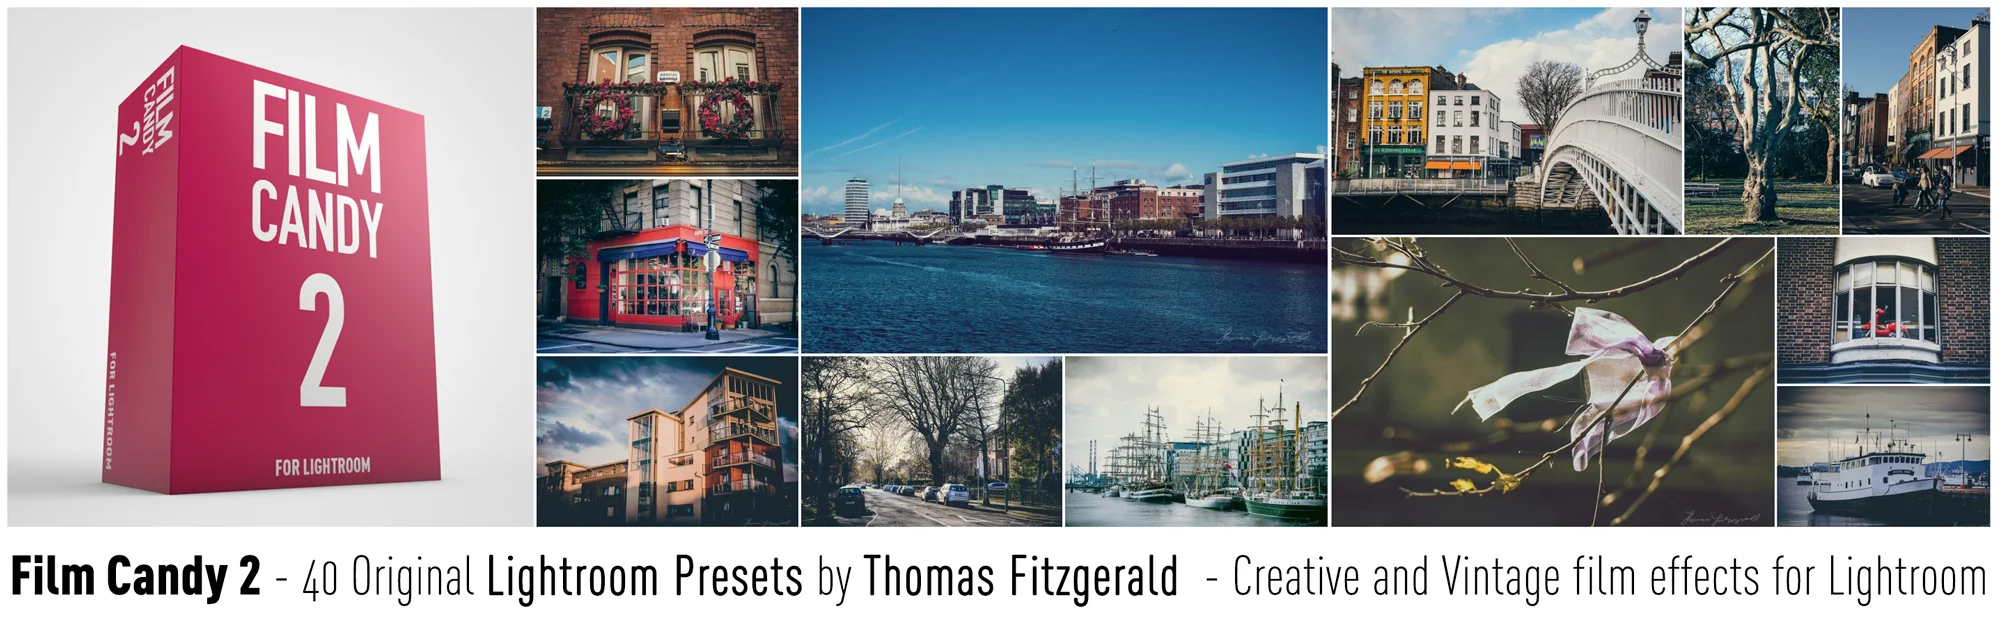
If you're a Lightroom user check out my original Lightroom Presets