Lightroom Creative Profiles and Why they’re not more Common
I got an interesting question from a Patreon supporter the other day, and I thought it was important enough that I should write about it. The person wanted to know why people use presets more in Lightroom compared to Creative Profiles, and why Lightroom’s Creative Profiles aren’t more common. While I don’t have any definitive answers to this, I do have some theories, so read on. I’ll also outline how to use profiles and how to create them.
What are creative profiles
Creative profiles were added to Lightroom a little while ago, and they allow you to apply a look to your image in the same way that you might apply a camera matching profile, or for Fuji Shooters, a film simulation profile. When they first came out, they were erroneously described as LUTs for Lightroom by some people, and while creative profiles can contain LUTs that’s not really what they are. Most profiles that you download will not contain LUTs.
So what are they then?
Basically, you can take all the adjustments that you can normally do in Lightroom, and instead of saving them as a preset, you can create a profile. This applies that look with a single click, and it also gives you an amount slider so you can fade it out. You can store most of the adjustments that you can do in a preset in a creative profile, but there are some exceptions. You can’t use grain or sharpening for example.
When they debuted it was a pretty big deal, and lots of people made a big splash about it, but since then, the’ve kind of faded into the background, and not many people are talking about them any more. There are also far fewer downloadable ones than presets. But why is this?

The Limitations of Profiles
I think the reason for this is that there are a couple of issues surrounding Creative Profiles, and the creation of these that you may not be aware of.
The biggest problem with them is that they’re awkward to create. If you want to make them directly from Lightroom adjustments, you can’t actually create the profiles in Lightroom, you have to create them using Camera RAW in Photoshop. There’s also no way to batch convert presets to profiles, you have to do it one at a time.
Secondly, when you use a preset, you can adjust individual values. You can’t do this with a profile, you can only adjust the overall amount. So for example, say you created a profile with several colour adjustments. If you apply that profile, and you find it’s too much of one colour, you can’t just adjust that colour, whereas if you had created this as a preset you could.
Finally, there is one big limitations to using profiles that may not be immediately obvious. It’s a little complicated, so let me try and explain:
When you make adjustments in Lightroom, the sliders are often the maximum value that an adjustment can be, regardless of how that adjustment is applied. So, if you create a profile that uses a 100% of a particular slider, say Clarity for example (not that you would actually do that, it’s just an example), then the Clarity slider will no longer work in that direction in Lightroom after you apply that profile. Use 50% of an adjustment as part of a profile, and the corresponding slider will now only work to 50% of its previous range. This is because the values in Lightroom are absolute.
I only figured this out when I was creating my own Creative Profile pack, and I had to go back and edit it so that some adjustments weren’t almost disabled by the profile.
What about LUTs
You can create Profiles using LUTs and they don’t have quite the same limitations, but again, they’re difficult and long-winded to create. First of all you have to create a LUT, but it has to be in a specific format to work with profiles. They actually have to be a fairly low resolution, perhaps lower than you would use if you were creating LUTs for video applications. You then have to go through Photoshop, and go through the process of creating a Profile like you normally would, only instead of using the adjustments from Camera RAW you can load a LUT. This has to be done one at a time, and there’s no easy way of batch converting LUTs to profiles (unless there is a third party tool that I’m not aware of)
So, are you saying that Creative Profiles are bad then?
No, not at all. I’m just pointing out why they’re not quite as popular or widely available as you might have thought they would be given the hype around them when they launched.
They actually do have their advantages. If created and used correctly, they can be a nice addition to your normal edits in Lightroom, and can provide an interesting additional way of giving your image a unique look. Another useful thing about Creative Profiles is that they work well on Jpegs too, and if the effect is too strong, you can just dial it down a bit. This ability to fade the effect is really useful.
As with everything, it’s another tool in your tool chest.
How do I create Creative Profiles?
If you want to create your own creative profiles, you’ll need both Photoshop and Lightroom installed, and it needs to be a reasonably up-to-date version of both. Here’s what to do:
Step 1: Save your look in Lightroom
There are a couple of ways to go about the first part of this. You need to save your look in Lightroom so you can open it in Camera RAW. You can either save a preset, or you can open your image as a mart object in Photoshop. Either way you will need an image in Photoshop to work with too. For this example, we’re going to do it both ways, so, in Lightroom, save the look you want to turn into a profile as a preset first:
If you don’t know how to save a preset, here’s what to do:
- Go to the develop module
- Make the adjustments you want to save to an image
- Click the + button on the top of the presets panelled choose create preset
- Select the adjustments you want to save
- Name your preset
If you have more than one look you want to save, create presets for all of them first.
Some Tips
I suggest not using the following as part of a profile. You can use but these adjustments, but if you want your profile to be more flexible, and behave more like a colour profile than a preset, then I suggest avoiding the following:
- Clarity
- Texture
- Vignette
- Noise Reduction
- Gradients
Step 2: Open in Photoshop
Send your image to Photoshop. To make it a bit easier, right click on the image, and choose Edit In > Open as Smart Object in Photoshop

Alternatively, you can open any image in Photoshop. You just need to get to Camera RAW
Step 3: Edit in Camera RAW
If you used the suggestion in Step 2 to send the image to Photoshop as a smart object, then you can now double click on the layer to open it in Camera RAW. If not, activate camera RAW from the Filter menu by choosing Filter > Camera RAW filter.
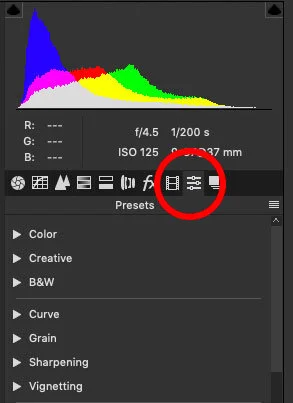
Step 4: Apply the preset
Now you can either apply the preset you saved earlier, or use the look already applied to the file if you had sent it as a smart object. If you’re not familiar with Camera RAW the presets tab is the second last in the line of tool tabs on the right hand side of the interface
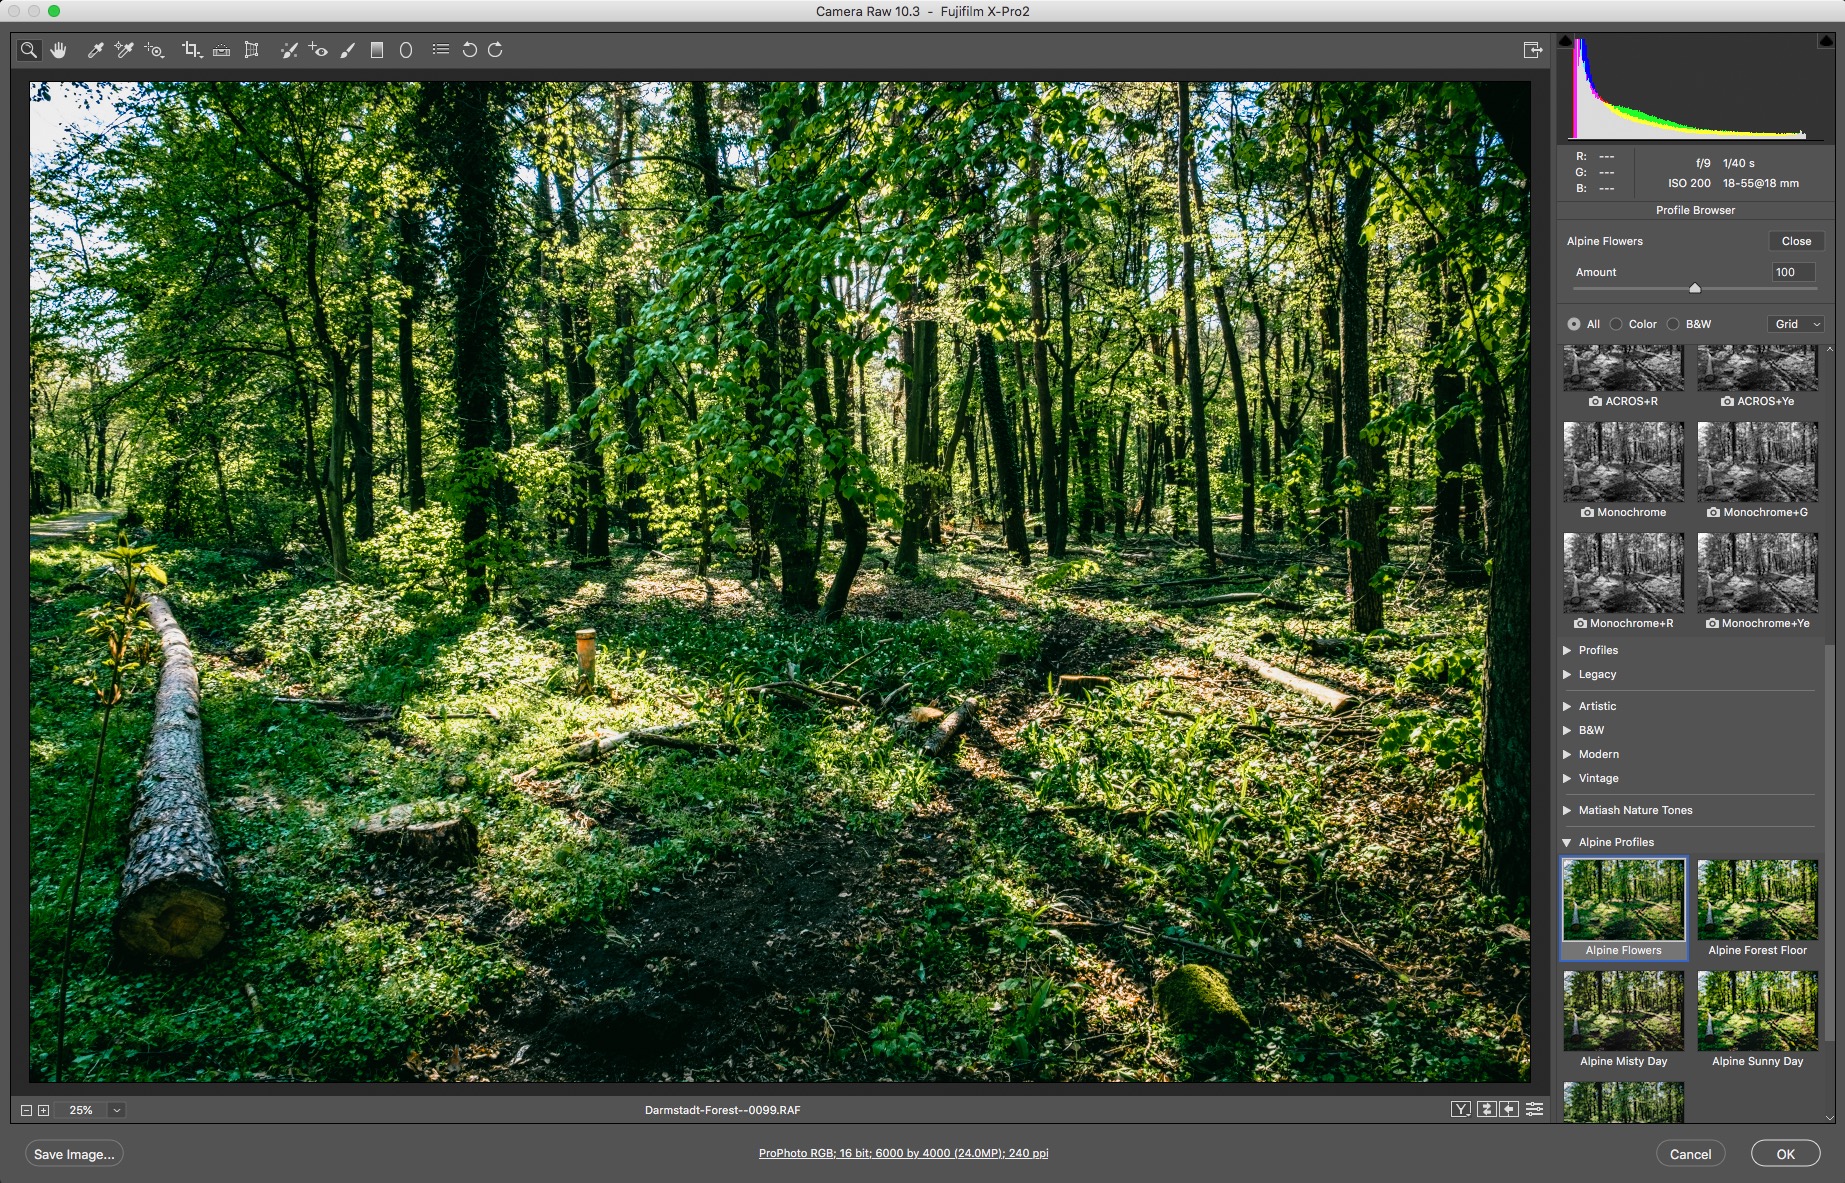
Step 5: Save as a Profile
To save the look as a profile, hold down the option key (alt on a PC) and click on the new preset button at the bottom of the list of presets in the preset panel in Camera RAW.

This will bring up the new profile window. Here you can select which parameters you want to save as part of the profile. You can also name it here and put it into a group. Profile groups will be visible inside the profile browser.

You can also load LUTs here too.
The tone map strength is a bit of a weird one. The explanation is that it will increase the dynamic range in your image, but in my experience, using anything but low will make your image look unrealistic, like a bad overcooked HDR.
Once you’ve saved your profile you can exit out of Camera RAW.
Step 6: Restart Lightroom
In order to see the profiles you just created in the Lightroom profile browser, you may need to restart Lightroom.
Using Profiles
Using Creative Profiles is pretty straight forward. In the develop menu go to the top of the right hand panel and click on the profile browser, which is a button that looks like four squares around each other.
Once in the browser you can select any of the installed profiles to apply. You can also control the amount of these, by using the Amount slider which you’ll find at the top of the Profile Browser.

Conclusion
While there’s nothing wrong with Creative Profiles, they are a little cumbersome to create, and there are some limitations. I believe that this is why they haven’t been quite as widely used or talked about as one might have expected back when this feature launched. However, they are still a useful creative tool. IF you want to check out my creative profile pack, it’s available here on my store, and you can also download some sample profiles here too (at the bottom of the page).
Just a quick note. Since I released these, Adobe has changed the installation process a few times. You can now do it by simply going to the Develop Module, and from the menu choose File > Import Develop Profiles and Presets and selecting the zip file.
Help Support the Blog
Patreon
If you like what you see here and you find this useful, then you can help support this blog and help me keep making great content like this by supporting me on Patreon for as little as $1 a month. There are a number of options available with different rewards, such as behind the scenes content, special Patreon only videos and more. Check out my Patreon Page for more details, and a big thanks to everyone already supporting this blog on Patreon.
Buy me a coffee!
If you’d rather not use Patreon, but still want to say thanks or help, then you can feed my caffeine habit and buy me a coffee via PayPal with a one off donation to my PayPal tip jar.
Lightroom Presets and Capture One Styles
If you use either of these applications, then check out my range of custom made Looks in the form of presets for Lightroom, and Styles for Capture One.
Join our Facebook Group
If you want to discuss anything you’ve read here on my website, or saw on my youtube channel, or if you want to share images you’ve created using any of my techniques or presets, then I’ve started a new Facebook Group just for that.
Note that this post contains paid affiliate links. We get a small commission for purchases made through these links, which helps run this site.