Free Lightroom CC Tools Booster Pack
Ever since Lightroom CC was announced - The new cloud based cut down desktop version - not to be confused with the old normal version - I have been thinking about ways to get around some of its limitations. The solution was to create a set of presets that allowed you to apply some of the effects that Lightroom CC is missing.
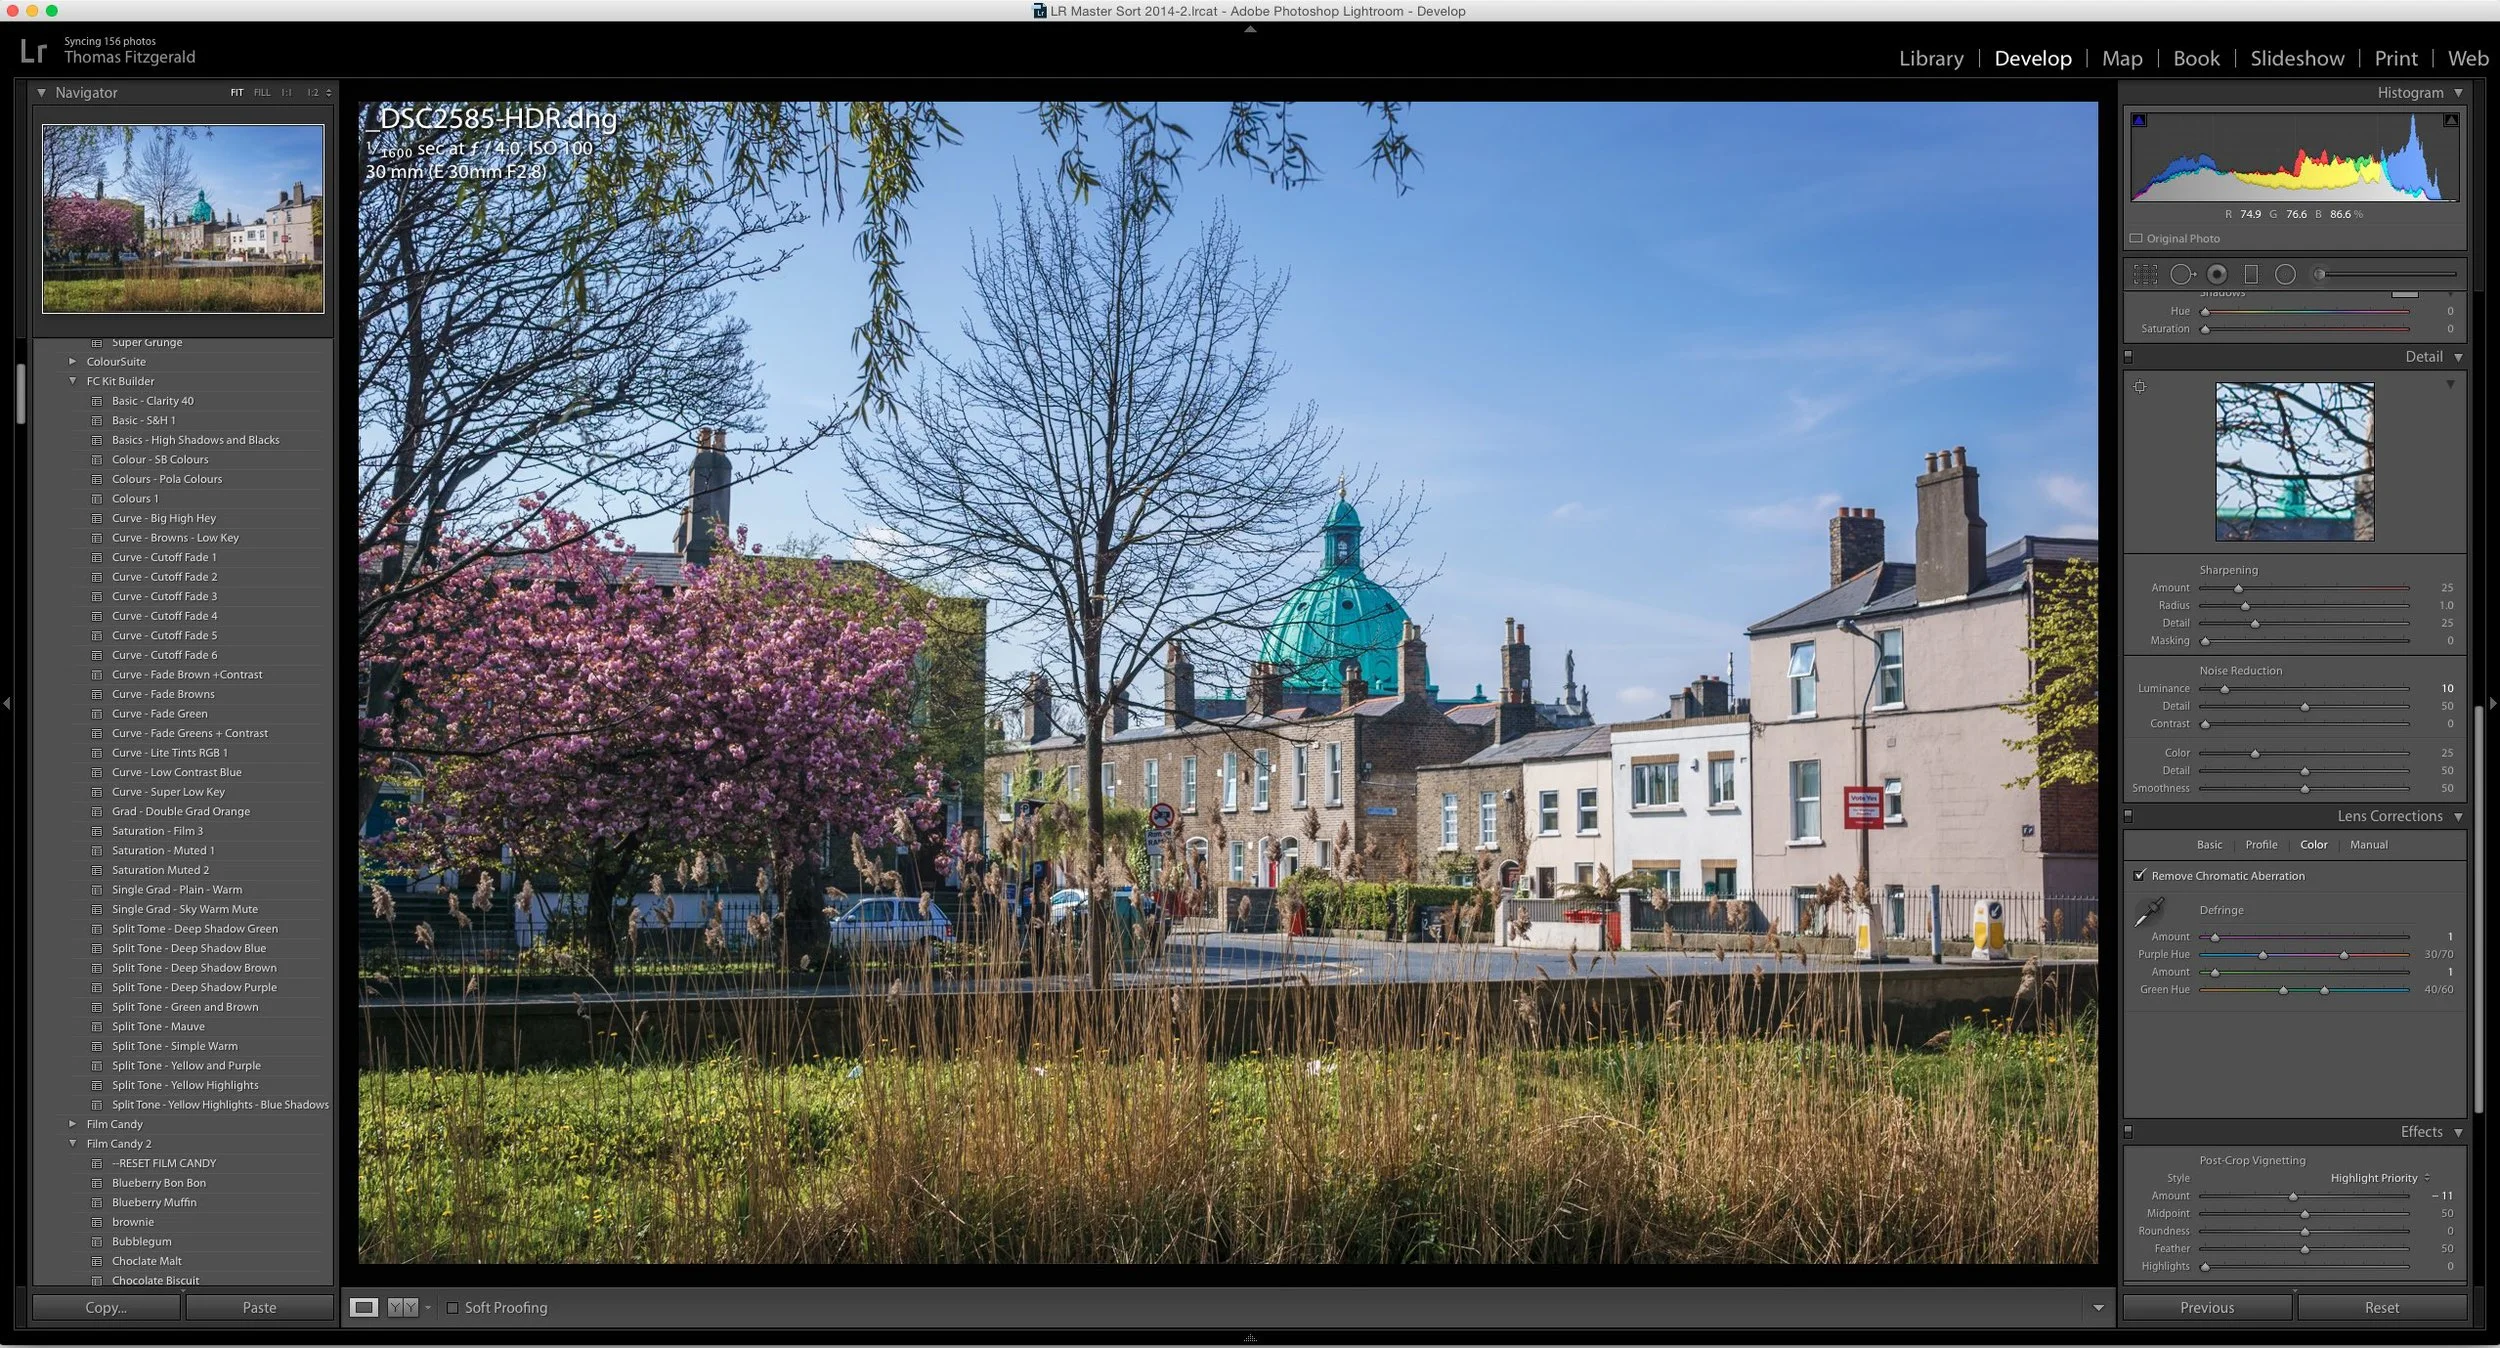
There are a few key features that Lightroom CC is missing. Specifically it has no colour profiles, no curves and no split toning controls. However, because its engine is based on Lightroom and Camera RAW, all those functions are actually there in the software, they just have no controls. To get around this, you can actually apply these options using presets, and even though there are no controls for the corresponding adjustments, they’ll sell apply.
So, with that in mind, I’ve created a pack of presets that I’m calling the CC Tools. This contains a set of colour profiles, some curves and split tone presets, as well as a few bonus presets for you to use. I’ve decided to give these away for free (for now) but if you do fin them useful, please consider buying something from my store or signing up for Patreon.
To install the presets into Lightroom CC just do the following:
- Open LightroomCC
- Go to the “Edit” mode (i.e. Develop)
- Click on the Presets Button at the bottom
- Click on the … menu at the top of the presets panel
- Choose “Open Presets Folder” from this menu
- This will open the necessary folder in the Finder or Windows Explorer
- Copy the folders of presets (the folders - not the individual files, or the overall folder that these came in - the collection of folders) in here
- Restart Lightroom CC
Once you do this, you can just select them from the presets panel in the edit module inside Lightroom CC. For example, if you want to set the colour profile to “Standard” for a canon camera for example, just chose “Standard” from the “CC Tools Profiles” collection.
I have no documentation with this at the moment, and I’m not supporting them as they’re free. I will try and answer questions when I can in the comments, but I will not be providing individual tech support for these as they’re free. I hope you find them useful.
Help Support the Blog
I’m now on Patreon. If you like what I do here and find the information useful, then you can help by supporting me on Patreon. As well as helping keep this blog going with even more useful news, tips, tutorials and more, members also get special Patreon only perks. Stop by and check it out.
If you like this post then you can see more of my work on Instagram, Twitter and Facebook. I also have a YouTube channel that you might like. You should also check out my other Photography Project: The Streets of Dublin. If you want to get regular updates, and notices of occasional special offers, and discounts from my store, then please sign up for the Newsletter.
You can also show support by buying something from my from my Digital Download Store where I have Lightroom Presets, and e-books available for download. If you're a Fuji X-Trans shooter and Lightroom user, check out my guide to post processing X-Trans files in Lightroom. I also have a guides for processing X-Trans files in Capture One and Iridient Developer. For Sony Alpha shooters I have a new guide with tips on how to get the best from processing your A6000 Images in Lightroom.


