A First Look at Luminar 2018
Today, Skylum, the company formerly known as MacPhun, announced the next version of its flagship application Luminar. Luminar 2018, which is now available for pre-order, is a significant upgrade over the current version, and I have been lucky enough to get to use a beta version over the last little while. To me, this isn’t an incremental update, but a dramatic upgrade, and it almost feels like an entirely new application.
Before I get into the meat of it, just a quick note as to what’s not in this version. The recently demoed asset manager, will not be in the initial version of Luminar 2018, but will instead be added sometime next year during the update cycle of the 2018 version. What is included are a new user interface, some significant performance improvements, and a considerably improved raw engine.
Skylum are clearly serious about taking on Adobe and Lightroom. The development team has also definitely listened to user feedback when working on the new version. While there is still room for improvement, 2018 makes great strides towards that goal. With the previous version, I had a couple of major issues with how it handled raw files. First of all, the quality was ok, but not great. Secondly it lacked any kind of lens correction, or aberration removal, but my biggest issue was with the way it handled noise reduction. It used technology from the company’s “noiseless” application and applied it as a separate layer. It was extremely slow and cumbersome. That’s been replaced with a whole new way of working.
Key New Features
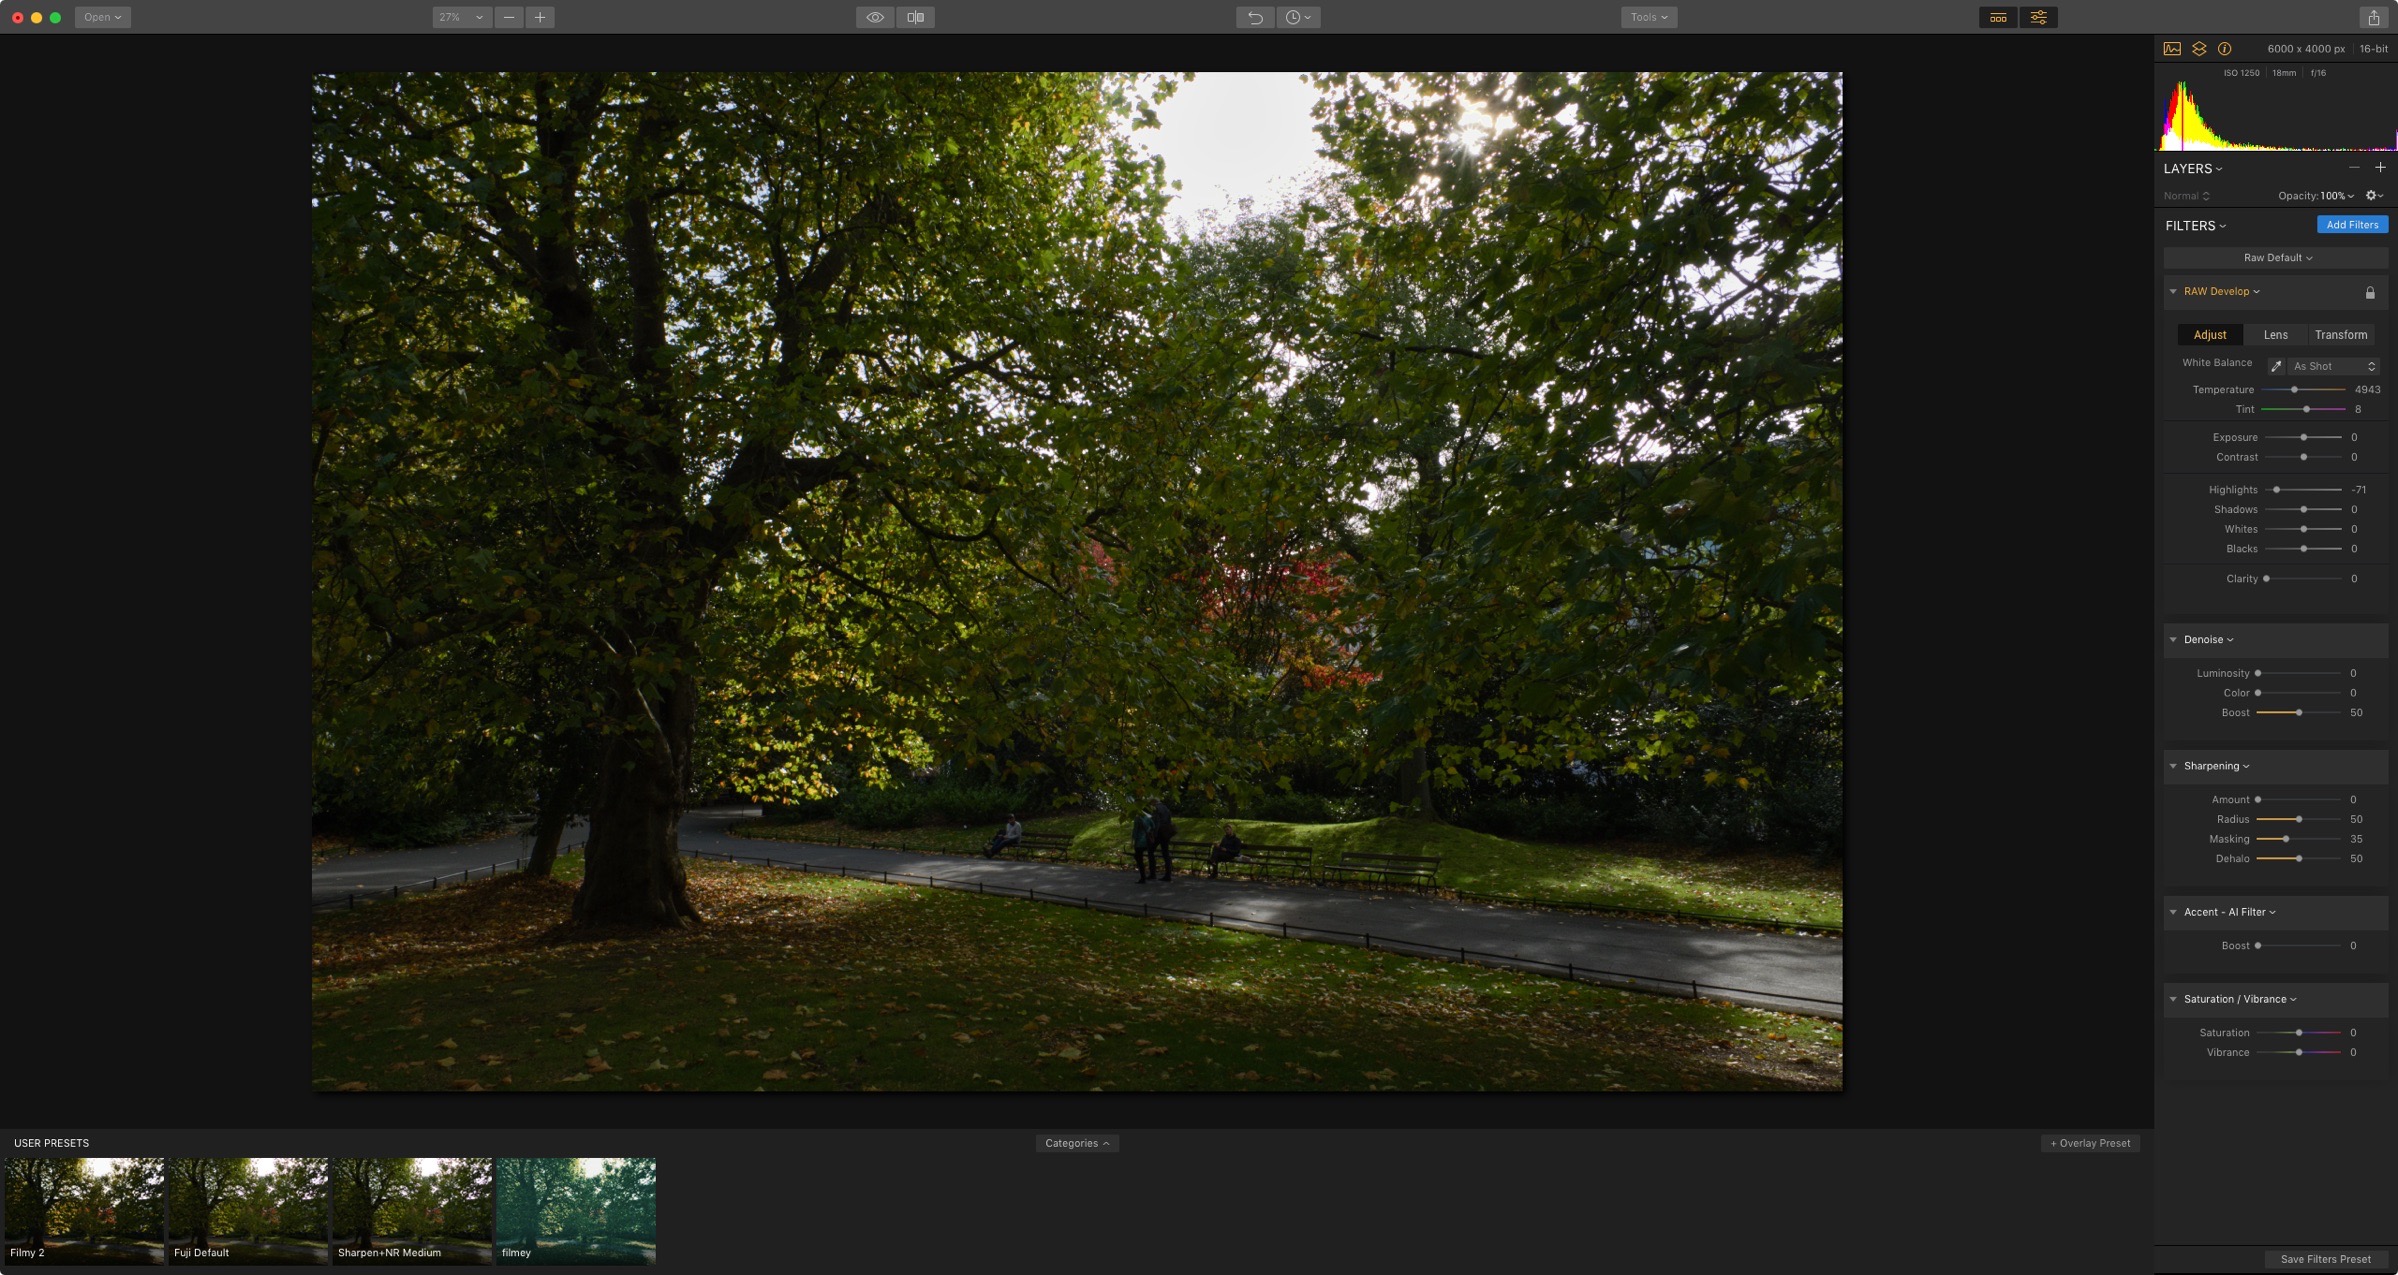
First up is a new “Raw Develop” filter, which has three tabs. The first gives you the typical basic controls, such as exposure, highlights and so on. The second tab has controls for lens corrections and aberration correction, and the third has controls for geometry, so it allows you to correct perspective distortion.
The lens corrections are unfortunately only manual at this point. That goes for both distortion correction, and chromatic aberration correction. This is a bit of a disappointment, as most other software does these things automatically or based on a profile at this point. It does seem to work with metadata based distortion correction for some cameras, but not for others. I need to confirm this though as my results were a bit erratic.
The manual distortion correction is the same kind you find in something like Lightroom, and is a simple slider. This works for most lenses, but for severe distortion, such as those found on compact cameras, it’s not enough to fully correct. The software really needs lens profiles. I’m pretty sure there’s an open source database of these that they could use, so hopefully this will come in a future version. The correction is also fairly linear, but many lenses have different curvatures to their distortions, and so thats why most software uses profiles to correct distortion.
Despite these limitations, at least you can correct these image problems within the software now, without having to go elsewhere, even if it is a bit more cumbersome that it otherwise could be.
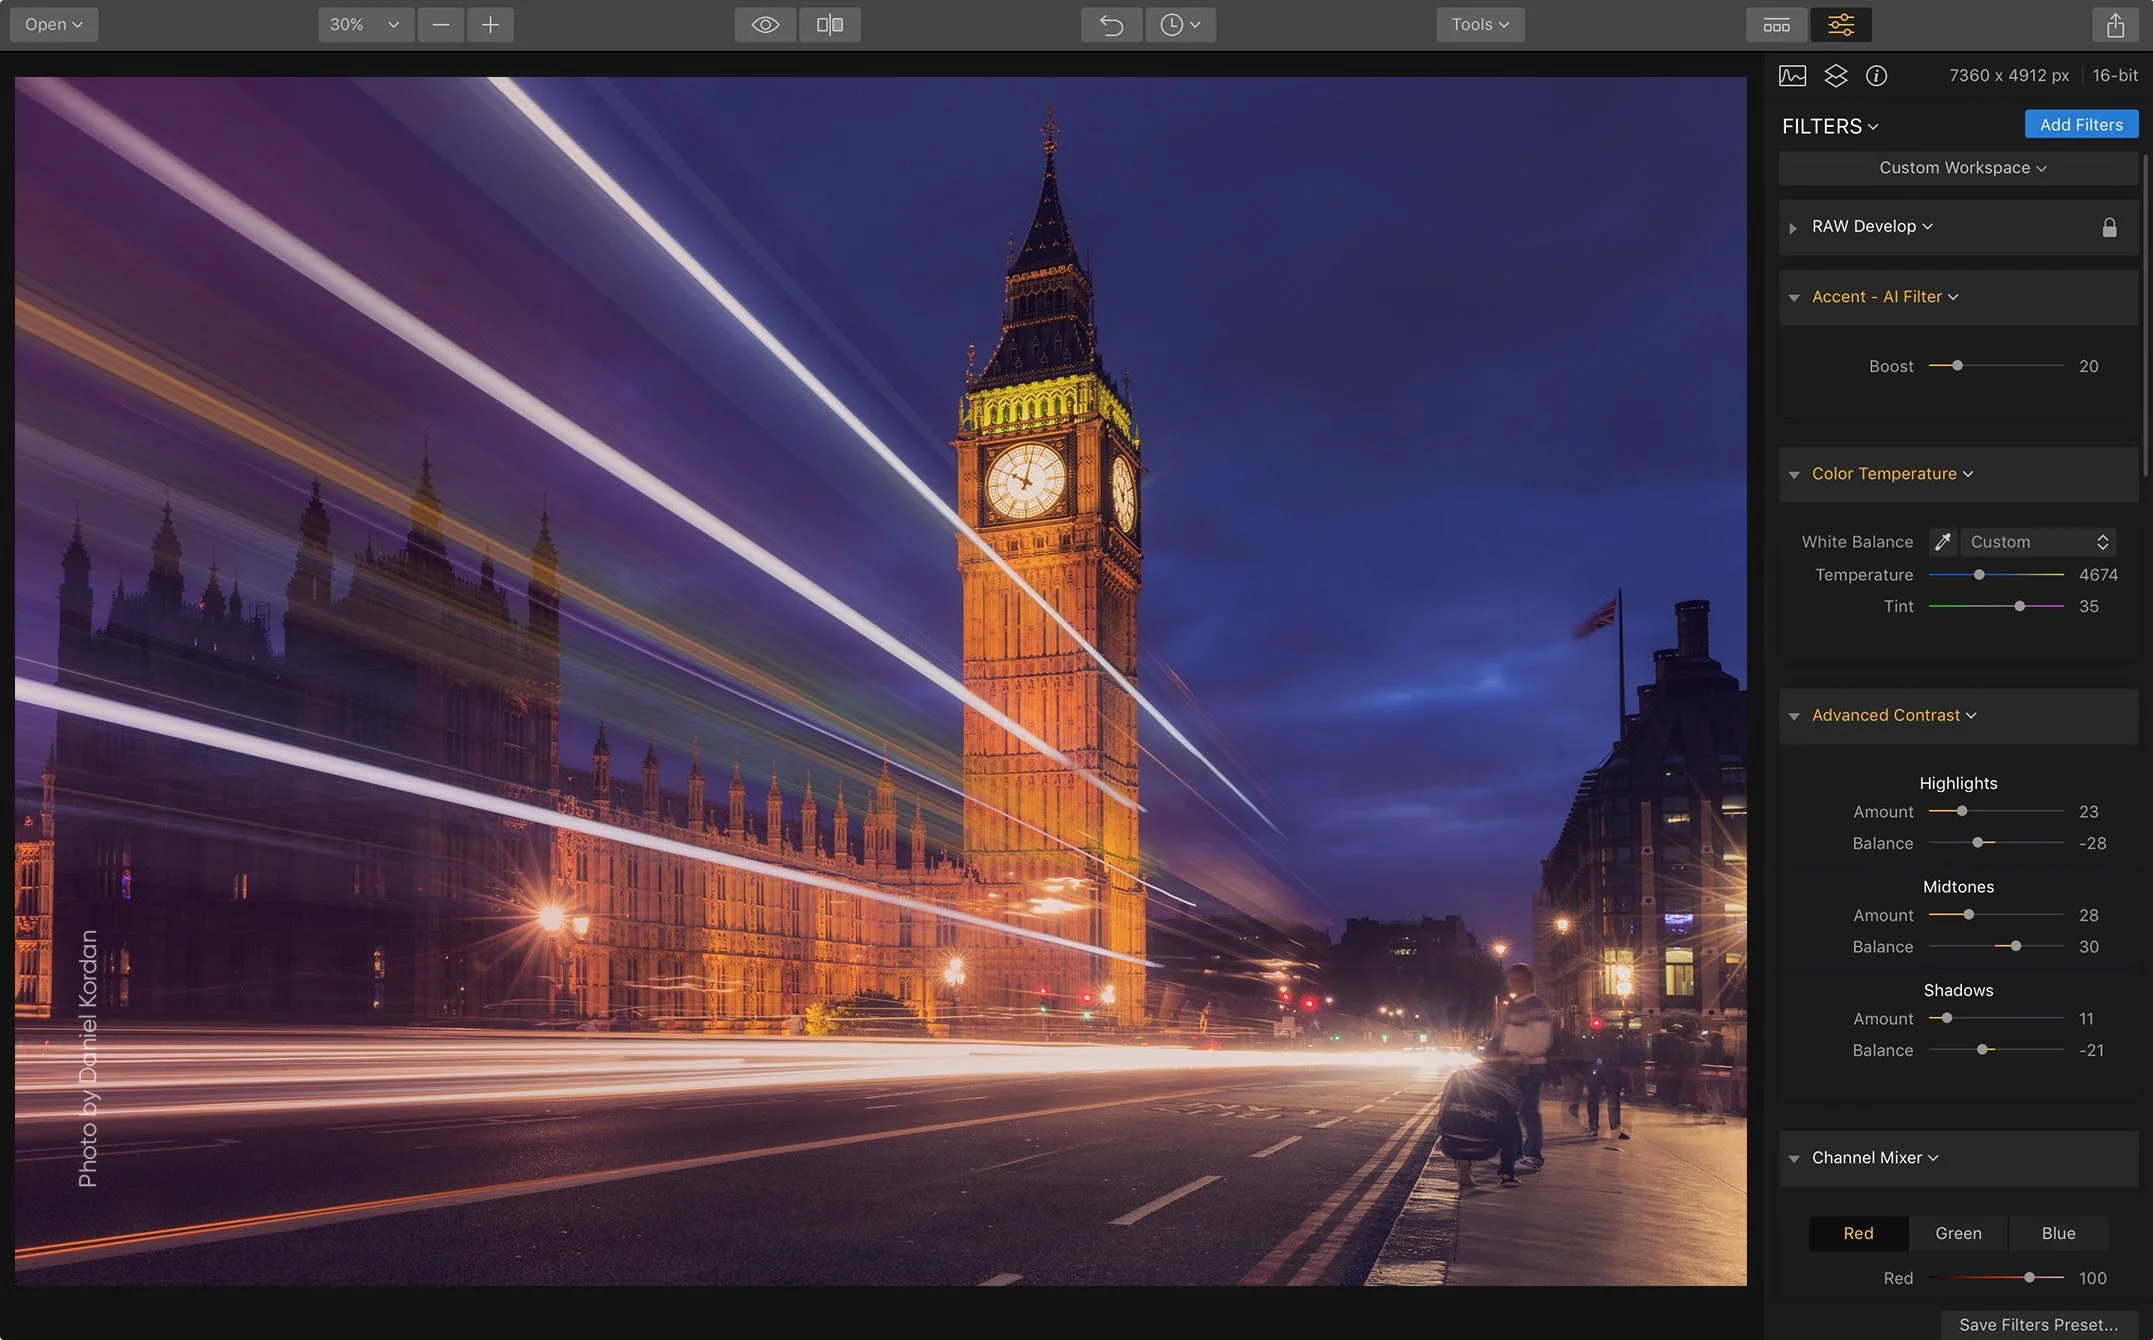
The noise reduction system has been completely replaced. Noise reduction is no longer a separate pass, and is now a filter. What’s more is it operates effectively in realtime. This is such a huge difference from the previous version, there’s really no comparison. You have controls for luminance, colour noise, and a boost slider which controls the overall effect. It’s fast and it works pretty well. You only really need small amounts of luminance reduction for it to be effective.
Sharpening has also been improved, and the controls are slightly different from the previous version, with the addition of a “halo reduction” option. The combination of these two new filters give you much more control over the quality of your image, and make a massive difference to the results, when used carefully.
Performance of the application as a whole has significantly increased. Loading is much faster, and decoding of raw files is noticeably faster. I opened the same file in 2017 and 2018 and 2018 was at least twice as fast, if not faster for opening a raw file. The whole thing seems much snappier, and you can certainly notice the difference.
Raw Quality
Which brings us to the main event: the quality of the RAW conversions. I wanted to make sure I wasn’t imagining things or letting excitement get the better of me, so I have tried lots and lots of different files from different cameras. I’ve tried images from Sony, Nikon, Canon and Fuji cameras. I’m sure many of my readers are curious to know how the Fuji files are, as that’s what I’ve written a lot about in the past. I’ll get to that in a minute, but first I want to talk about the over-all improvements.
Image from Sony A7 Converted in Luminar
RAW file from Nikon D800 Converted with Luminar
In the previous version one of my biggest issues was that RAW images loaded very flat, and that the conversions weren’t particularly well profiled. This has improved and images now have much better contrast and colour when you load them. They’re still not as good as properly profiled images, based off the cameras own colour profiles, but that is something that can possibly be addressed using one of the software’s other features, the LUT utility, which I’ll get to in a minute. They are still a little flat though, and this seems to vary from image to image, and camera to camera. Quality of RAW files from my Sony, Nikon and Canon cameras were pretty great, and hard to fault. To me they looked more or less as good as Capture One or Lightroom. They’re certainly in the ballpark. Noise is much better controlled, and even before you use the new sharpness too, the images are generally sharper. The only issue that can significantly distract from the quality is the lack of automatic aberration corrections. In particular, correcting chromatic aberration by hand is a pain and time consuming, and for shots from cheaper lenses which had significant aberrations, this is the only thing hat really degrades the image. Otherwise they’re every clean and sharp, with no obvious artifacts.


So what about Fuji files? It was one of the first things I tested, and then I had to keep testing to make sure I was right about what I as seeing, and my impressions weren’t just because it was new. The quality of Fuji conversions is much better, in terms of detail and sharpness. They seem to be completely artifact free, and the images are clean, with just a little luminance noise. Texturally they are probably as good as the best RAW converters out there, but bear in mind I’ve only been using it for about a week. When combined with the new noise reduction and sharpening, my initial impression is that they can absolutely hold their own against Capture One, which in my opinion is currently the best.
Images from the prime lenses seem to be the best, again because of the lack of aberration. Having said that, even with my 18-55mm the aberrations were well controlled. I only have a few Fuji lenses, so I couldn’t test everything, but as far as I can tell, I’d be happy using this for Fuji RAW conversion, and as long time readers of this blog know, I’m pretty picky. Incidentally, if you use Iridient X-Transformer, this update seems to solve the issue with purple highlights that was in the previous version, but again, I haven’t done extensive testing. I couldn’t find the issue in any of the files I tried, so my guess is that it is solved.
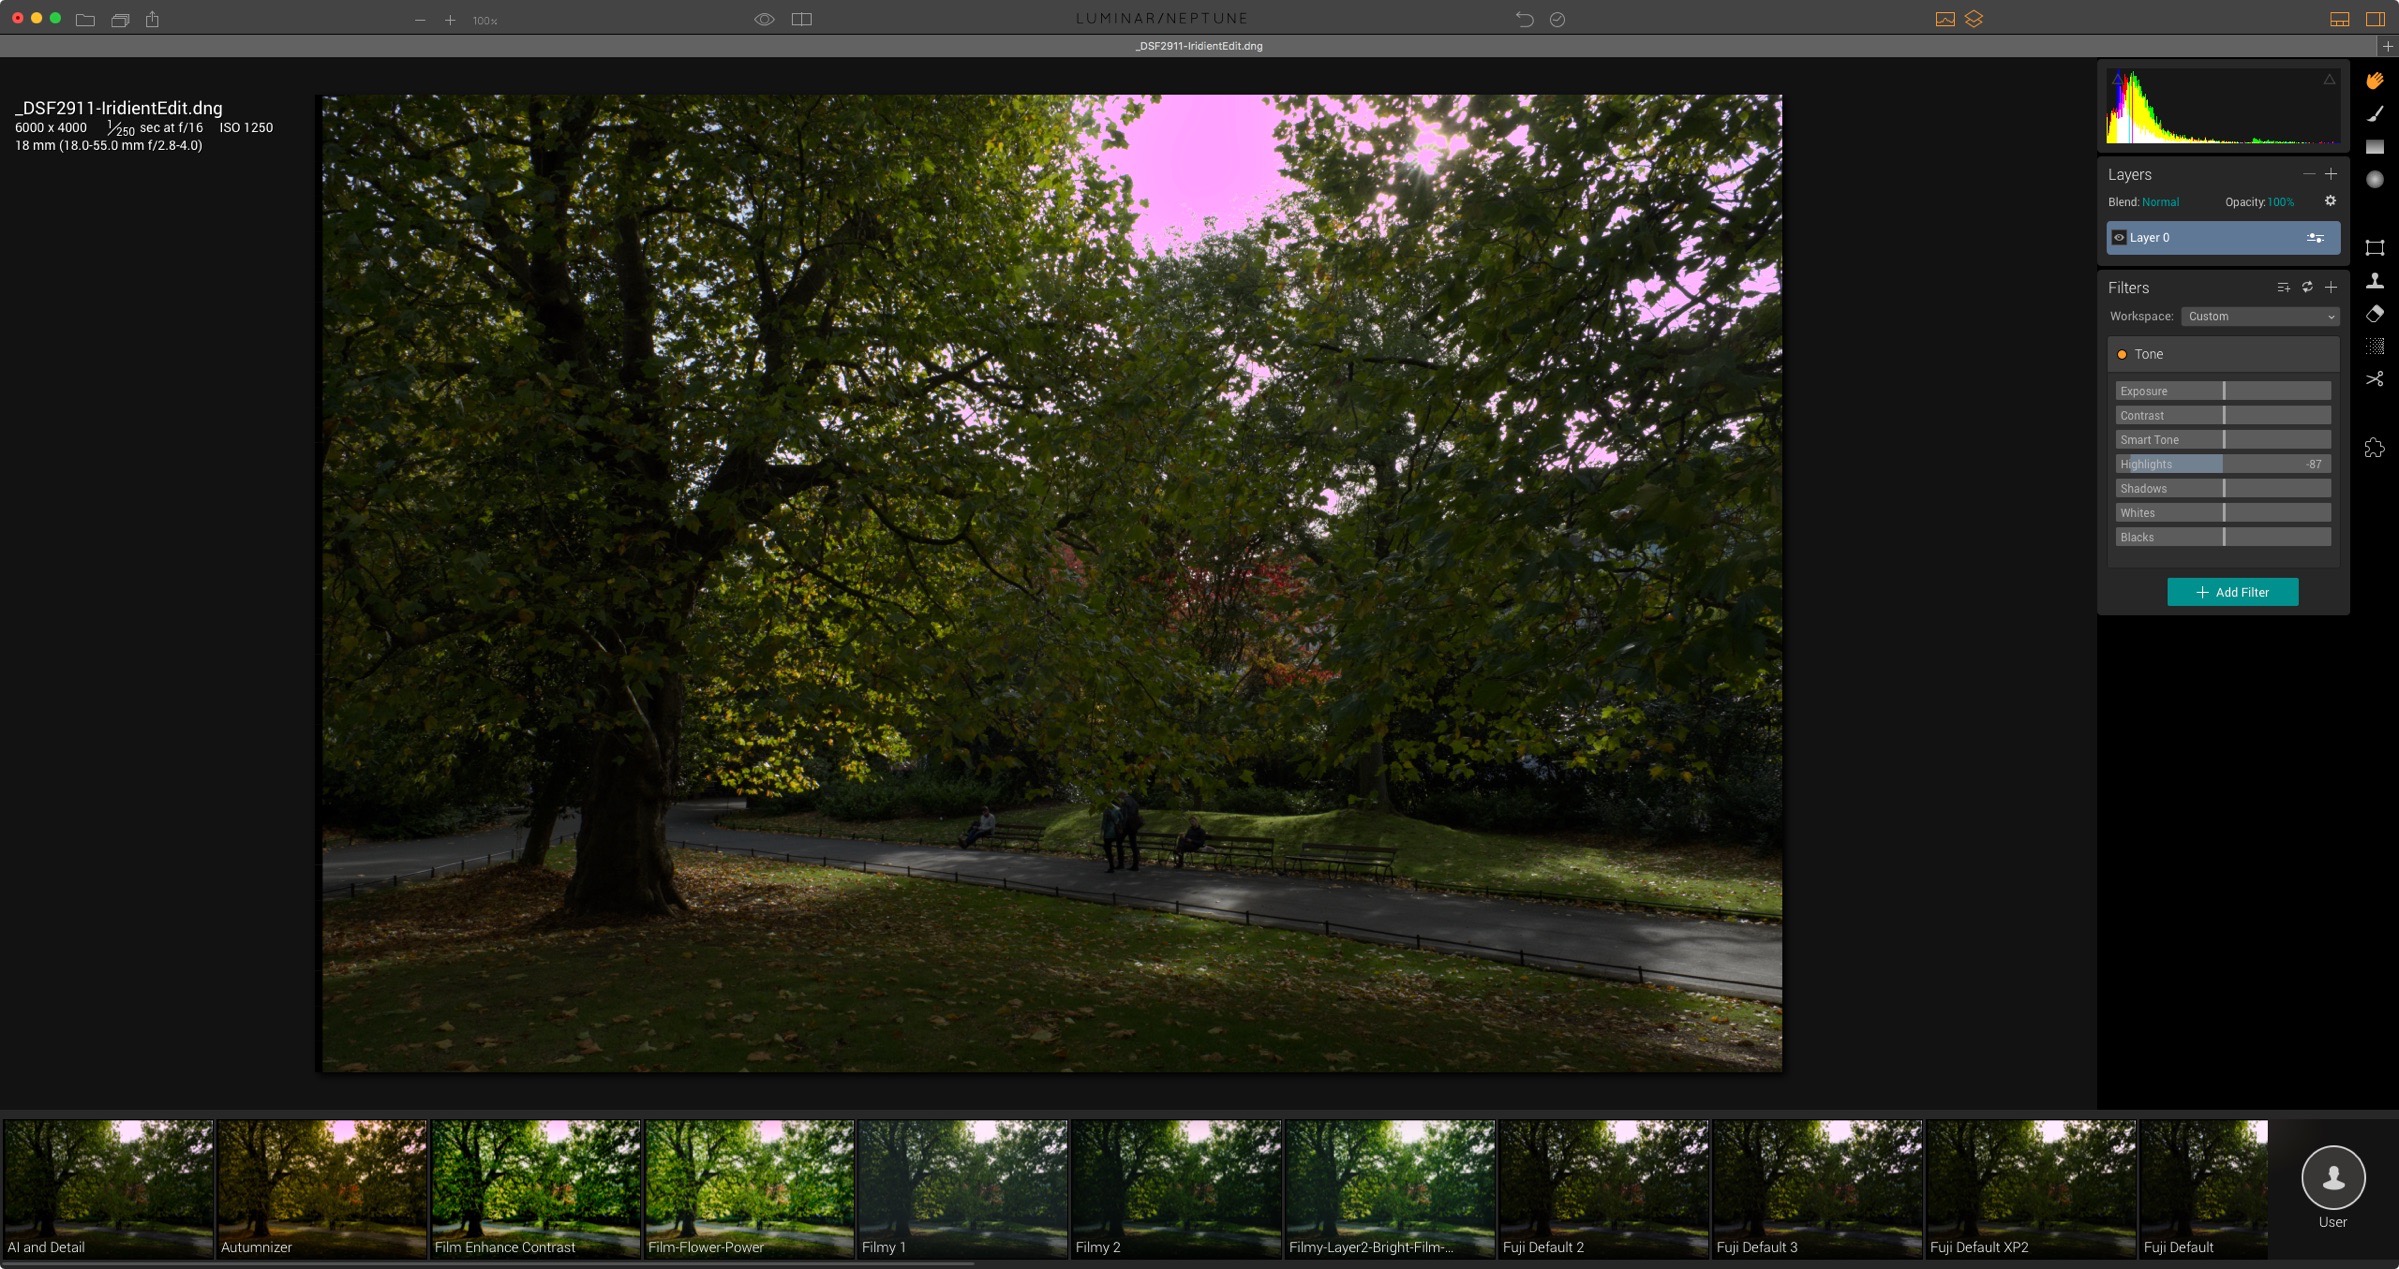
There are only two real issues with Fuji files at the moment, which may or may not be a deal breaker for you. The first is the lack of metadata based automatic lens corrections. You have to correct for distortions manually, which is a bit of a pain, and is something they really need to work on. There is a way around this mind you, which is to use it in conjunction with Iridient X-Transformer and use the option to bake in the corrections.
The second issue is the lack of film simulation profiles. The actual colour and contrast of the images is pretty good. It is quite close to what Provia would be in-camera, with maybe a little lacking in contrast, but there are no film simulation profiles, at the moment.
Fuji X-Pro 2 Image converted with Luminar 2018
There is however, a very useful new filter, which could possibly be used as a basis to correct this in the future. There is a new filter called LUT mapping, and allows you to load a standard LUT file and apply it to the image. LUTS are pretty common in the video editing world, and there are lots of LUTS out there. Many are used for creative purposes, and they can be used for everything from correcting log gamma to film colour simulations. You could easily use this technology to create film simulation profiles for Fuji cameras within Luminar.
Image from Fuji X-Pro 2 using the new LUT Mapping feature
Other New Filters
There are a couple of other new filters which are interesting too. Of the ones listed as new, here are two of my favourites
Matte Look gives you a tool for creating a faded film look. Normally I achieve this effect with the curves tool, by raising the black point and lowering the white point. The matte fLook filter goes far beyond this and has a range of options for simulating the colours and effects normally associated with a “film” type look, particularly aged film.
The other cool new filter is the Sun Rays filter. The initial temptation is to view this as nothing but a gimmick, but it’s actually pretty cool. I don’t know hoe they are doing it (probably some sort of Luma key) but they get the rays to look like they’re actually coming from behind parts of the scene. For example, if you’re dragging the effect over trees, it looks like they’re coming from behind the trees. The results of this are actually reasonably realistic, especially if you play with the settings a bit. It’s probably most useful for enhancing shots which already have sun flare in them.
Another nice new filter is Brilliance/Warmth which adds a set of two controls. One is called “Vividness” which is like a version of vibrance on steroids. It’s not a straight saturation control, and I’m not sure how it works exactly, but it works. The other control allows you to warm up or cool down an image, and works a little differently from just tweaking the white balance. It provides natural looking results.
A few more new features of note
There are a couple of other things that caught my eye while trying it out. In particular you can now use Photoshop plugins as plugins with the software. This means that you can use things like Nik software’s effects and so on as an add on to the software. They will be returned as a new layer inside of Luminar when you are finished editing with the plug-in.
There’s a useful little button over the presets panel now to quickly add a new layer which is handy if you want to apply your presets as a new layer. You don’t have to go up to the top of the interface first, you can just click on it from the presets panel.
Overall Impressions and my thoughts for the future
Overall, I’m really impressed with Luminar 2018. It’s a significant upgrade, but more than that, it’s becoming a major player. Now that its RAW conversion is much improved, once they add the previously announced asset management features to it, it will be a force to be reckoned with. They still need to add automatic lens corrections, because in my opinion, people will demand that, and while the current method is better than not having lens corrections, it’s not going to be good enough for those coming from Lightroom where metadata based and profile based lens corrections are the norm. To be honest though, that’s my only real criticism of the software. I could not pick a few other details, but that’s the biggest thing that needs fixing in my opinion. I have encountered relatively few bugs too, considering I was using a beta version, and it hasn’t crashed on me at all.
The only other change that I would like to see, which I think that would be useful is to do with the way presets work. At the moment if you apply a preset it overwrites anything you have currently in your filter stack. This makes it difficult to use presets for saving common settings for individual filters like you would with Lightroom. For example, if you save sharpening settings as a preset, and then want to apply them to another image, if you select the sharpening preset that you made, it will get rid of any other filters that you currently have not he layer. You can get around this by adding another layer, but I would like to see an option to add to the current layers, rather than overwrite.
It occurred to me when working with the beta to write this review, that we’re entering the post-lightroom era. I don’t mean that as a way to bash Lightroom, (I have a whole blog post about that!) but rather what I mean is that we’re moving away from Applications trying to compete to be the best Lightroom clone. Instead, Luminar is quite different, and is becoming a whole different way of working. Adobe is stuck in the same interface metaphor, and so its good to see other developers thinking outside the box and offering us something different and a new way to work. Luminar’s seemingly simple interface hides a wealth of complexity too.
You can build seriously sophisticated setups with the software, and you can create far more complex edits than you can in Lightroom on its own. For example, while Lightroom has the ability to have masked selective adjustments, these are limited. In Luminar, each filter can have its own mask, and blend mode. On top of that filters can be grouped into layers, and each layer can also have a mask and blend mode. Not only that but you can combine multiple images in the same document for multiple exposure effects, textures and so on. Combined with the ability to use plug-ins now, this is becoming a very hefty and sophisticated imaging program, and its doing so by charting its own direction rather than being a me-too attempt at a “Lightroom like” clone.
I’ve said this before, but this is kind of how I had hoped Aperture would work eventually. Back when I used to write the Aperture Blog, I had hoped Apple would offer similar features, to allow more “bricks” to be added and to allow you to change the order.
I can’t wait to see the asset management side of Luminar when it’s released. The preview of it looked really nice, so if they put as much thought into it as they have the rest of the software, I think we’re going to get a serious heavyweight competitor in the imaging software space.
Pre-Order details
Luminar 2018 will be available for pre-order on November 1, and released on November 16.
Pre-Order Pricing:
- Current users of Luminar may upgrade at a special pre-order price of $39 ($49 MSRP)
- New users can purchase Luminar 2018 at a special pre-order price of $59 ($69 MSRP)
- A collection of bonuses will also be included with every purchase. Pre-Order Bonuses:
- A Pack of signature presets and textures fro pro photography Nicolesy
- An Exclusive pack of LUTs
- 1-year Power plan from SmugMug ($72 value). For new accounts only