

Monochrome Flowers in Capture One (Will Also work in Lightroom)
Flowers are probably not the subject you normally associate with black and white images, but you can actually create some nice imagery with the right black and white technique. As I haven’t been able to get out to take photos as much as I used to over the past few months, with the current global situation, I’ve been making the most of any photos I do get. So, when I shot some flowers at a stately home and gardens recently, I’ve been making as much use of them as possible. I’ve already shared the main set of phots form the shoot, but I’ve also been using the images to experiment with different techniques. One of these was creating nice monochrome flower images.
I had actually planned on doing something else altogether with these shots. I had set up an album with a few photos, and I was ready to do a video on colour grading in Capture One, but as I was experimenting and practicing before recording I just tried applying one of my black and white presets on one of the images, and suddenly, I realised I had something interesting.
Obviously, everything I am about to say is subjective, and everyone has different tastes and styles, but what follows are some things I think works for making interesting monochrome images out of flowers.
Techniques for Monochrome Flower Images
There are a couple of things that I think is important, and this is how I would approach creating nice black and white images from flowers. Mind you in my case, this started as a happy accident, but anyway!
Create Contrast between Colours, But not with the contrast slider
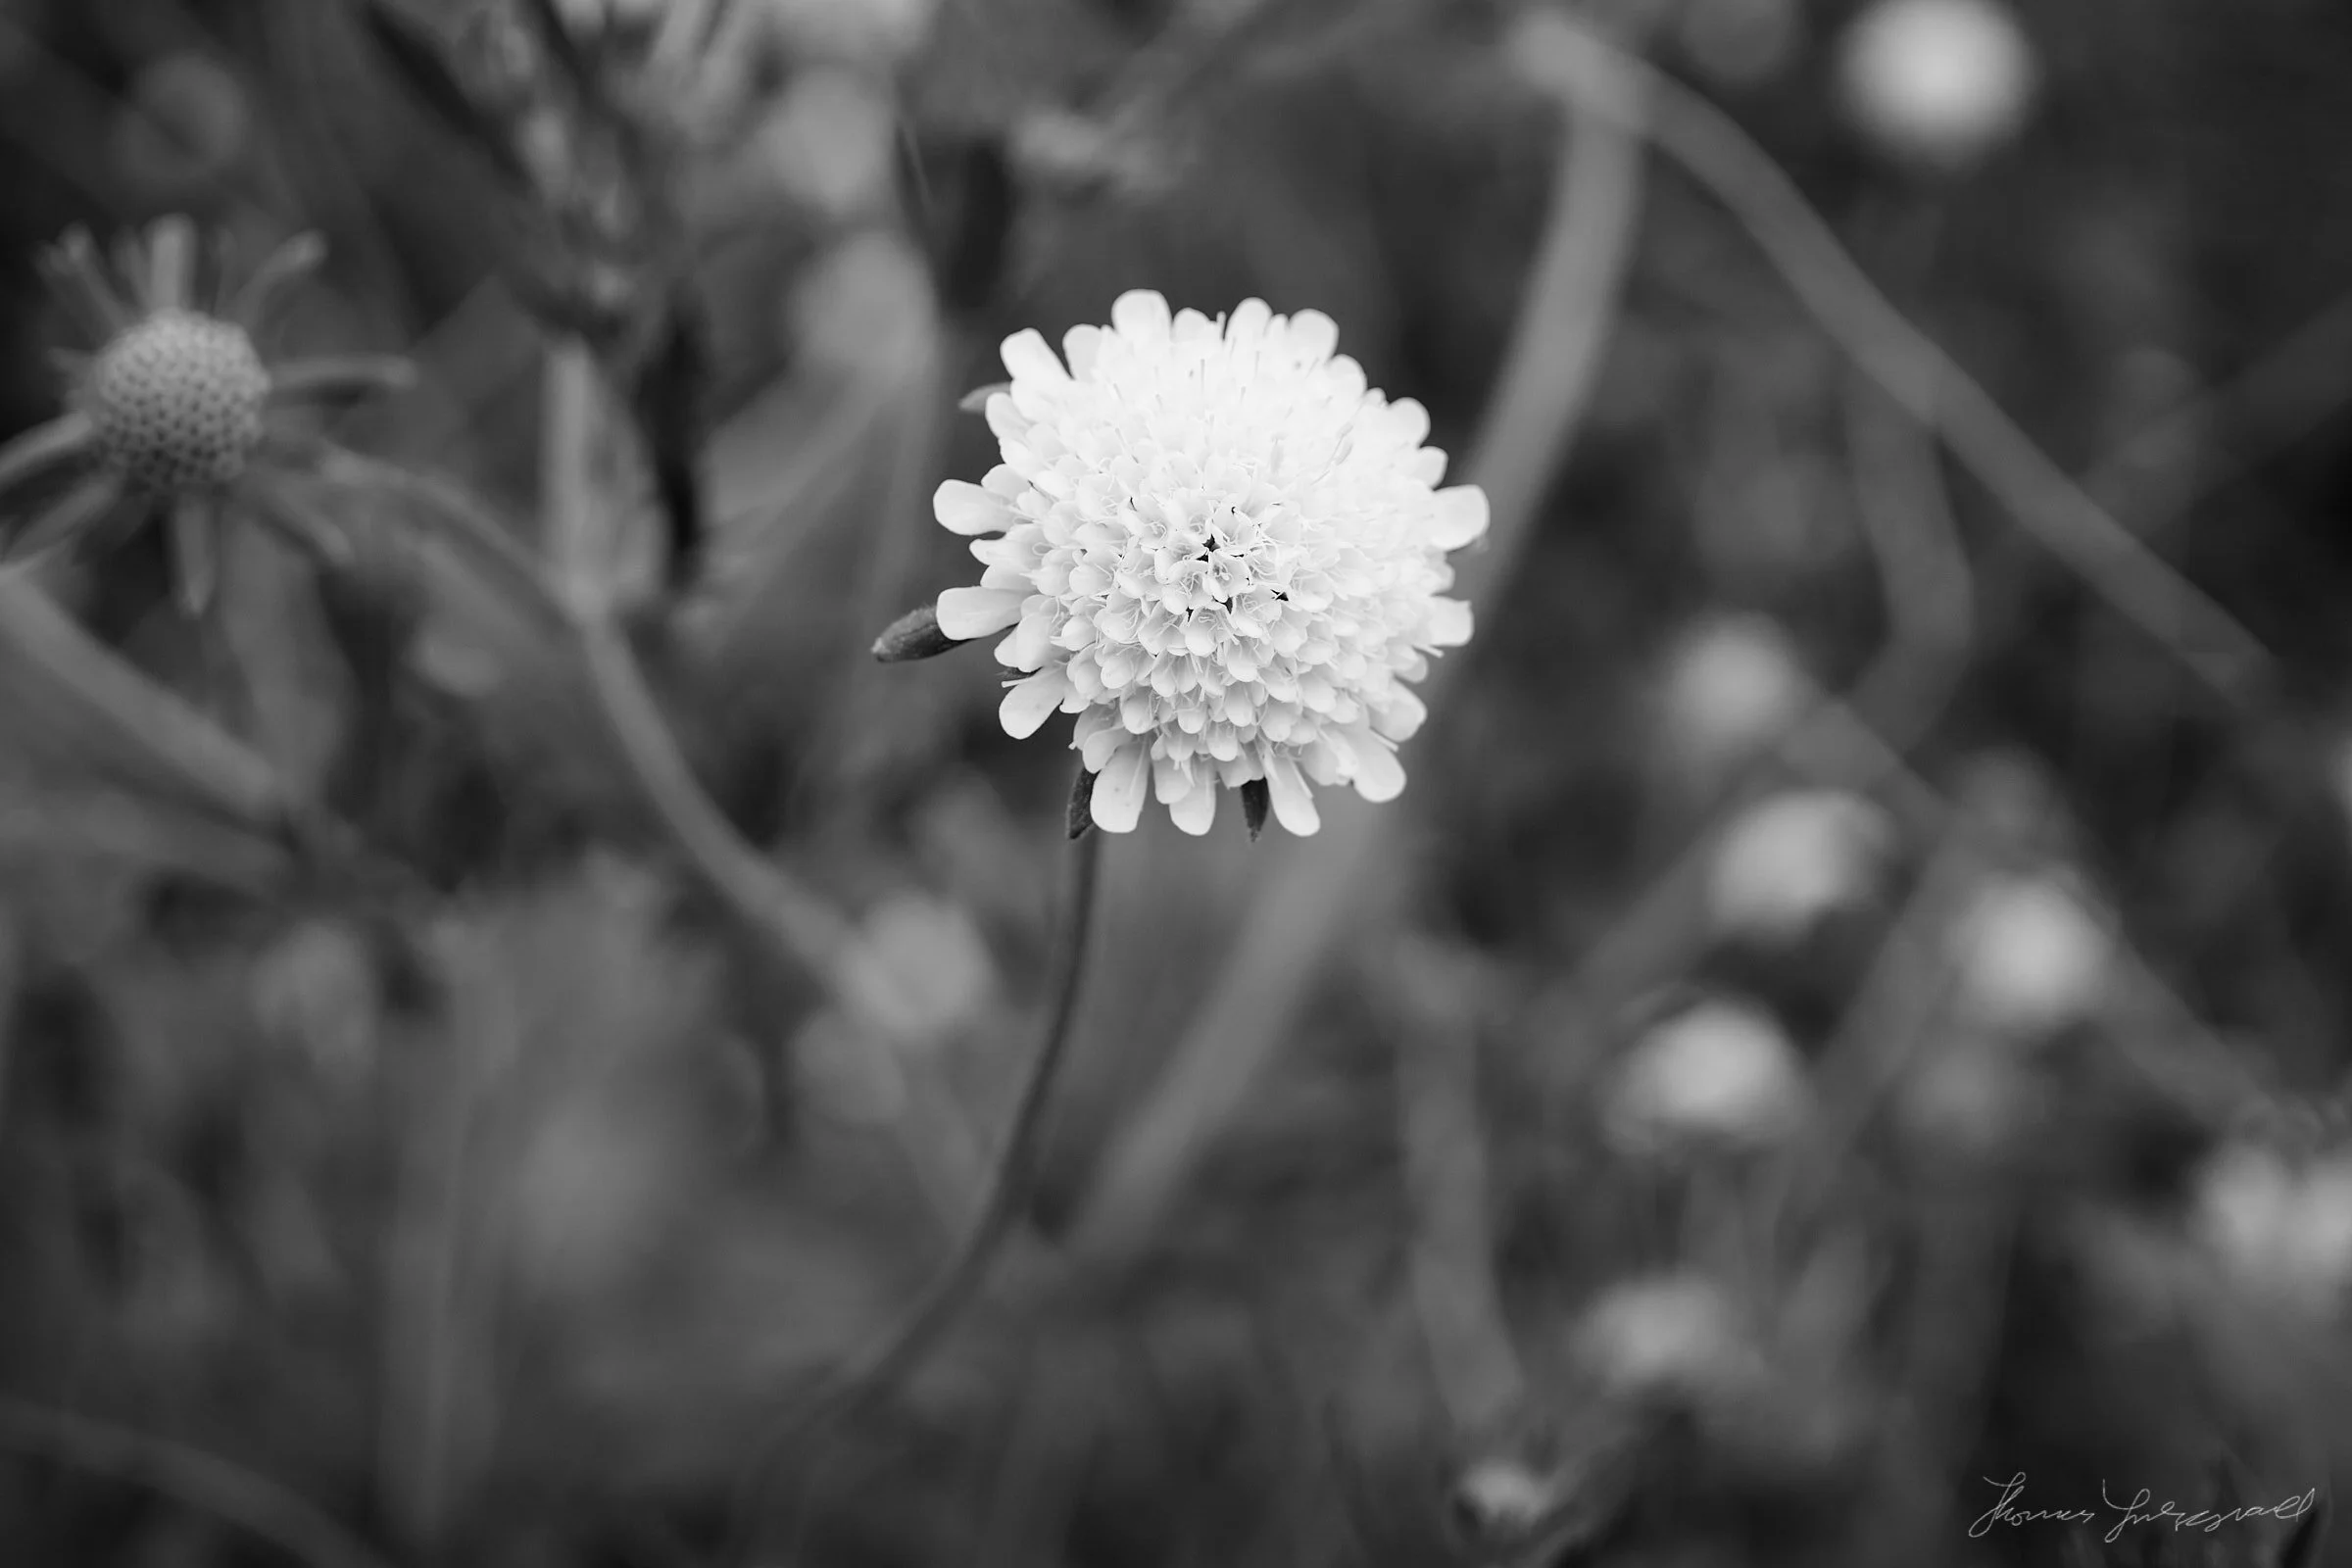
You want to create contrast between the flowers and the background, but you don’t want to create too much tonal contrast in the image. What do I mean by this? Well, you want to increase the separation between the background and the foreground, but you want to maintain the delicate nature of the flowers themselves. In other words, you can’t just crank the contrast up full, as this will lose that delicateness. In these photos, I barely touched the contrast slider.
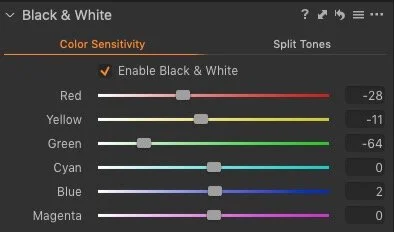
Most of the look was achieved with the black and white tool, with a little help from the three-way colour corrector.
In this case, as the background was mostly green, so I simply lowered the green slider on the black and white tool. The amount varied from image to image, but this created a nice dark background. You don’t want to go too far, so that it becomes black. I also used the Colour Balance tool to lower the brightness of the shadows. I wanted some nice rich dark tones without it going into black.
You can then control the tonality of the rest of the flowers by plying with the other colours, to balance the image.
Exposure, Brightness and Highlights
The exposure will make a big difference in the images, and even a slight difference can affect the overall look of the image. There isn’t necessarily a right or wrong way here either too (unless of course its totally over or under exposed) and sometimes a little deliberate underexposure can help. You can also use the highlights and whites sliders int he HDR tool to stop bright or white flowers clipping while maintaining overall exposure. Try the whites slider before the highlights slider. (If you’re using Lightroom, just use the highlights slider as the whites works differently in Lightroom than it does in Capture One)
Another trick is to use the brightness slider in Capture One. This will adjust your overall brightness without affecting the black and white points, and can sometimes help with maintaining the tonality you want. It has a different effect than the exposure slider so try it as part of your overall approach.
Be careful with Clarity
If you have shot images with nice bokeh, be careful with the clarity slider. Even a little bit of clarity will ruin bokeh, and so if you want to add detail to the flowers, do it on a separate layer and paint a mask so it’s only affecting the flowers and not the background.
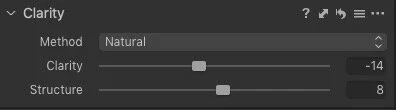
One other thing you can also do is use some negative clarity. This works better in Capture One than it does in Lightroom. I found that in Lightroom it goes a bit fake if you use it too much, whereas negative clarity in Capture One creates a nice film like softness. The header image above has a negative clarity value of -14.
Vignette is your best friend
Another really useful tool is the vignette tool. A little vignette can help focus the attention, and it also helps add to the “analogueness” of the images. As with everything, you don’t want to go overboard, but a little goes a long way.
In Capture One you can use the vignette slider and it gives pretty good results. If you want more control, you can also use a layer with a radial gradient and use exposure or brightness to control the vignette. In all of these though, I just used the vignette tool.


Conclusion
I hope these tips have been helpful, and try them on your own images. If you do, please feel free to share them on my facebook group.
Join our Facebook Group
If you want to discuss anything you’ve read here on my website, or saw on my youtube channel, or if you want to share images you’ve created using any of my techniques or presets, then I’ve started a new Facebook Group just for that.
FYI, The group is moderated and you must agree to the rules in order to be accepted.
Help Support the Blog
This blog is pretty much my day job now and I work to bring you my own take on photography, both tutorials and tips, as well as inspiration from my own art. I support this work, and my YouTube channel entirely either via sales of my eBooks and Lightroom presets, or the kind support of my readers. (I also have some affiliate ads). Running all this isn’t cheap, and so If you like what you see and you want to help keep this all going, there are a number of ways you can do so:
- If you’re interested in buying Capture One but haven’t yet bought your own copy yet, then by going through my affiliate link I’ll get a small commission!
- You can buy any of my Capture One Styles through my online store!
- If you’re buying anything on Amazon, you can help by using my affiliate link: Amazon US or Amazon UK.
- You can support me on Patreon. If you like what I do here and find the information useful, then you can help by subscribing to me on Patreon. As well as helping keep this blog going with even more useful news, tips, tutorials and more, members also get special Patreon only feed, which gives you behind the scenes content, as well as monthly downloads (for the top tier), for only €2 or €5 a month Stop by and check it out.
- Buy me a coffee / Tip Jar. If you want to support the blog but don't want to sign up for Patreon, you can buy me a coffee via PayPal with a one off donation to my PayPal tip jar.
You can see more of my photography and keep up to date by following me on social media and checking out my other websites:


