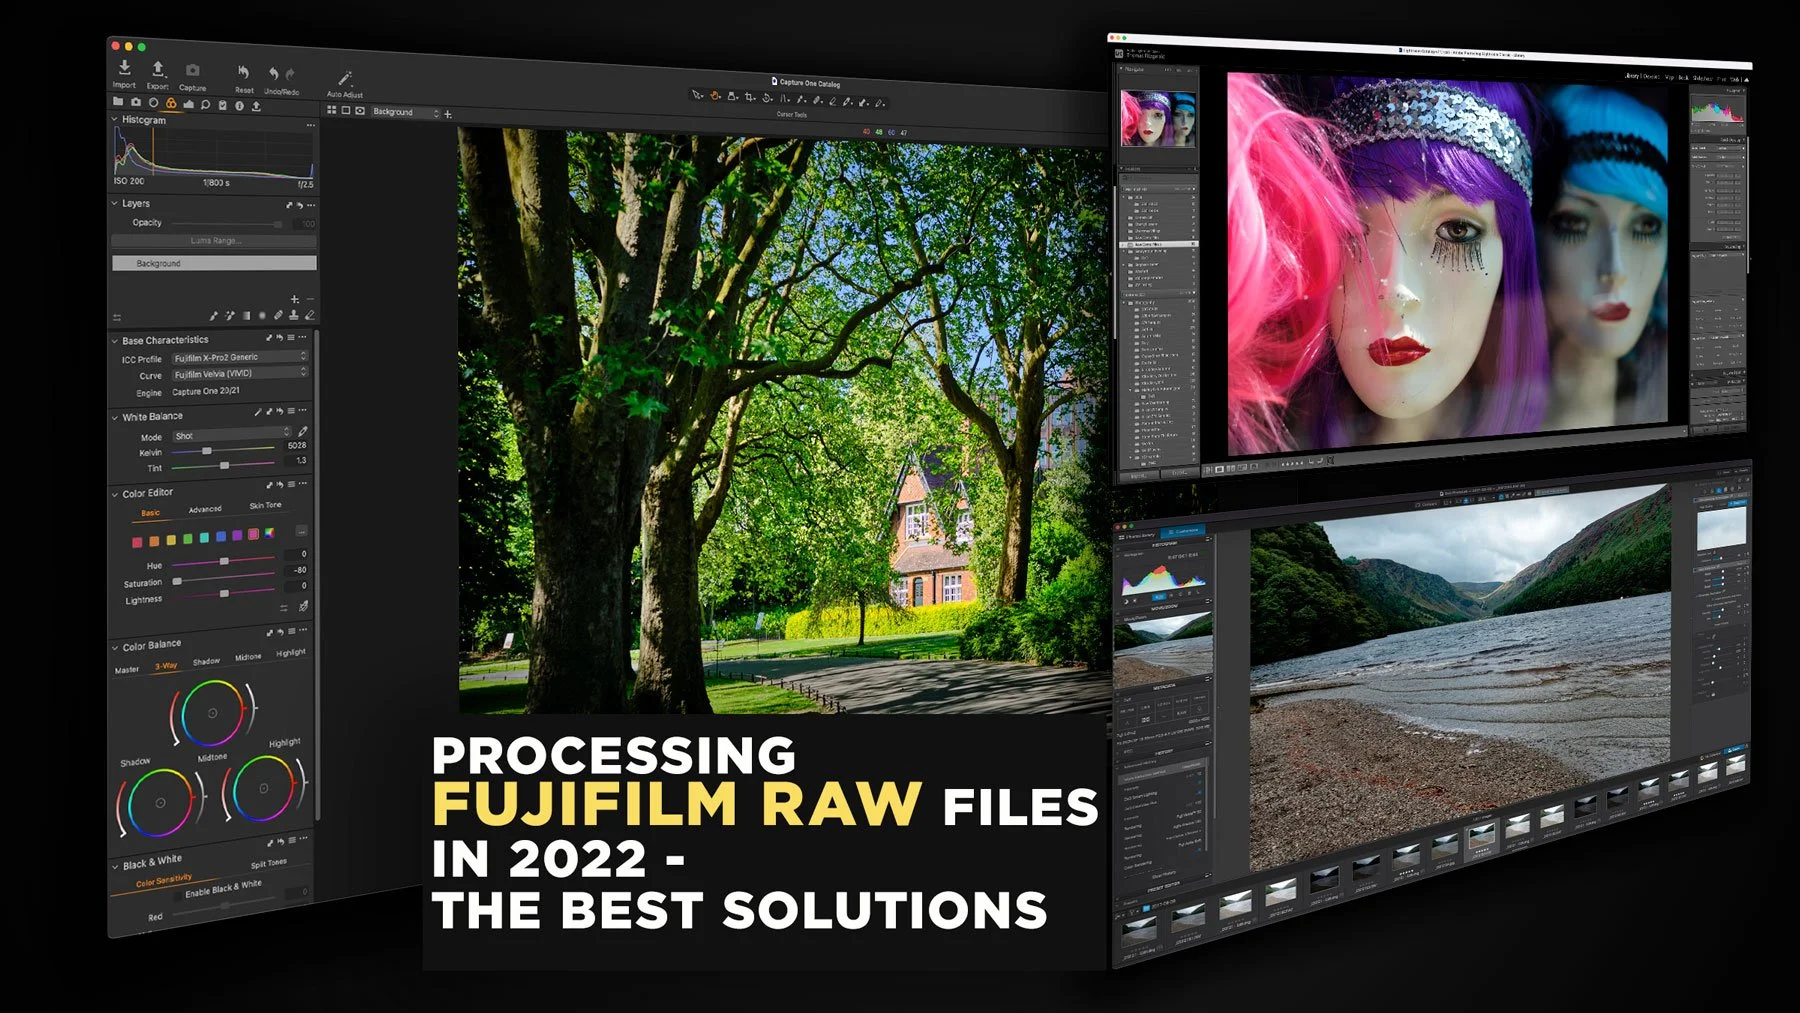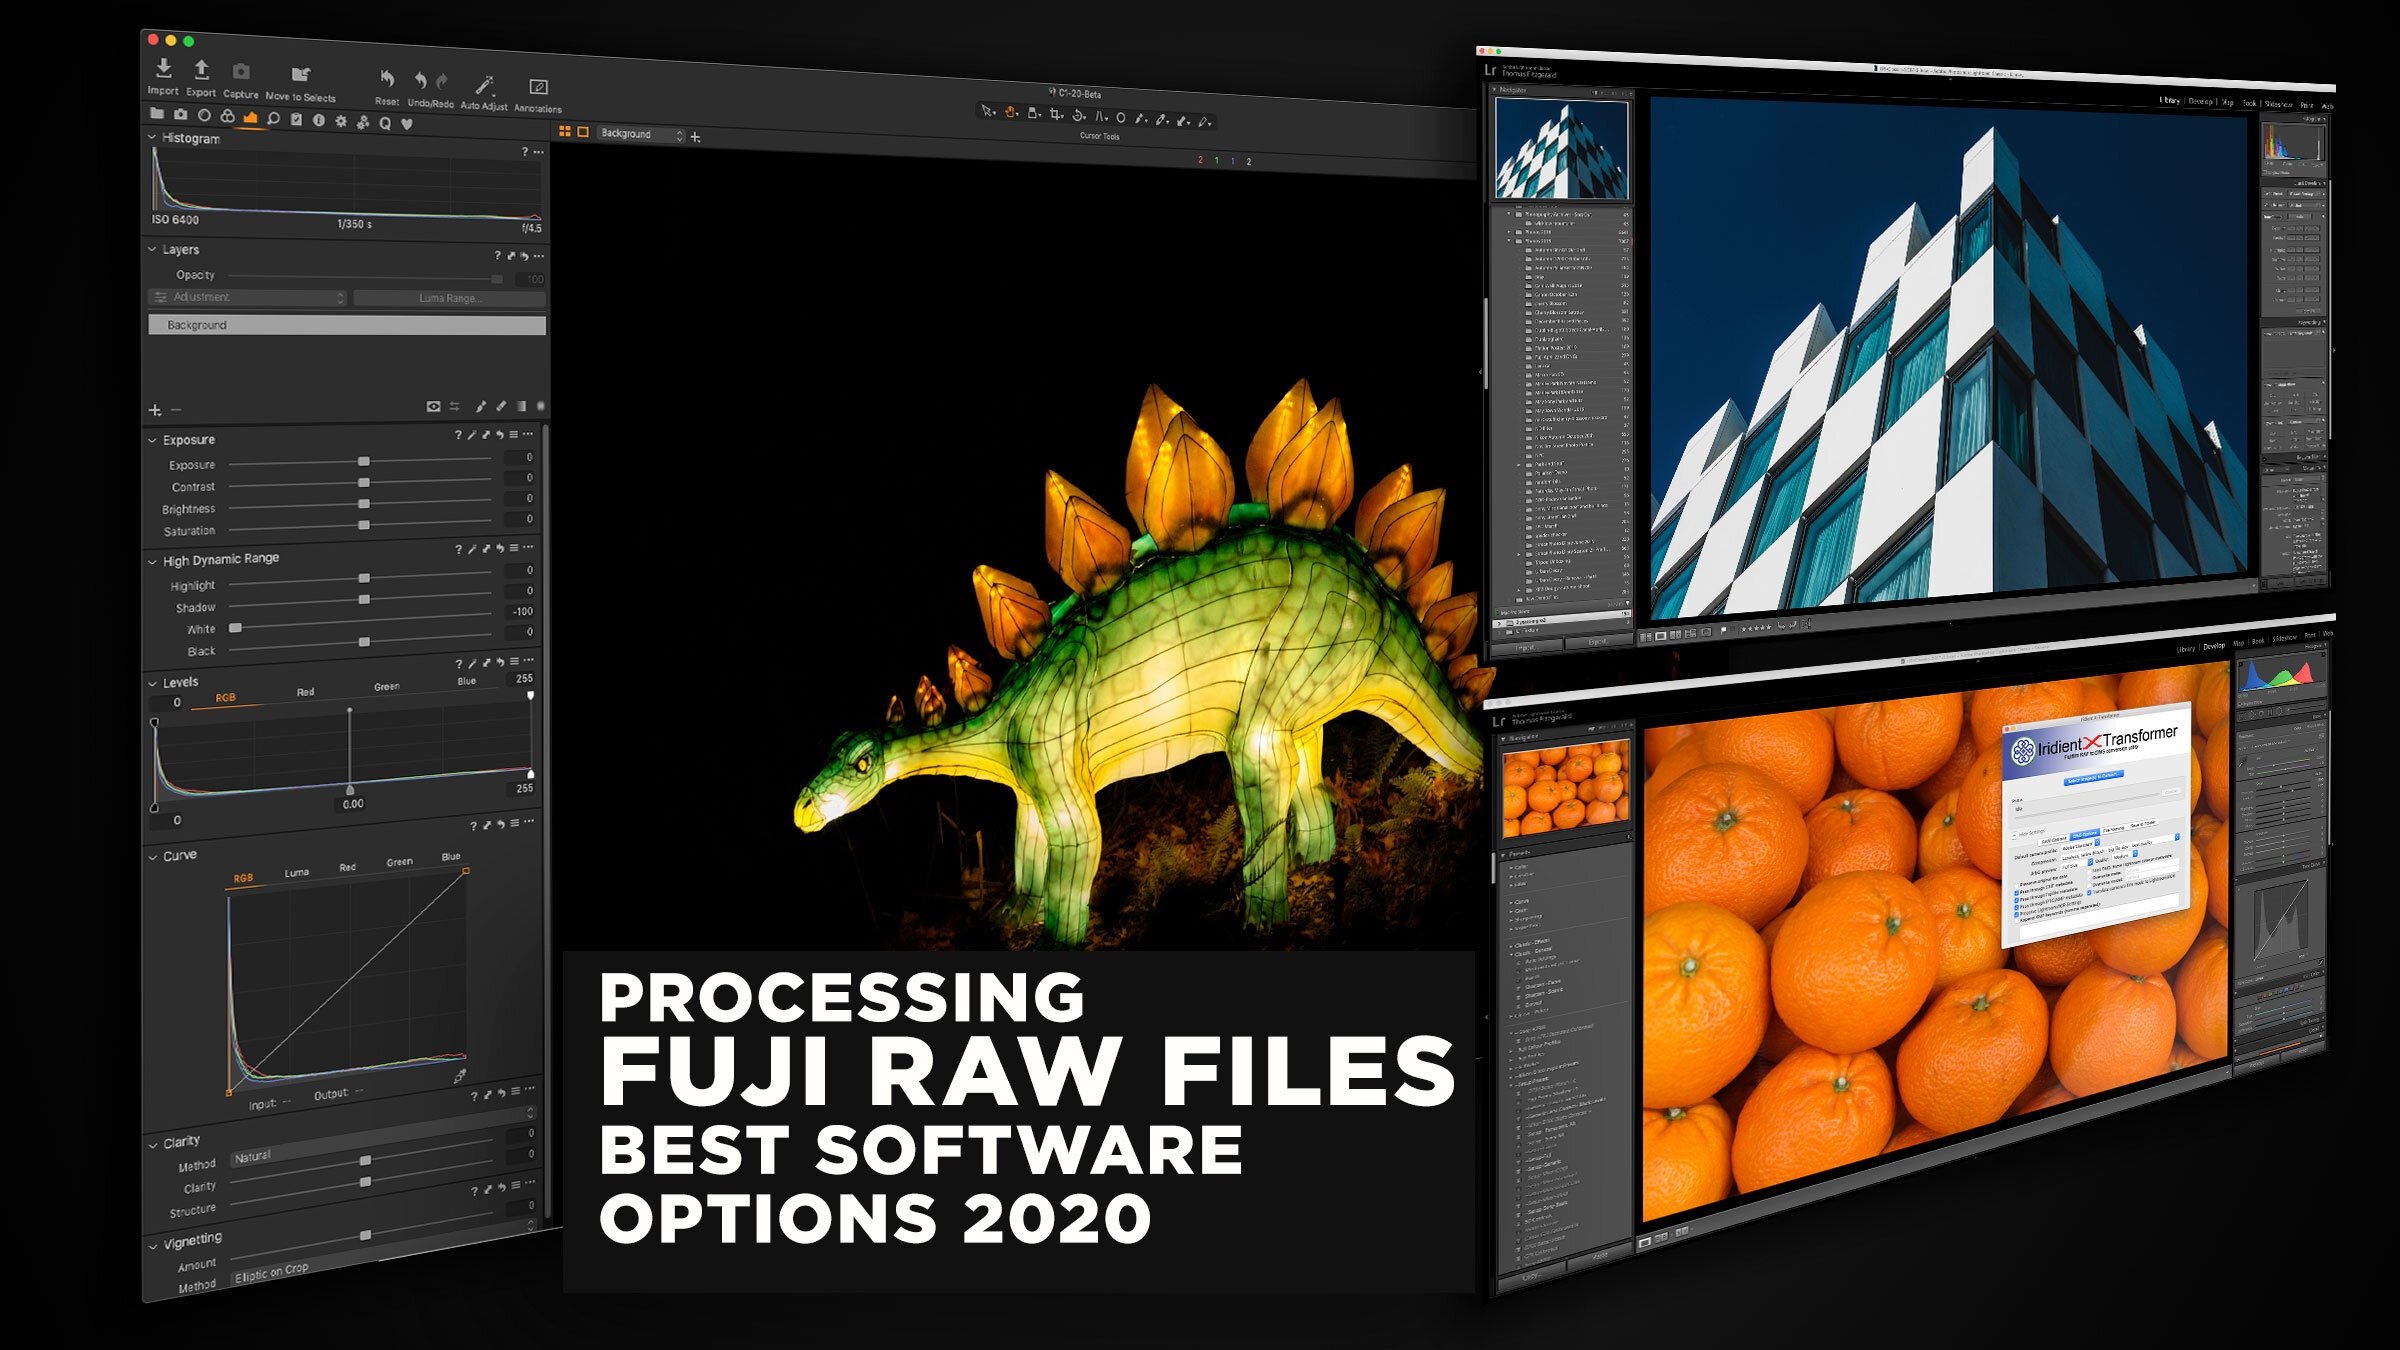
The Best Way to Process Fuji Raw Files in 2020
I've been covering how to process Fuji X-Trans files on this website for quite a few years now, and I still regularly get questions from people asking me what the best software for processing Fuji RAW files is. I generally try and not directly answer that for a few reasons, the most obvious of which is that the answer is subjective. What I might find the "best" isn't necessarily what someone else might find the best for them. So, in the past, I've tried to present lots of different options, and let people decide for themselves. But, today, I' going to break my own rule and tell you what I think are the best options, in my opinion, in order of preference.
Introduction
Before I get to the actual results, here's a bit of a preamble about the "what and why" of this, as well as a few disclaimers. I should also note that I've written eBook guides about most of these options, and I've included links where applicable.
What does "best" mean?
The term "best" is often quite misleading because as I said, it's often subjective. In this context, though, I'm talking about what gives you the most natural-looking, and the most artefact-free results when working with Fuji raw files. There are, of course, more things that can enter into the equation, such as workflow, ease of use, and cost. Bun in this context, I'm talking purely about technical image quality.
I'm basing this on processing thousands of Fuji files in many different applications. Some times the difference can be tiny. Other times it may be more obvious. It also depends heavily on the type of image, how you prefer to process, and so on. While I believe that much of this is subjective, there are also technical standards, which I think are not, and while different people might have different standards, for me, the image should look clean, and un-processed. It should not look too "digital" but instead should have the quality to pass an editor in a magazine or submission to a stock agency. This is the standard for which I would aim.
I also have a minimum set of requirements. It must be a useable solution for working with lots of images in a project, and it must support Fuji film simulation modes at a minimum.
This is my opinion
I understand, having done several variations of this article at this point, that no matter what I write someone somewhere will take issue with this and disagree. If you do things differently, that's fine. This is my opinion. All I can do is share my opinion based on my experience and skills in analysing images.
Why do Fuji files need special processing?
The chances are that if you're reading this, you already know the answer. I'm not going to get into a big technical discussion on this, because I've done that before many times, so here's the short version: If you're shooting with a Fuji camera that has an X-Trans sensor, then the results in Lightroom can lead to mushy details and artefacts around edges. It can also lead to a "worm" like pattern in areas of flat colour if you push the file. Not everyone considers this an important issue, and so, if you are okay with Lightroom's processing for your images, great. Continue to use what works for you.
Does it matter?
Another typical response that I get every time I write one of these is that it doesn't matter. People argue that you can't see the difference if you're only posting to social media, or if you print at a specific size. And sure, that may be true, but it depends on many factors. Such factors include the ISO of the image, the subject, the print size, the method of printing, and so on.
But I would argue that whether or not you can notice on a print or a webpage isn't the point.
When I process an image, I want to know it's the best it can be, not whether someone else will notice or not. I'll notice it. I want to know if I save an image to my archive, it's at the best quality I could have made it, not whether or not anyone will notice because I will know.
I also may not know how that image will be used in the future. I may decide at some point to make a large print, or crop a section of it. If I'm delivering to a client, I may not always know how they are going to use it.
A different method of printing might show up issues that weren't obvious before. For example, a commercial book or magazine print might show up something that wasn't visible in an art print. And yes, this does happen, because people tend to hold magazines and books quite close, whereas they tend to look at art prints from further away.
Of course, not everyone shares this view, and that's fine, but again, what I'm presenting here is my opinion, and I believe its worth the extra effort to maximise the quality of the file.
Best Options
So here are the best options, in my opinion, based on all the caveats above. This is in order of what I think is the absolute best, followed by alternative options because not everyone has the time to change workflows, or software and so on, and that's why I'm presenting options in order of preference.
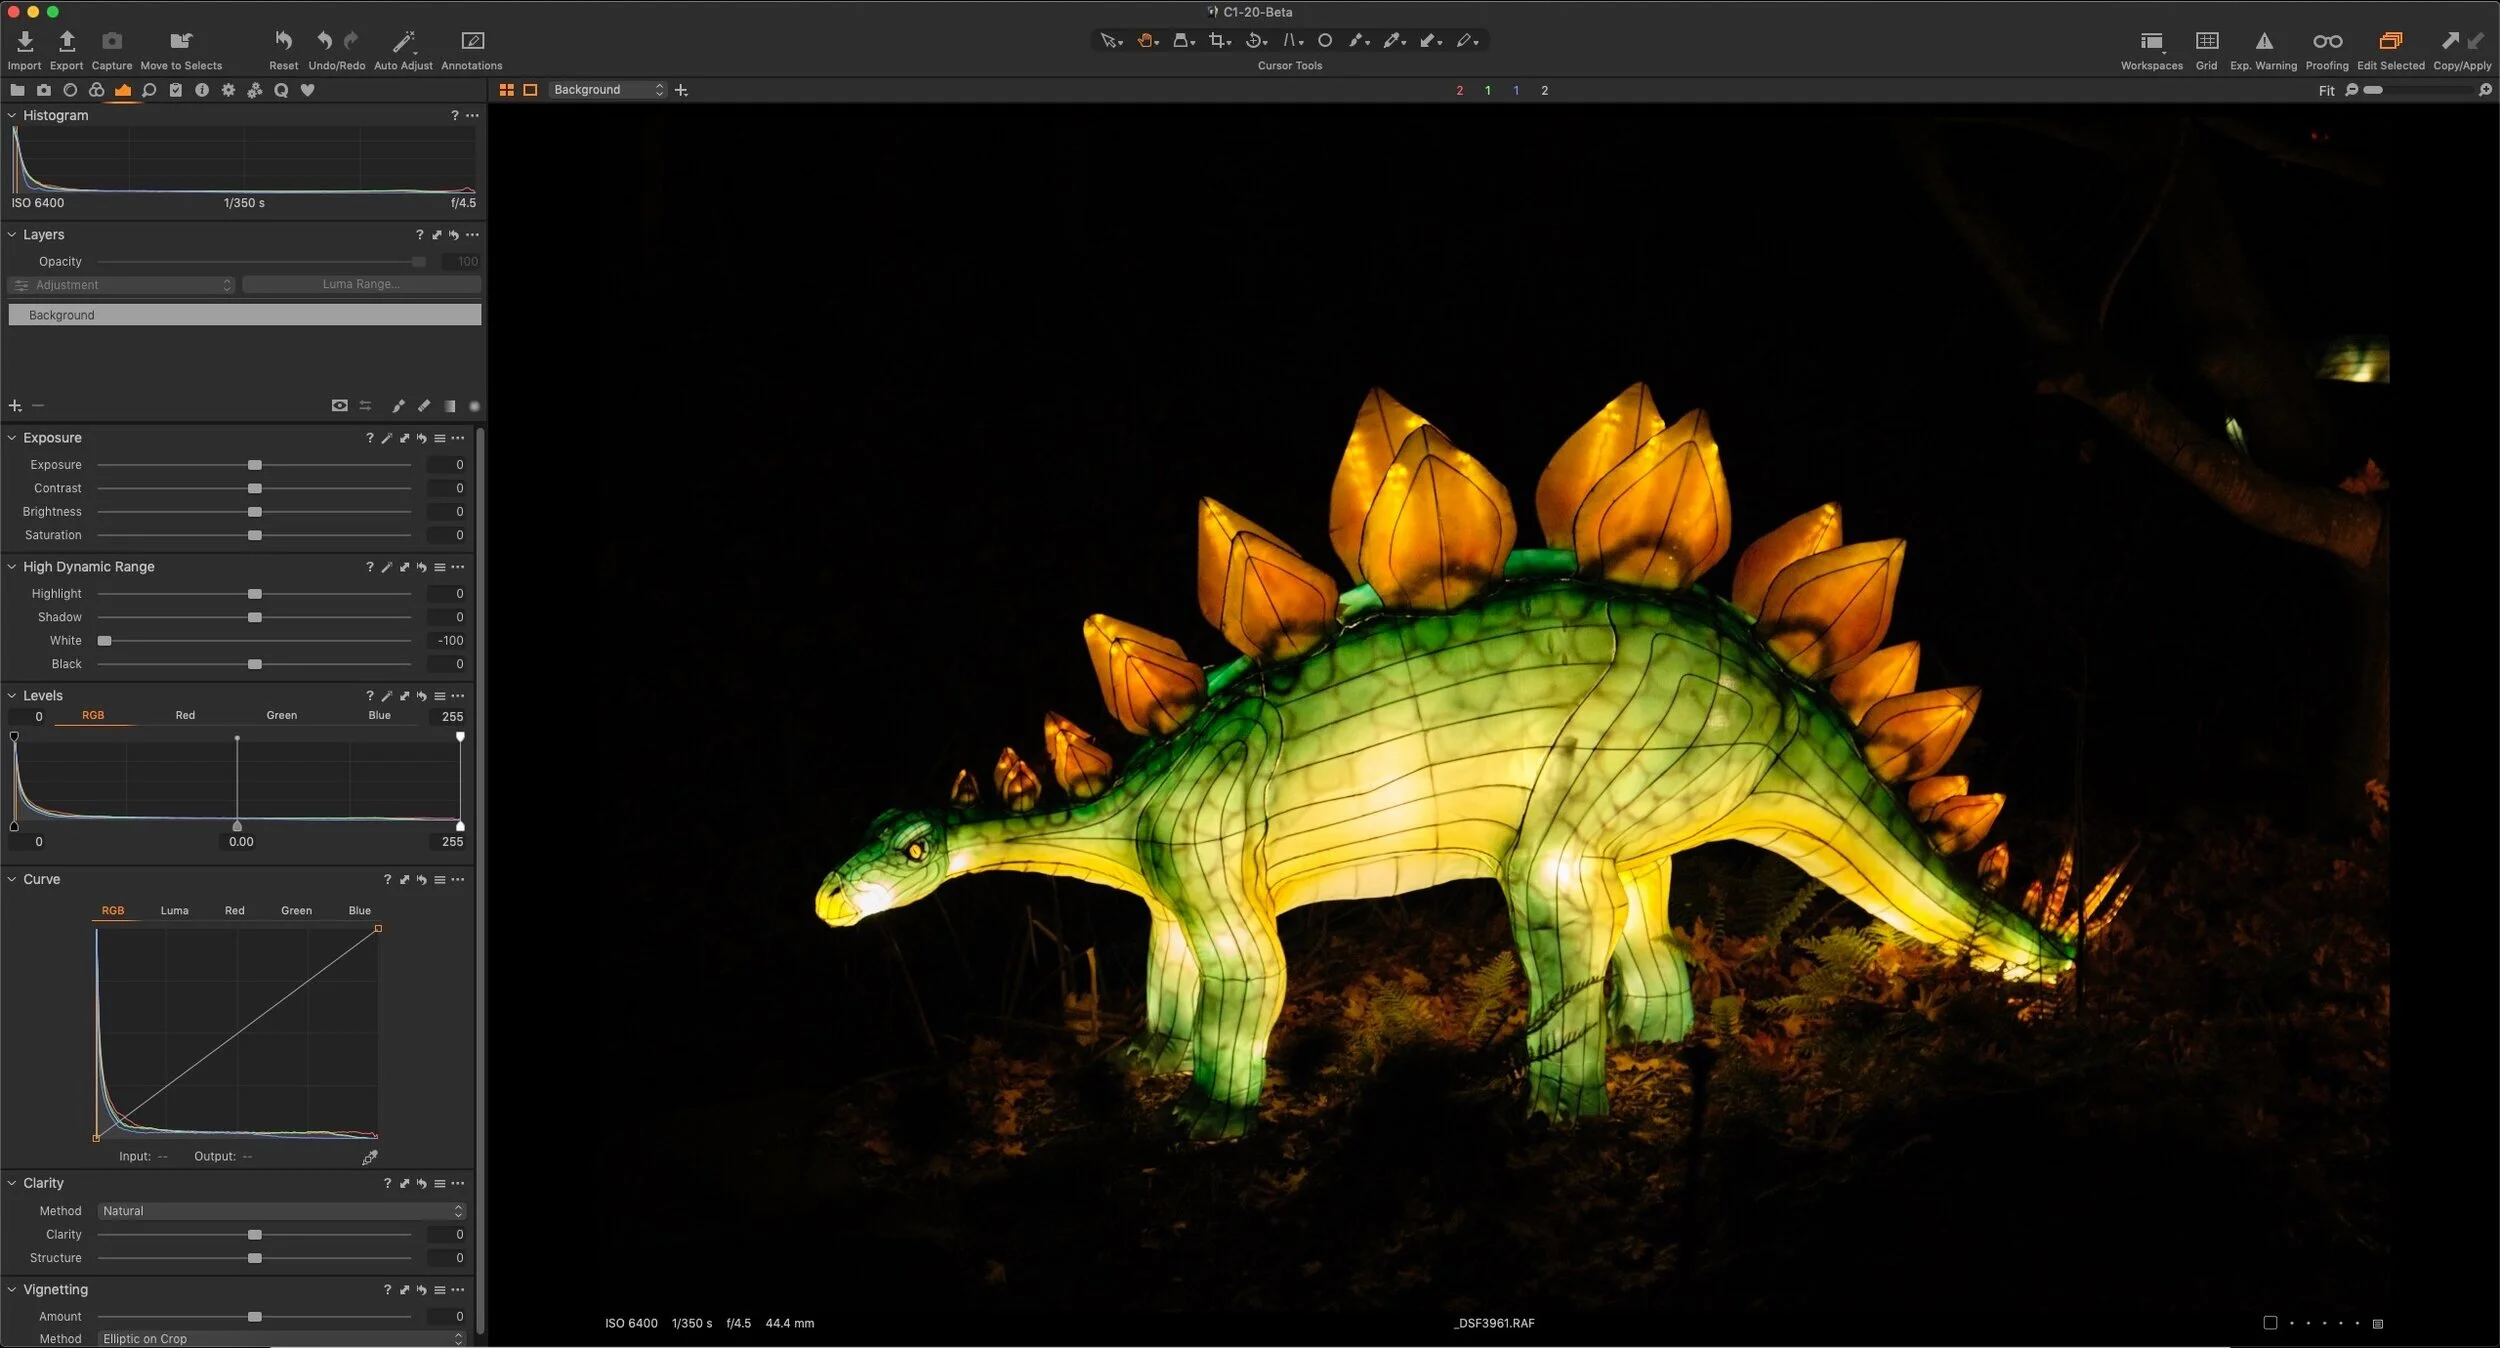
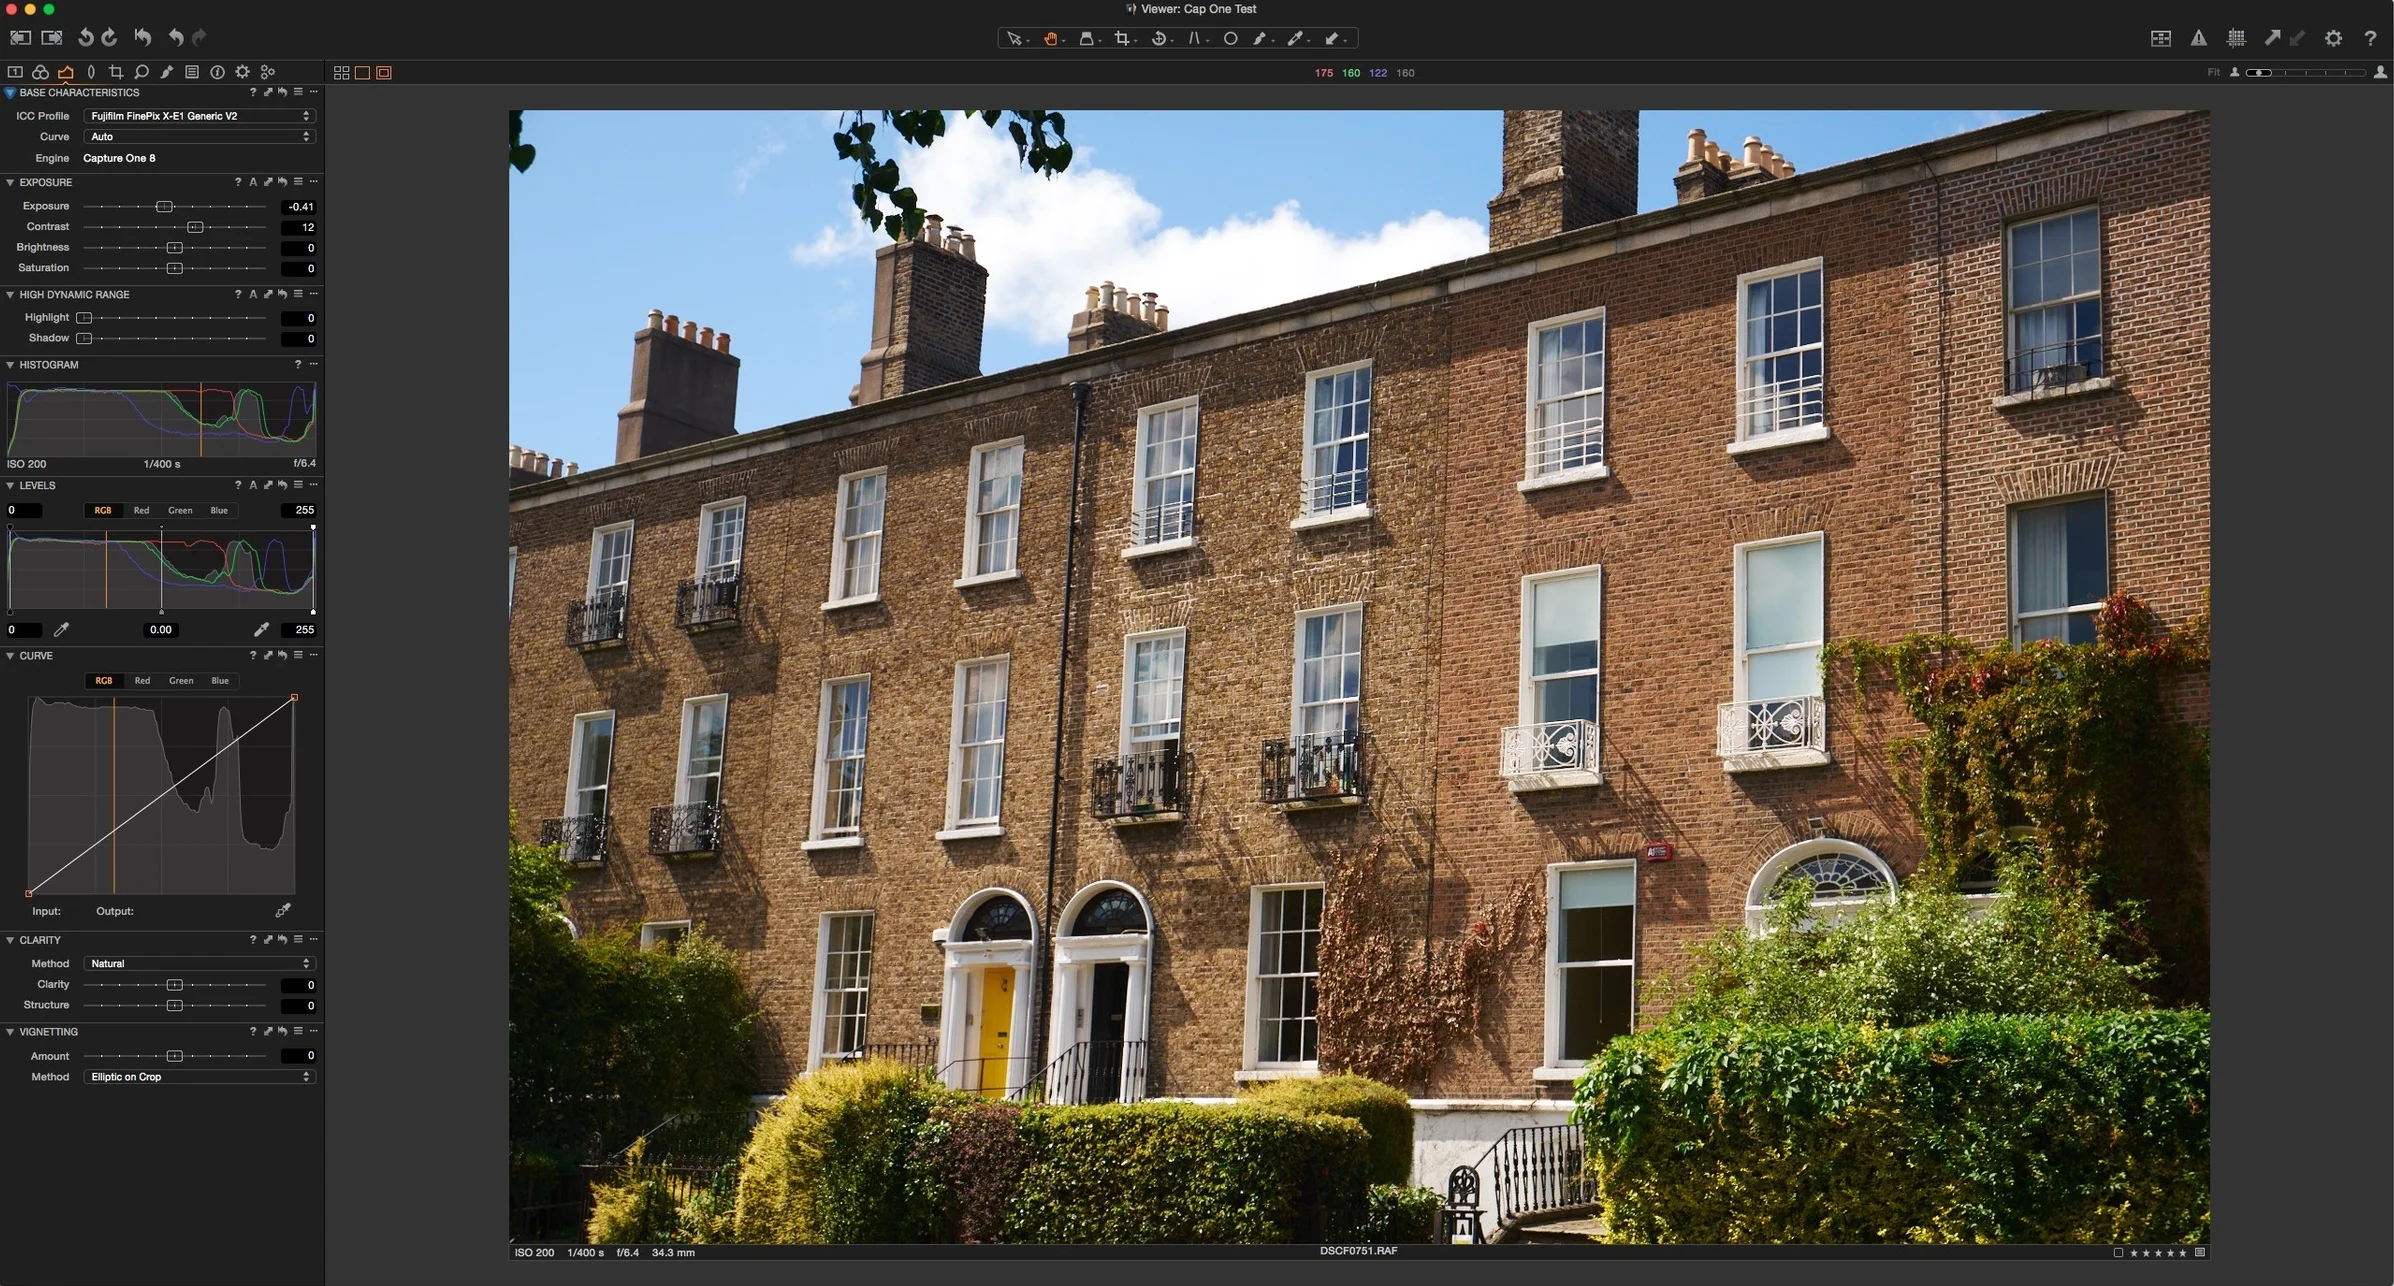
Absolute Best - Capture One Pro
In my opinion, Capture One, especially Capture One 20 produces the best all-round quality image. You will need to tweak the settings slightly to really take advantage of this, but when you do that, I think that for the majority of images, the majority of the time it gives you the best quality. There may be a few times when other options are slightly better, but in my opinion, the most natural and unprocessed looking image is from Capture One.
Capture One 20 made this slightly better still because of the improved noise reduction. In previous versions, I usually recommend that you turn the noise reduction off when possible and only turn it up for higher ISO images. However, in version 20, you can get away with it being higher without it impacting detail. This makes it an even better option as you can get clean, crisp images without sacrificing anything. Capture One also has good support for Fuji film simulation modes. (One small caveat here is that the film simulation modes aren't supported with first-generation 16mp sensor fuji cameras.)
Just to be clear, I'm only talking about X-Trans conversions here. For fuji cameras without an X-Trans processor, the choices are not as distinct, and it is more a matter of preference. I'm not saying that Capture One is better than Lightroom overall, and I believe that both have pros and cons, but for X-Trans conversions, in my opinion, it is better.
If you do consider using Capture One, I have a guide book on how to get the best from it, which you can find on my store here.

Second Best - X-Transformer + Lightroom
If you don't want to use Capture One for whatever reason, that's fine. It's a big change for many people, and some just don't like the software. The next best option, in my opinion, is using Iridient X-Transformer with Lightroom. This gives you all the flexibility of Lightroom with the improved raw conversion of Iridient's raw engine. I'm not going to get into a whole discussion of demosaicing and the technicalities behind why this works. Basically, this companion app for Lightroom allows you to bypass Lightroom's raw decoding engine and uses its own which doesn't have any of Lightroom's issues.
The downsides to this method are that it requires you to make a DNG copy of the original raw file and it can take up extra space, however recent versions of X-Transformer have introduced new compression options which allow you to save disk space. I understand that this is an extra process and not everyone will want to do that, but if you use Lightroom, and you want to maximise image quality, then this is the best way to do so, in my opinion.
I have another eBook dedicated to using X-Transformer, and it guides you through the multiple options available in the software, with some "recipes" for getting the best results.
Third Best - Lightroom with Enhance Details
A while ago, Adobe introduced a new function in Lightroom called "Enhance details". This is a function that uses AI to provide a superior raw decode. When used with X-Trans files, it works similarly to X-Transformer, but it comes built-in.
I've gone back and forward as to whether Enhance details was better than X-Transformer or not, but having made many comparisons, I now feel that it is inferior. There are also a number of tradeoffs when working with Enhanced Details.
Firstly, it doesn't work on every computer. Your system needs to have a dedicated GPU, and not ever GPU is compatible. Secondly, the DNGs that it creates are quite large, and there are no compression options. In some circumstances, it can actually reduce fine detail in a scene, but it depends on the scene. Still, it will, in most cases produce better results than you will get with just Lightroom, but the tradeoffs might not be worth it.
Fourth Best - Lightroom (or Photoshop) with Tweaked Settings
If you're unwilling or unable to use any of the above options, then the next best option is to use Lightroom and tweak the sharpening settings. By tweaking the sharpening settings, you can minimise the artefacts that Lightroom produces on X-Trans images.
This varies from image to image and may produce detrimental effects, but in many cases, it may be better than just using the defaults. I've covered this in great detail many times before, and I've put all of the advice on this into an eBook which covers this and other details of working with Lightroom.
Honourable Mention: Capture One Express
I wasn't sure where to place Capture One Express in this lineup. It has some of the features of Capture One Pro, but its free. However, it only works with Fuji Files, and it does have quite a few limitations. It depends on what your needs are as a photographer, as to whether or not the feature set of Capture One will be good enough for you. It will do basic conversions and supports Fuji film simulation modes, but it lacks more advanced editing features. You can, of course, do your conversions in Capture One express and then finish in Lightroom if you want. This gets a bit tricky though, and not everyone wants the hassle of handling multiple file versions, but it's another option.
Why not other options?
So why not other options like Luminar or On1 Raw. As I said at the beginning, this article is about what I think are the best options. There are other applications which will allow you to process RAW files from Fuji cameras and will give you varying degrees of quality. Still, in my opinion, most of these have too many tradeoffs to recommend them, even over Lightroom on its own. For example, in my opinion, the quality of X-Trans conversions in On1 Raw is not good enough, and in some cases produces a worse image than Lightroom.
Luminar produces good quality detail but lacks support for the Fuji film simulations directly, and in my opinion, the asset management side is still too lacking to completely replace Lightroom. It can also be a bit slow, which makes working with many images at the same time challenging.
I also don't recommend Iridient Developer any more, because, in my opinion, X-Transformer and Lightroom are a better combination. Iridient Developer is not as fully featured and hasn't had any significant updates in quite some time, so you're better off using it in connection with Lightroom.
Help Support the Blog
Buy from our affiliates
If you want to help support our blog, you can do so if you buy anything from our affiliate partners:
- Capture One Pro is available in both subscription and perpetual licences available, in versions for all cameras, Fuji specific , Sony specific or Nikon specific. In addition you can get 10% off the price of any Capture One product by using the following code: TFPHOTO
- Capture One Professional Style Kits from Capture One.
- Luminar AI is available from Skylum Software. Get a 10% discount using the following code: TFP10
- Nik Collection from DXO Labs
- DXO Photo Lab
- DXO Pure Raw
- My Amazon Photo Recommendations
- My Favourite Mac Utility Application: Clean My Mac X from MacPaw
- The VPN I use regularly - Nord VPN - Save on 2 year deal (valid at the time of posting)
If you buy through the above links, we get a small commission, which helps run this site.
Check out my Capture One Style Packs
If you’re looking for some Film Effect, or black and White style packs for Capture One, check out my Capture One styles on my Gum Road Store.
Buy me a coffee!
If you’d rather not use Patreon, but still want to say thanks or help, then you can feed my caffeine habit and buy me a coffee via PayPal with a one off donation to my PayPal tip jar.
Join our Facebook Group
If you want to discuss anything you’ve read here on my website, or saw on my youtube channel, or if you want to share images you’ve created using any of my techniques or presets, then I’ve started a new Facebook Group just for that.
Note that this post contains paid affiliate links. We get a small commission for purchases made through these links, which helps run this site.
Note that this post contains paid affiliate links. We get a small commission for purchases made through these links, which helps run this site.