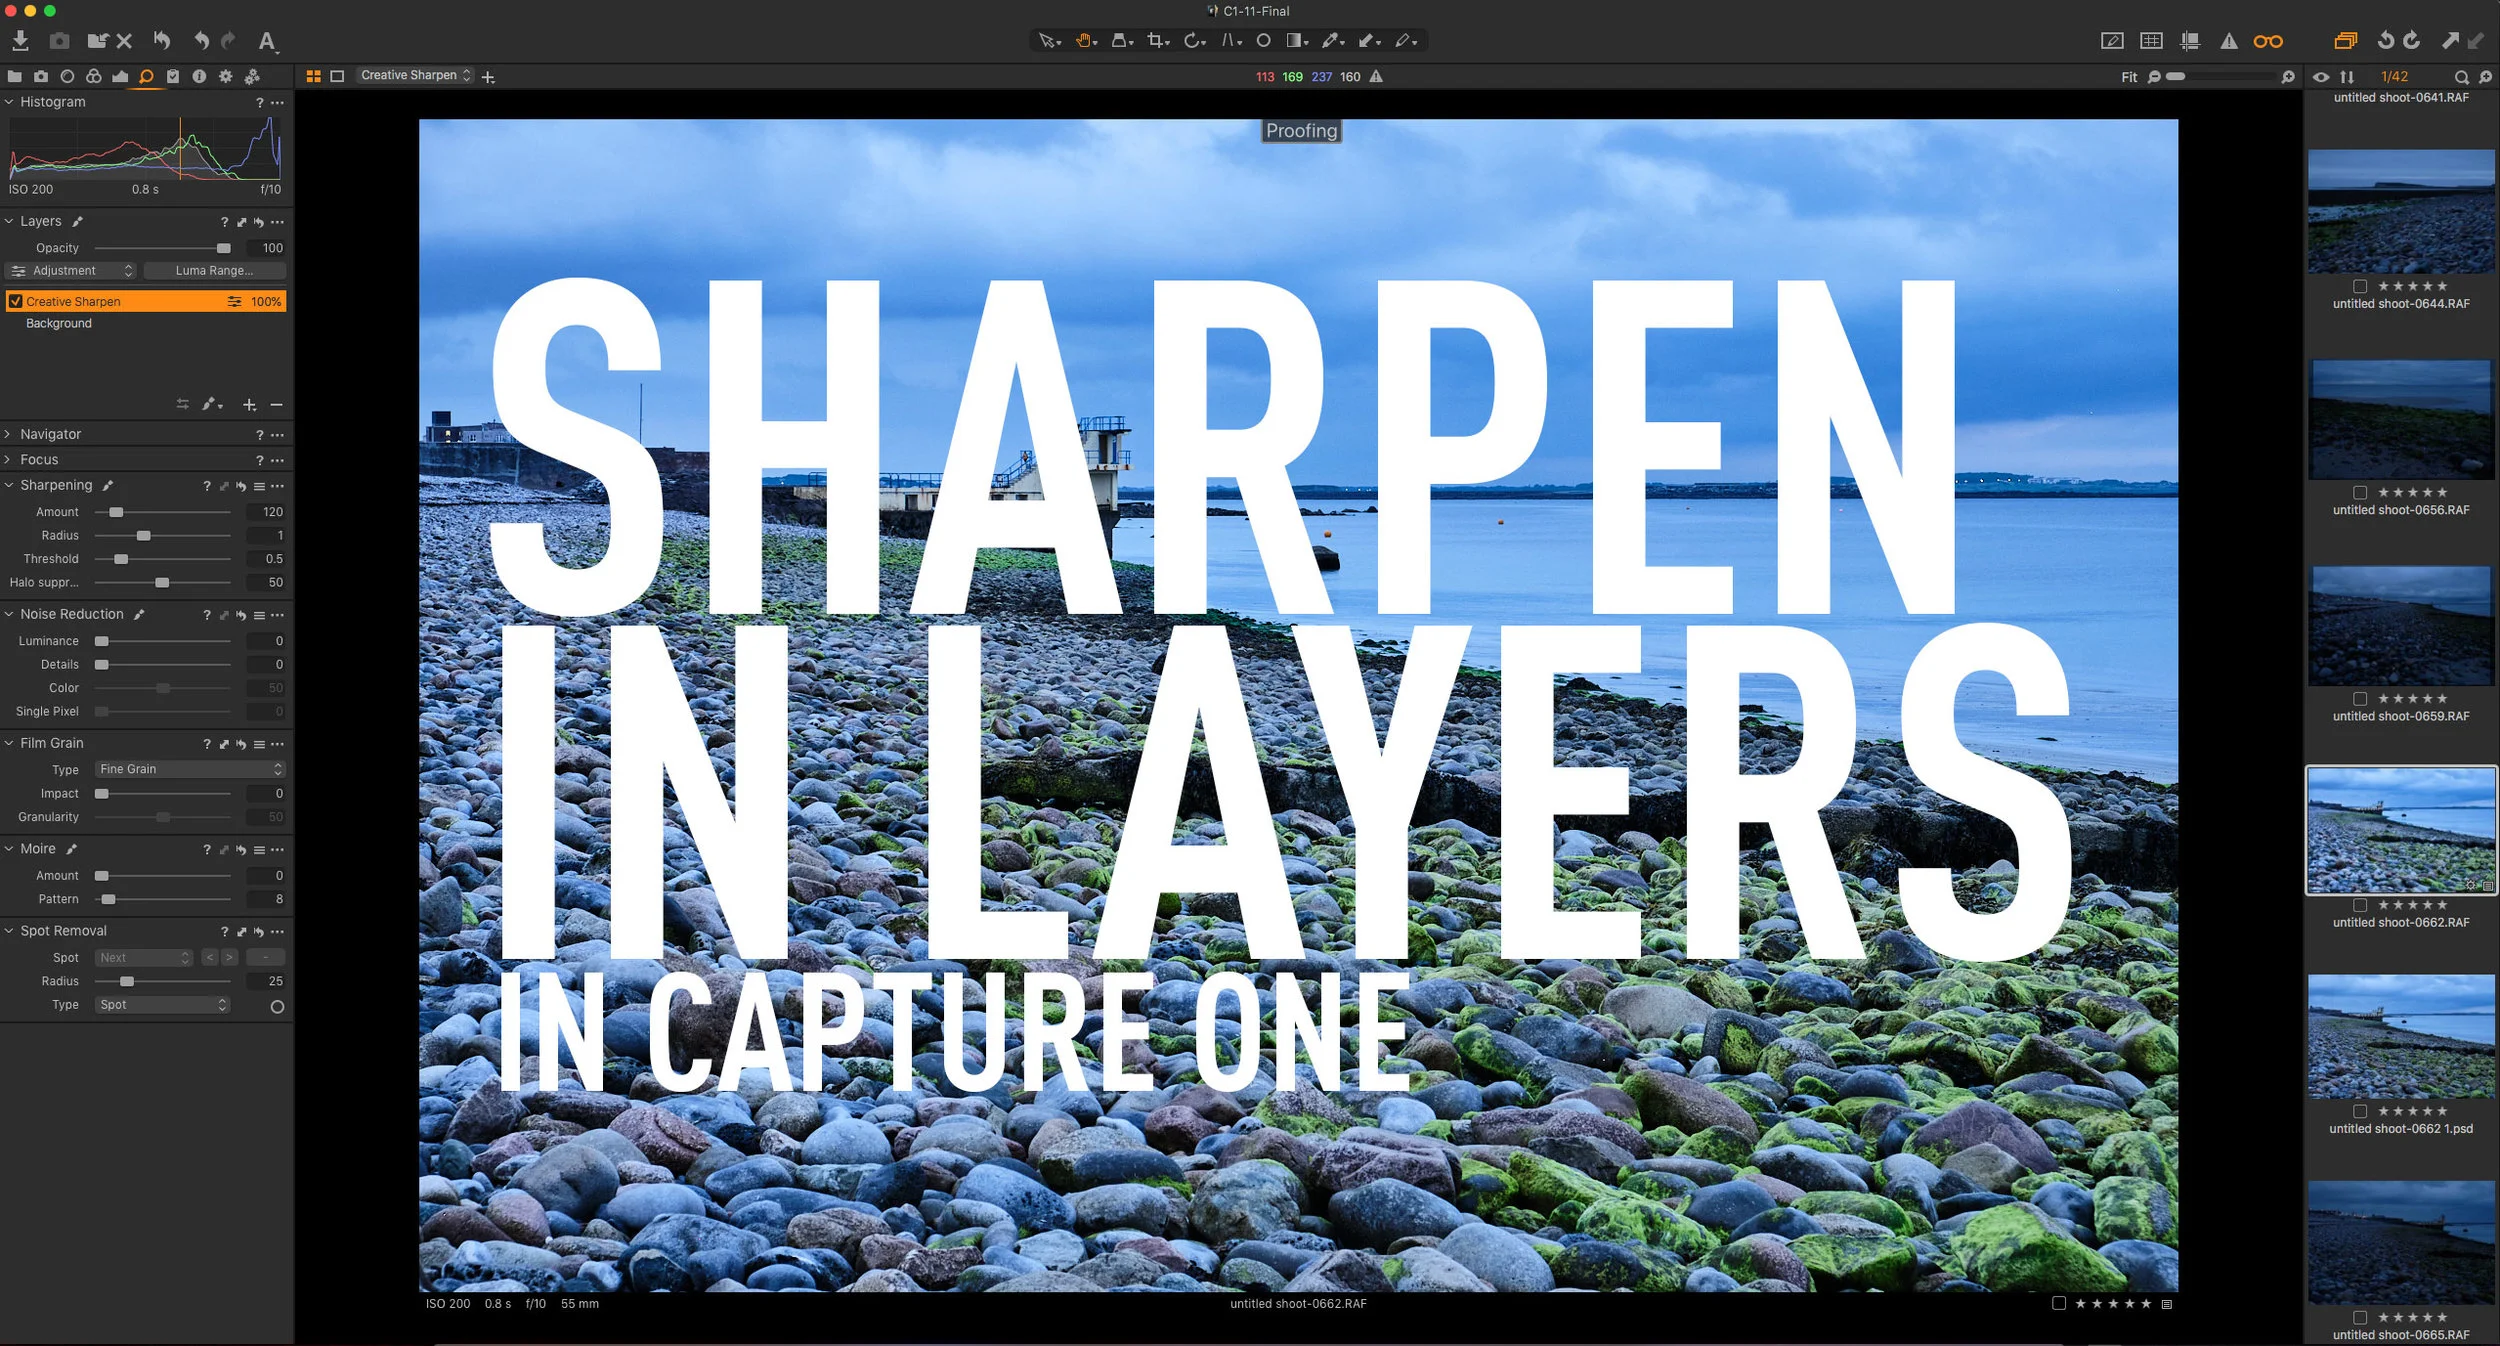
Use Layers to Apply Noise Reduction to the Shadows in Capture One
No matter how good your camera is, or how good your technique is, there are times when you will want to reduce the noise in an image. In many cases the noise reduction in your chosen raw processing software will be enough, but using noise reduction is often a trade off between maintaining detail and suppressing noise in an image.
It is sometimes the case that the shadow areas of an image contain the most noise, and the highlights are relatively noise free. This can happen for a variety of reasons. For a start, digital images are inherently more noisy in the darker parts of the image. Some cameras are worse than others in this regard, especially older cameras. Recovering shadows or boosting exposure in post production can also increase the noise in the shadow part of the image. Rather than just cranking up the overall noise reduction, an alternative technique is to just reduce the noise in the shadows. In Capture One Pro, we can achieve this quite simply by using the Layers function.
Here’s what to do (Remember to zoom into 1:1 when adjusting the noise reduction):
- Go to the Details tool tab.
- From the Layers tool click on the + button and choose “New Filled Layer”
- With the new layer selected, click on the Luma Range… button on the top of the layers panel.
- Adjust the controls till it looks like the screenshot below. You can experiment with this further later to make sure you’re getting enough of the luminance range in. Click Apply when you’re finished adjusting.
- You can now apply luminance noise reduction from the Noise Reduction tool. You can apply more than you normally would as you are limiting it to the shadows of the image, and so it’s less likely to soften important detail.
Once you have applied the noise reduction, you can always go back and adjust the luminance mask to tweak how much of the image is being noise reduced.
It’s up to you to try this and see if it’s worth the extra time to implement on your own images. You won’t need to do this on every image, but if you did have a photo that has more noise in the shadows, especially if you had increase the exposure or increased the shadow detail a lot, this tip will help you resolve fix it without loosing too much detail.
Just a reminder, but If you’re a Fuji shooter, don’t forget too check out my recently released Capture One Fuji guide which is now out and is on sale. You can learn more over on my Digital Download store.
If you don’t already have Capture One, at the time of writing this they are having a sale on the Fuji and Sony versions of the software, with up to 50% off. There’s reductions on some of the bundles too on the non camera specific version. This is ending at the end of August 2019 so if you are considering getting the software, now might be a good chance to take advantage of this deal.
Help Support the Blog
This blog is pretty much my day job now and I work to bring you my own take on photography, both tutorials and tips, as well as inspiration from my own art. I support this work, and my YouTube channel entirely either via sales of my eBooks and Lightroom presets, or the kind support of my readers. (I also have some affiliate ads). Running all this isn’t cheap, and so If you like what you see and you want to help keep this all going, there are a number of ways you can do so:
- If you’re interested in buying Capture One but haven’t yet bought your own copy yet, then by going through my affiliate link I’ll get a small commission!
- You can buy any of my Capture One Styles through my online store!
- If you’re buying anything on Amazon, you can help by using my affiliate link: Amazon US or Amazon UK.
- You can support me on Patreon. If you like what I do here and find the information useful, then you can help by subscribing to me on Patreon. As well as helping keep this blog going with even more useful news, tips, tutorials and more, members also get special Patreon only feed, which gives you behind the scenes content, as well as monthly downloads (for the top tier), for only €2 or €5 a month Stop by and check it out.
- Buy me a coffee / Tip Jar. If you want to support the blog but don't want to sign up for Patreon, you can buy me a coffee via PayPal with a one off donation to my PayPal tip jar.
You can see more of my photography and keep up to date by following me on social media and checking out my other websites:


