Share Folders of Images between Lightroom and Capture One and Keep Metadata Intact
If you are using both Lightroom and Capture One, there may be occasions when you want to try processing your images in both applications. This could be because you are still in the process of transitioning to Capture One, or you may just like using both applications. Whatever the reason, there are ways you can simplify the workflow of working with both applications, and in this post I’ll show you what to do.
Note that this only shares metadata, not edits. There is no real way to import your edits into Capture One and keep them intact, because both applications use different engines that are not directly compatible. Also, in terms of ratings, this will only sync star ratings and colour labels (and keywords etc) - it won’t sync “picks” as Capture One doesn’t have an equivalent.
Step 1: Import into Lightroom first
If you are starting from fresh, and are working off a memory card, then I usually import into Lightroom first - into a folder on my external hard drive, but this could be anywhere. I suggest not using DNG files, as sometimes there can be some compatibility issues with third party software. If you are confident that there wont be any issues with DNG and you really want to, then go ahead, but I prefer not to. I find that starting in Lightroom is easier for the whole process, as it is easier to get Lightroom to sync metadata.

This also works for existing projects you might have in Lightroom. If you have already worked on a folder of images just skip ahead to step 4.
Note: you don’t have to start with Lightroom, but in my opinion the process of getting metadata to of Lightroom is quicker than Capture One so it is easier and faster to work with Lightroom first. Also, if you are coming from Lightroom you might already have a folder of images you want to use in Capture One.
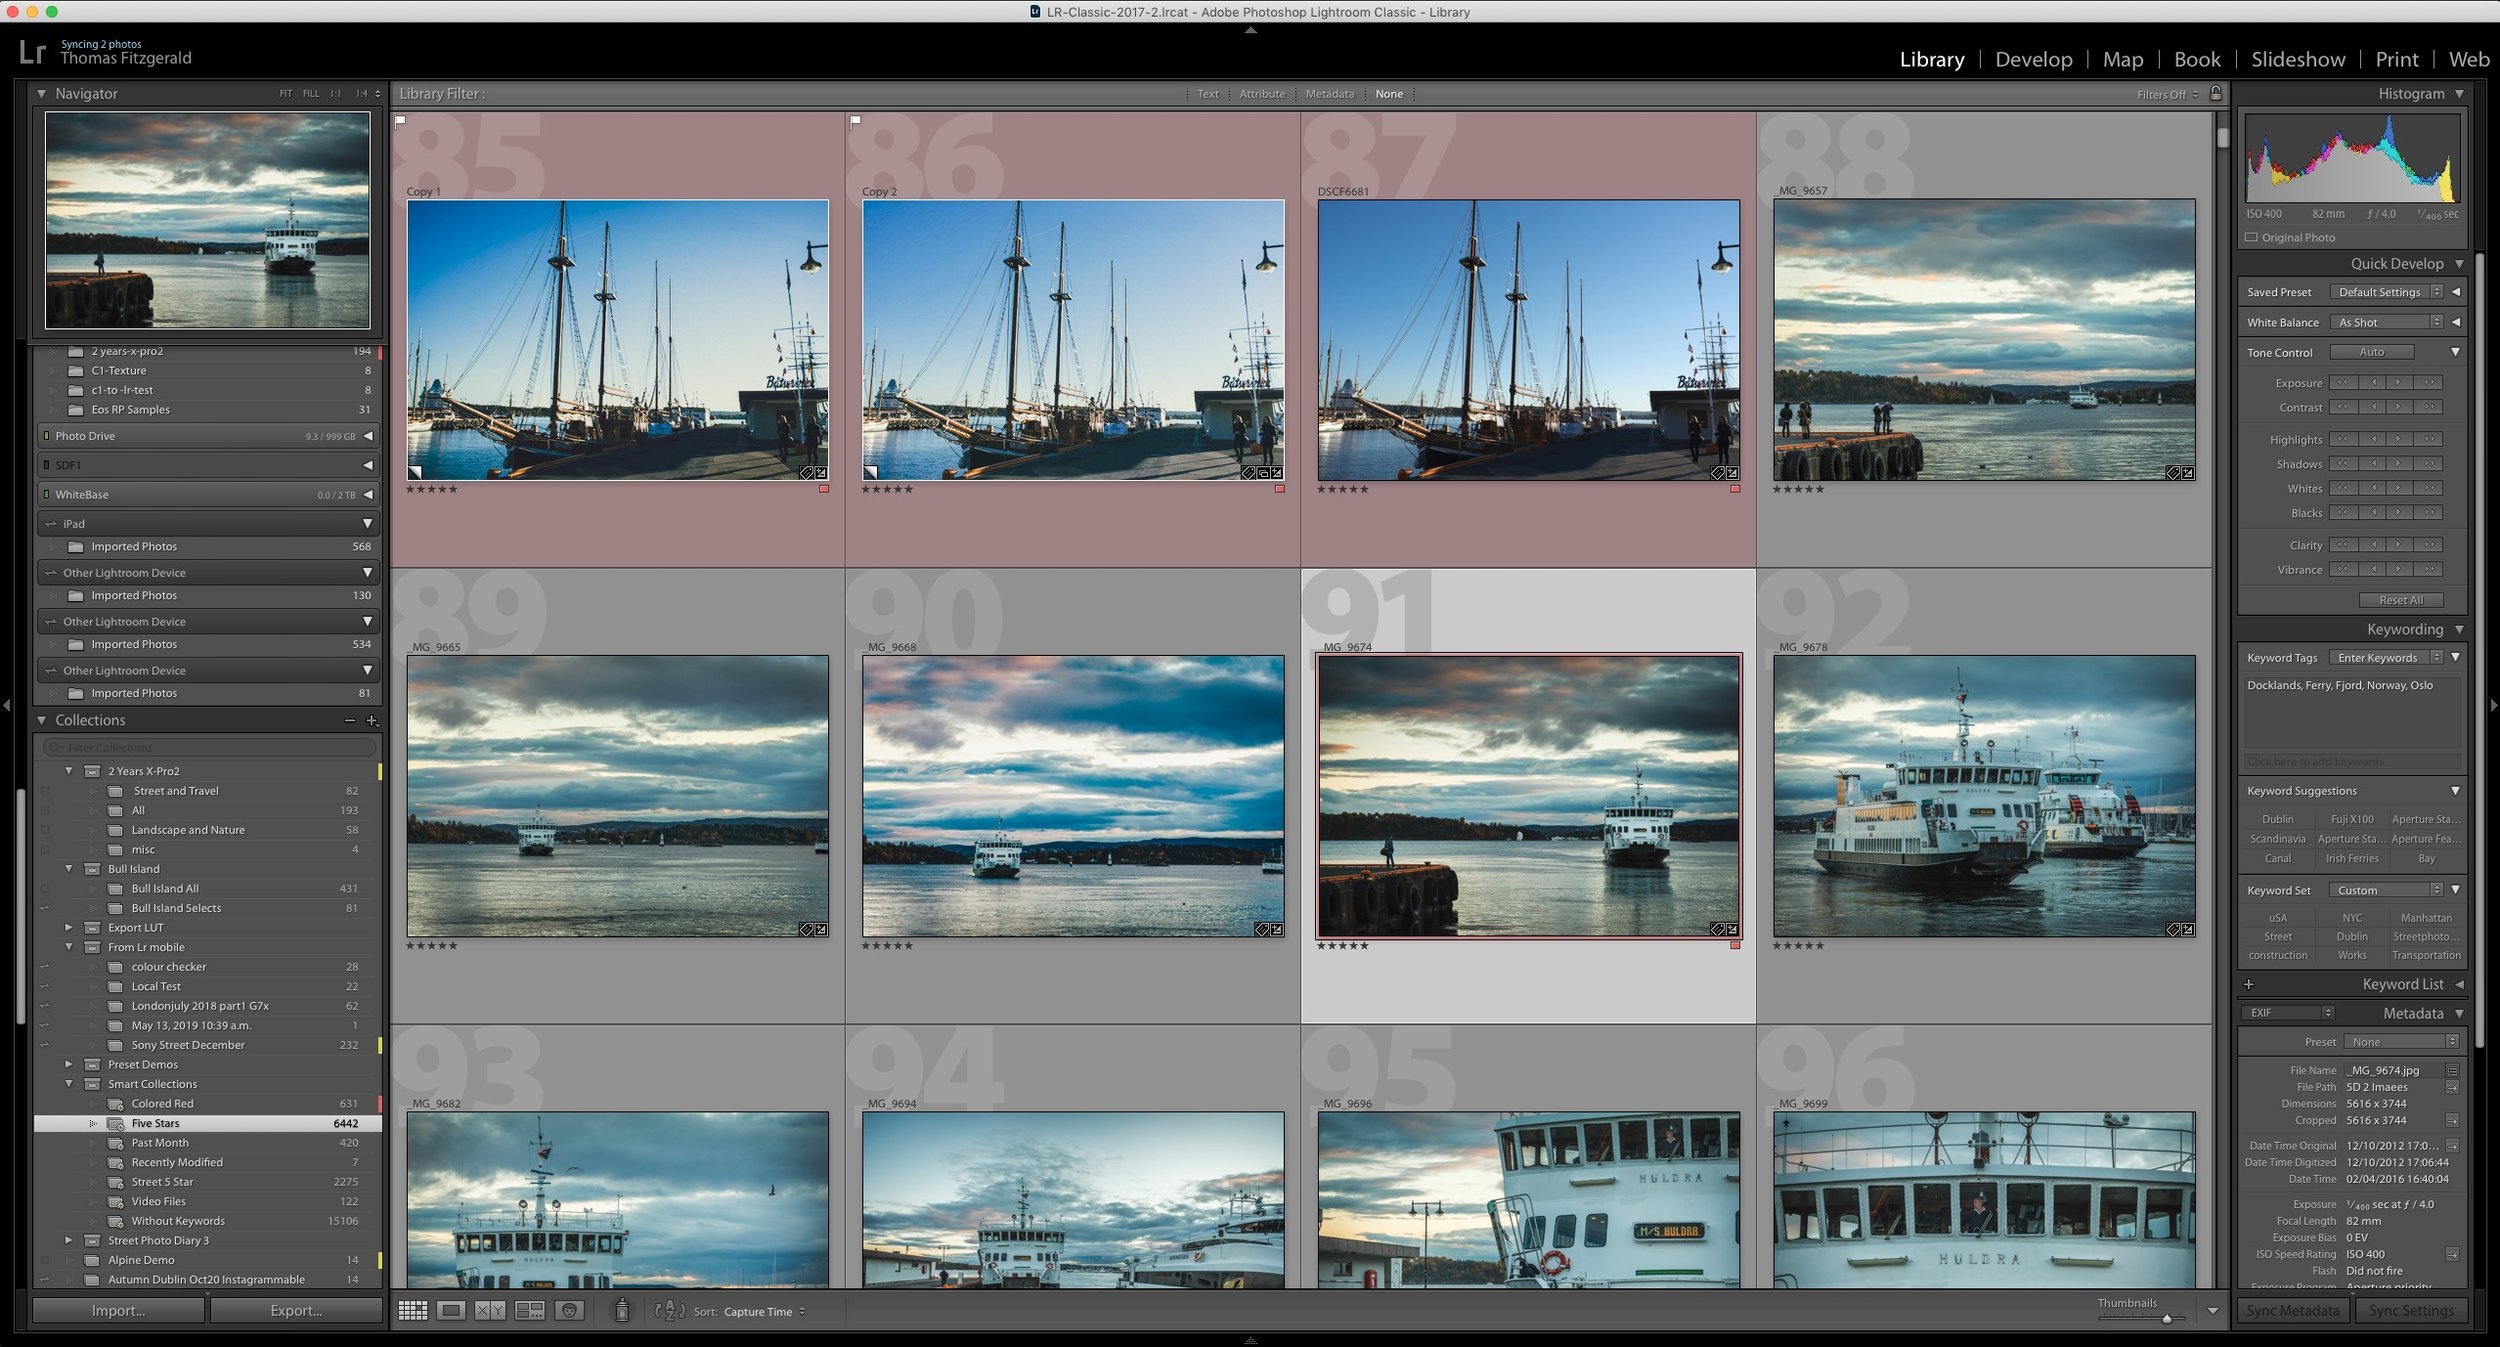
Step 2: Rate and Sort in Lightroom
If you want to rate your images, then it can be easier to do this in Lightroom first. You should use the 5 star rating for this rather than flags, as they translate to Capture One better.
Step 3: Do whatever you want to do in Lightroom.
If you are planning on using both applications because you want to try the processing in both, then proceed to do whatever you want to your images in Lightroom. Whatever edits you make won’t be translated into Capture One, so you can use the develop module to your hearts content.
Step 4: Sync Metadata
Before going over to Capture One you need to make sure you sync your metadata to disk. By default Lightroom should do this automatically, however some people may have turned this feature off, as there has been advice int he past that this feature can slow down Lightroom. (I’m not sure that this is the case any more).
To check if it’s on or off, go to the Catalogue Settings and then go to the meta data tab. Make sure that the option to Automatically write XMP data to disk is enabled.
Alternatively, if you don’t want to enable this, you can manually write metadata to disk for selected images. Here’s what to do:
Go to the Library module
Select the images you want to save metadata for. You don’t have to manually select all the images you rated, you can just select all the images in a folder or collection
Press Command (Mac) / Ctrl (pc) + S of from the menu choose Metadata > Save Metadata to Files.
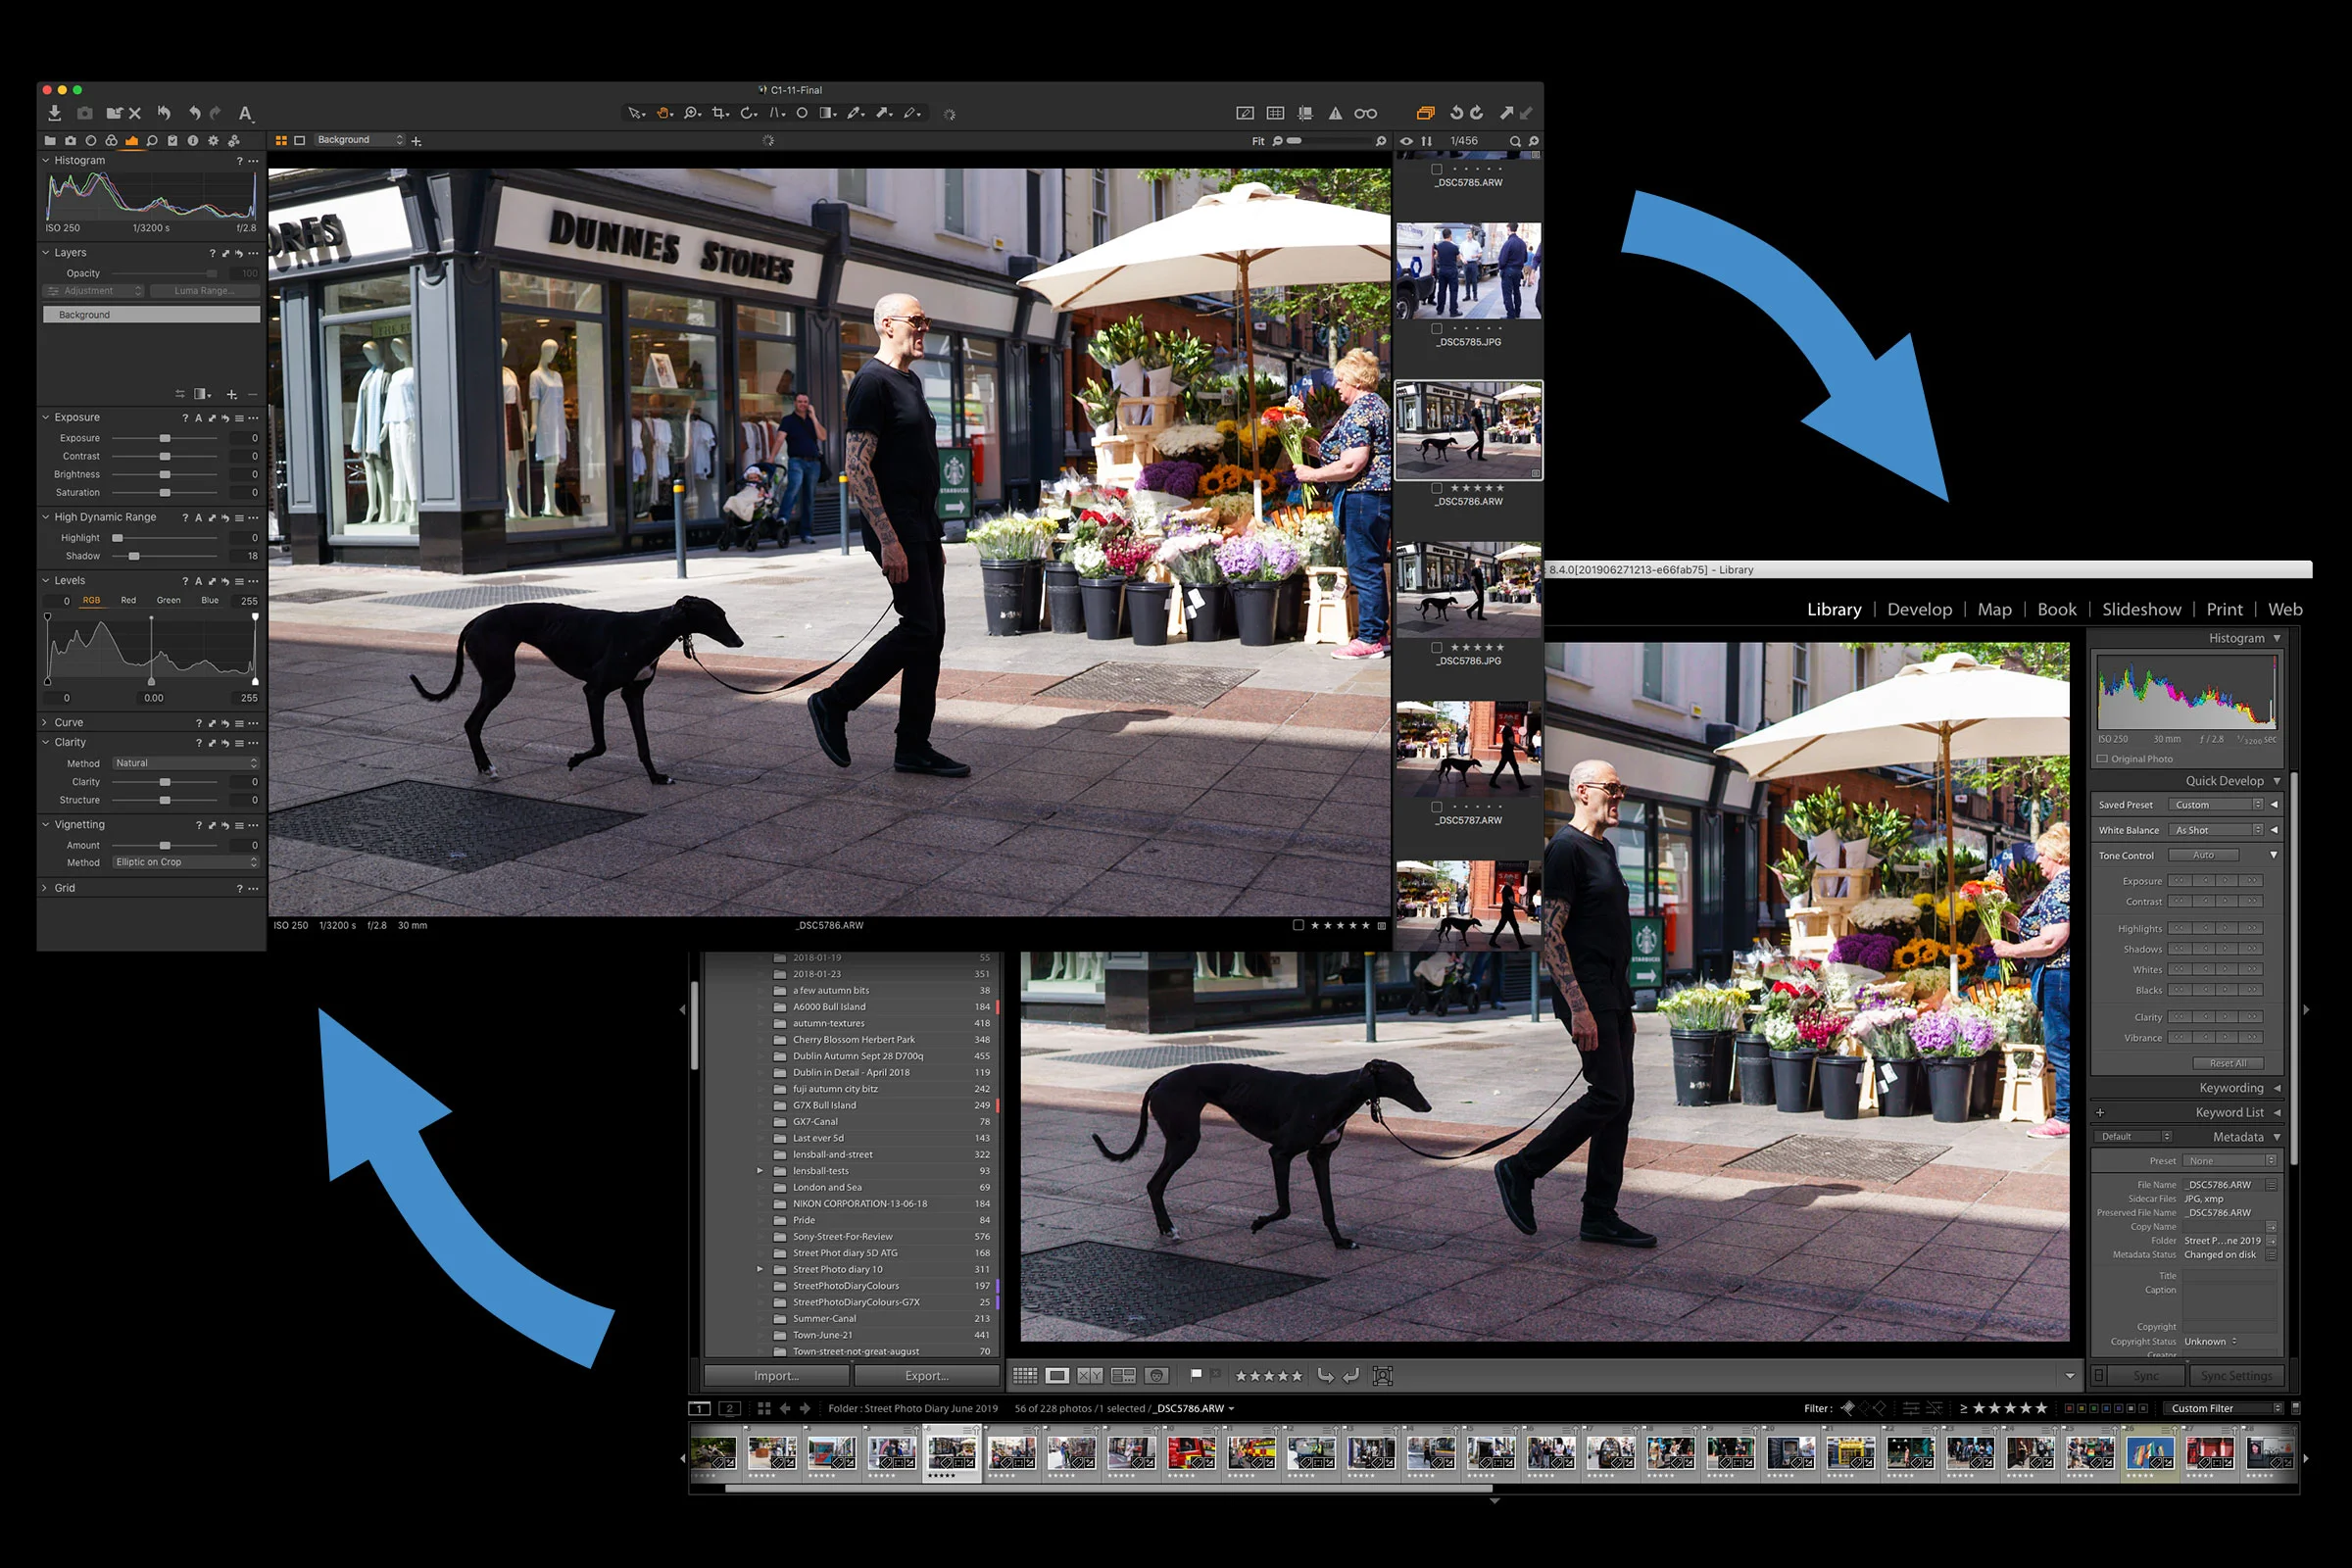
Step 5: Import into Capture One
Once you do this and you want to import the same folder into Capture One, you can now do so. When in capture One, you need to do a few things in the Import window.
So, start by launching Capture One, and then choose to import images by clicking on the import button or selecting it from the menu. When the window opens set the following options.
From the Source Pop-up, select the folder you just imported into Lightroom.
Set Destination to Current Location.
If you want to apply styles or presets on import you can set these here.
Start importing
This should import your images into Capture One and they should have any rating or metadata that you set in Lightroom applied to them. You can now edit your images in Capture One too. Edits you make here won’t affect your edits in Lightroom.
Quick Tip: To quickly get a folder from Lightroom into Capture One, here’s a quick method. This is instructions for the Mac only. I’m sure the steps are similar on a PC but I don’t have a PC to check.
In Lightroom, in the library module, locate the folder in the folder panel.
Right click on the folder and choose: Show in Finder
In the finder, click and hold on the folders icon in the menu bar, and drag it to the Capture One icon in the dock.
This should now open Capture One with the import window open and the folder selected.
Keeping metadata in Sync
There is a way to keep metadata in sync between the two applications, but it is a bit clunky, so I don’t recommend it. But if you want to try it, here’s what to do.
If you want to set Capture One to automatically sync metadata then do the following:
In Capture One go to the preferences.
Switch to the Image Tab
In the Metadata section set the Auto Sync Sidecar XMP to Full Sync.
This should write and read metadata every time you switch to Capture One or it detects a change. Note that if you set it to load it will only import changes and not write them out. The problem with this is it can take a while and it seems to go through the syncing process a lot. If you have a lot of images already in Capture One, it will attempt to sync everything so this can take a long time.
A better alternative is to do it manually. Here’s what to do:
Select the images you want to Sync.
Go to the Metadata tool tab.
Go to the Metadata tool, and from the action menu (the three dots) select the option to Sync Metadata. If you want to load metadata from Lightroom again, choose the load option here.
Once you write metadata you can re-sync in Lightroom.
Go to the Library module
Select the folder in the Folders panel
Right click on it and select Synchronise Folder
Set the option to scan for metadata updates.
Click Syncronise
This should load any mediate changes it finds on disk.
Note, if you don’t already have Capture One, or you have an older version, Phase One is still having a sale on (at the time of writing this) including their 50% discounts on the Fuji and Sony versions of the software. It’s due to end in August, so if you are looking to get the software, now is probably a good time.

Help Support the Blog
This blog is pretty much my day job now and I work to bring you my own take on photography, both tutorials and tips, as well as inspiration from my own art. I support this work, and my YouTube channel entirely either via sales of my eBooks and Lightroom presets, or the kind support of my readers. (I also have some affiliate ads). Running all this isn’t cheap, and so If you like what you see and you want to help keep this all going, there are a number of ways you can do so:
- If you’re interested in buying Capture One but haven’t yet bought your own copy yet, then by going through my affiliate link I’ll get a small commission!
- You can buy any of my Capture One Styles through my online store!
- If you’re buying anything on Amazon, you can help by using my affiliate link: Amazon US or Amazon UK.
- You can support me on Patreon. If you like what I do here and find the information useful, then you can help by subscribing to me on Patreon. As well as helping keep this blog going with even more useful news, tips, tutorials and more, members also get special Patreon only feed, which gives you behind the scenes content, as well as monthly downloads (for the top tier), for only €2 or €5 a month Stop by and check it out.
- Buy me a coffee / Tip Jar. If you want to support the blog but don't want to sign up for Patreon, you can buy me a coffee via PayPal with a one off donation to my PayPal tip jar.
You can see more of my photography and keep up to date by following me on social media and checking out my other websites: