Luminar 3.1 Review
Today, Skylum Software releases the first major update to Luminar 3. The release brings a couple of new features along with lots of other fixes and tweaks. The two headline features of the new version are Accent AI 2.0 and Raw + Jpeg management. I’ve been trying the beta for a few days and here’s what I found.
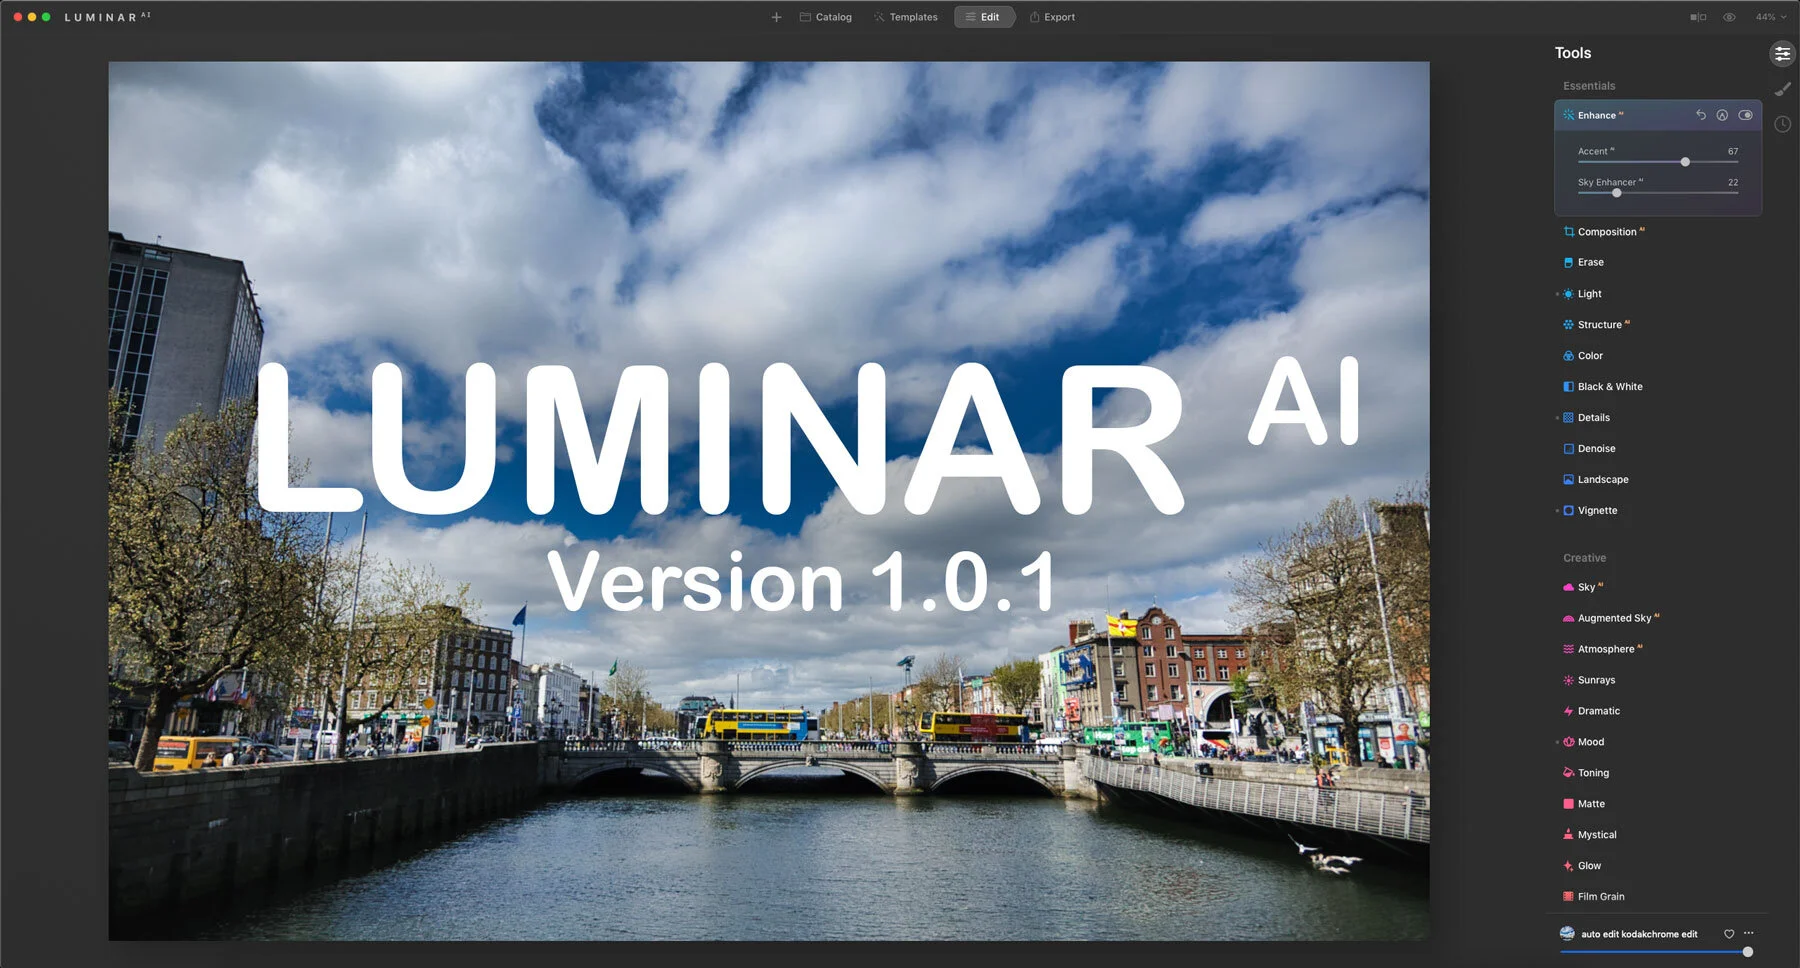
Accent AI 2.0
This is a new version of the company’s artificial intelligence engine for automatically enhancing your images. The old version was already pretty good in my opinion, but they claim that the new version is even better, especially when it comes to handling people. 1.0 could over-process images with faces and skin-tones a little and Accent AI 2.0 is designed to recognise people and objects and compensate.
In my experience the difference is fairly subtle, but it does make a difference when there are people in the frame. Previously if you cranked the slider up full, it would tend to blow out the highlights on skin tones, whereas now it’s protecting them, and they’re not as metallic looking. Here is an example...
As you can see the results are fairly subtle for the most part. I think this would probably be more noticeable if I shot portraits, but I don’t really have any portrait shots to try it on. Still, if you have images with people this hold make a difference.
The combination of this and some of the newer presets make for a really quick way to enhance your images, and it can cut down on your workflow. I’ve found myself using this more and more. Even when not using Luminar as my main processor, I will use it from Lightroom to enhance my images to give them a little extra pop. In some cases where it would require significant editing, I was able to create a good result by just using the “AI Image Enhancer” from the “Essentials” looks. This applies a few tweaks to the develop panel and uses Accent AI 2.0 and Sky Enhancer. While this was also true in the previous version, I now feel more confident with it, and you seem to have to tone it back less than you previously did.
Raw + Jpegs
The handling of Raw + Jpegs in the previous version was one of my big issues with the software. Luminar 3.1 now adds proper management of Raw + Jpeg pairs. It’s still not perfect, but it’s a vast improvement.
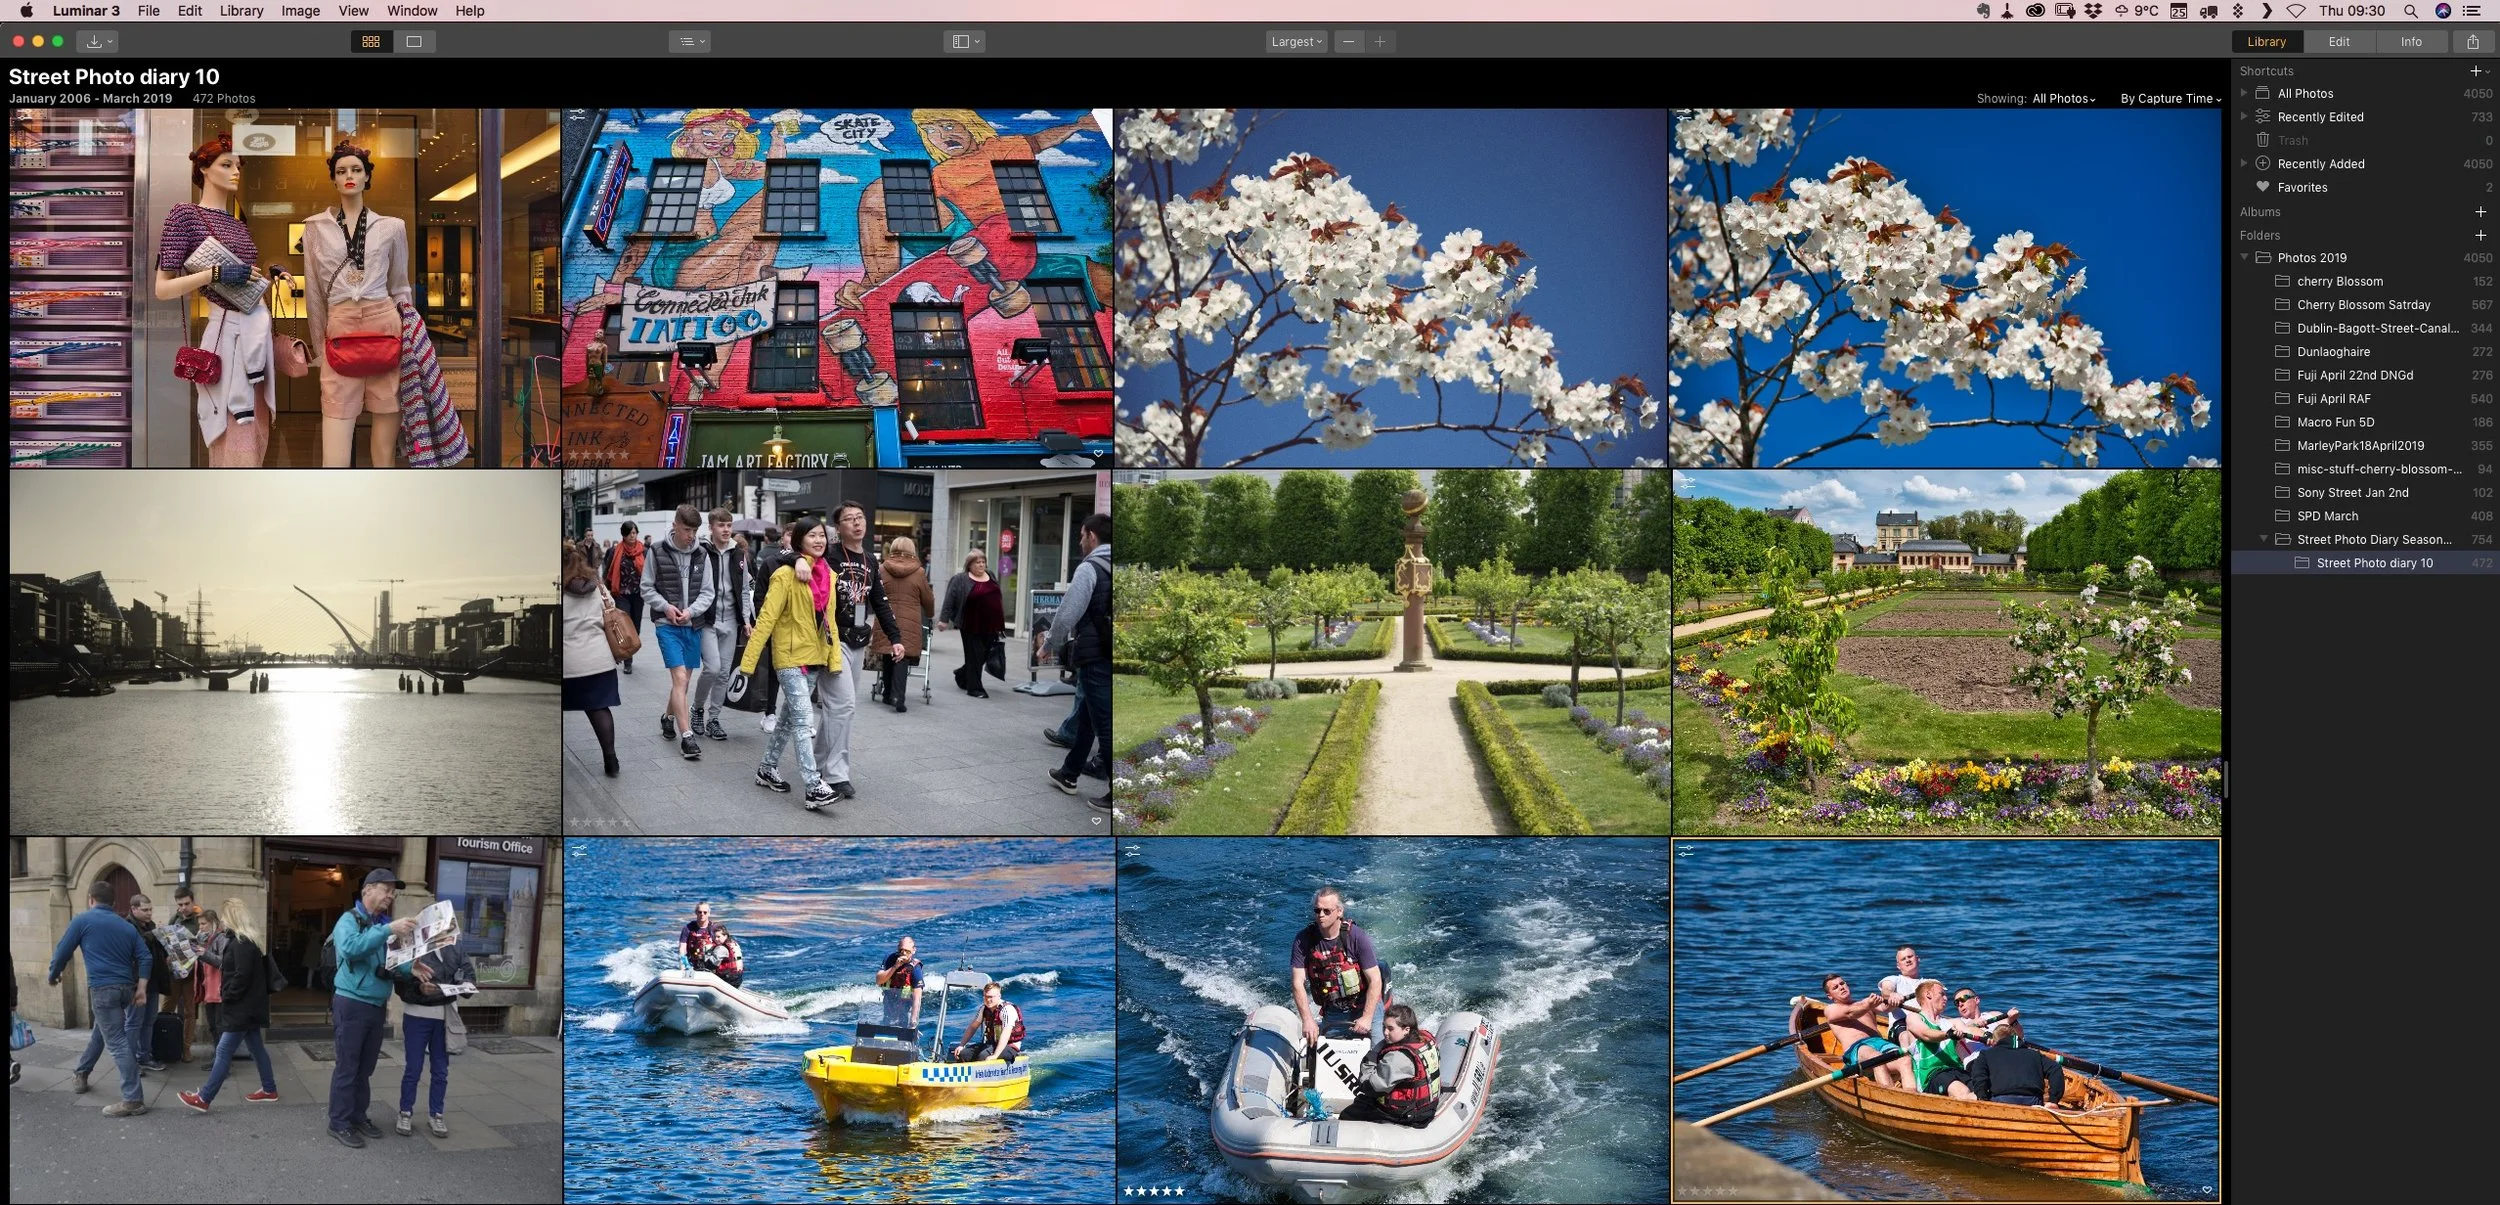
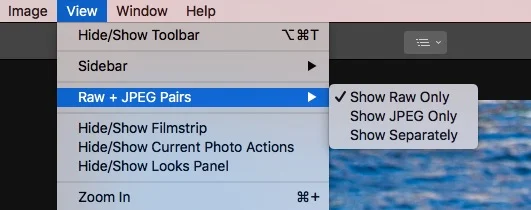
In the view menu, you now have a submenu for Raw. + Jpeg Pairs. This allows you to switch between viewing just Jpegs, Just Raw files or Both. It also treats images as a pair, so if you move one they both move (I haven’t tested this in practice). Ratings will also be applied to both as a pair, so if you mark the Raw file as 5, for example, the Jpeg will be given a 5-star rating too.
This is a huge improvement over the previous version. If you shoot RAW + JPEG as I do, then previously it was a total pain, as there was no way to even filter these out and it wasn’t even clear from the gallery view as to which was which. It actually put me off using the software, and now with this new feature, it’s made it useable for me again. So kudos to them for adding it.
However….
I do think it still has a few limitations though. It’s not that there’s anything wrong with it, but it could be better. For me the gold standard of RAW + JPEG handling was Aperture. It allowed you to switch on a per image basis, and I wish this could do the same. As it is, it seems to be global, but there are times when you would be working on a raw file but would like to use the Jpeg for just that image. So I would really like to see this on a per image basis.
Also, there’s no indication on the gallery view if an image is RAW or JPEG so a little badge to tell you what you’re looking at would be useful too.
Syncing Enhancements
Another new feature is that the way adjustments are synced between images has been improved too. It now only syncs adjustments, and Image layers, erase, cloning and cropping won’t be synced. This makes more sense and while it’s not an issue that I had run into I suspect this will be welcomed.
However… ;-)
I still think this could be improved further. There is still no way to select which adjustments that you wish to sync. Something like the way Lightroom works I think would be a better option. When you select the option to sync, what I would like to see is a dialogue box with a list of the applied filters and a checkbox for the ones you want to sync.
But there is a bigger issue with syncing that I think they need to solve, and the same applies to presets. If you sync adjustments between images, it overwrites whatever is currently in the filter stack on the target image. Even if they're unrelated. You can’t just sync sharpening for example, as it would then leave the target image with just a sharpening filter and nothing else. I fond this one of the biggest limitations of the way Luminar works for both syncing and presets or “Looks” to use the appropriate terminology. It means you can’t create tool presets that just affect one or two things. If you make changes to one image and want to sync those to another image, if you had made changes to that, they will be completely overwritten.
Let me give you an example. I was editing some images, and I realised that I didn’t have the lens corrections tried on. Now, in any other software, you could apply the lens correction, and then copy and paste it to other images, or sync just the lens corrections. In Luminar however, there’s no way to do this. Even if I had only changed the lens corrections, syncing to the other images would overwrite everything on that image, deleting all your previous edits.
Or consider this. I load some images, then set the colour profile, and sync these across all the images. This is fine, but if I then go to apply one of the presets, it will overwrite these changes. I have to create a new layer and apply the preset to that. It’s not the end of the world, but it’s a clumsy and awkward way of working.
I also wish they would let you set defaults for things like lens corrections and colour profile. In fact, the whole raw develop filter should be able to be set as a default for a particular camera.
I really wish someone at the company would realise that this is an issue and set about changing how the whole preset/syncing/ copy and paste system works, because as it is, in my opinion, it’s a really big limitation of the software, and incredibly frustrating from a workflow point of view. All they would need to do is have it add the adjustments being copied or synced instead of overwriting everything. Or, alternatively, if a particular adjustment exists, or has been changed then overwrite it, otherwise don’t. Like how most other software works.
Windows improvements
I don’t have access to a PC, so I can’t test any of the windows improvements, but according to the release information, here’s what’s improved…
Import Images (Windows) You’ll be able to copy photos to a folder right from Luminar. Use this choice to pull images off of a memory card or other drive.
Gallery Selection (Windows) Now it’s more convenient to select and deselect photos in your gallery. Select non-adjacent photos with Ctrl-click. Click outside a photo to deselect all photos.
Conclusions
While the headline feature of this release is Accent AI 2.0, for me the biggest improvement is the RAW + JPEG handling. This has made the software much easier for me to use with my workflow. Overall, although it hasn’t been announced, the software does feel a little faster to me, but that could be my imagination. I said in my previous review, that I really think Luminar has potential, but it still has a long way to go, and I stand by that assessment. This update has made some steps in that direction, but there are still a lot of things that need to be done before it can stand head to head with Lightroom and Capture One.
They have the basics down, and most importantly there are no major issues with image quality. In fact, you can get really good results from the software with relatively little effort, but there are still some areas that really need improvement. The time to load an image is the big one for me. They really need to improve or implement a better caching and preview system. You can import images really quickly into the software and it generates previews really quickly, but I suspect they are coming from the embedded Jpeg previews. They often don’t bear any resemblance to the image you get when it loads. There’s also no way to regenerate previews. The other issue is the actual gallery display. At the moment there is almost no information overlaid on the images. This makes it very hard to see at a glance what you’re looking at, and again, it’s something that would be high on my list of priorities.
The funny thing is though, when writing this review, despite being sceptical, I found myself using the software more and more, and I actually used it on a real project and was surprised by the results that I was getting. So despite what I the fact that I just laid out a whole raft of things I wish were improved, it’s definitely getting there. Once you get past the workflow limitations, the actual editing side is a joy to use and its quite powerful. I hope they keep pushing ahead with the development, and I hope they listen to users and humble opinions from reviewers like yours truly because Luminar could be a really great system with a few more improvements.
Luminar 3.1 is available now directly from Skylum software. It’s a free update to existing Luminar 3 owners and they’re also running a special for new customers and those upgrading from a previous version.
The Update Deal will be available April 25 through May 14.
Pricing:
- Luminar 3.1 can be purchased for US$60 (US$50 with the coupon code TFP10) instead of US$70
- Luminar 3.1 + Photography 101 video course by SLR lounge (worth US$99) bundle can be purchased for US$69 (US$59 with he coupon code TFP10) instead of US$169
- Luminar 3.1 + Aurora HDR (worth US$99) + Photography 101 video course by SLR lounge (worth US$99) bundle can be purchased for US$129 (US$119 with he coupon code TFP10) instead of US$268
Help Support the Blog
I’m now on Patreon. If you like what I do here and find the information useful, then you can help by supporting me on Patreon. As well as helping keep this blog going with even more useful news, tips, tutorials and more, members also get special Patreon only perks. Stop by and check it out.
If you like this post then you can see more of my work on Instagram, Twitter and Facebook. I also have a YouTube channel that you might like. You should also check out my other Photography Project: The Streets of Dublin. If you want to get regular updates, and notices of occasional special offers, and discounts from my store, then please sign up for the Newsletter.
You can also show support by buying something from my from my Digital Download Store where I have Lightroom Presets, and e-books available for download. If you're a Fuji X-Trans shooter and Lightroom user, check out my guide to post processing X-Trans files in Lightroom. I also have a guides for processing X-Trans files in Capture One and Iridient Developer. For Sony Alpha shooters I have a new guide with tips on how to get the best from processing your A6000 Images in Lightroom.