My Two Pass Approach to Photo Editing
Whenever I set about editing an image or a whole shoot, I usually break the task down into two passes. First, I do any necessary corrections to the picture, and then I do more creative editing. I use this approach regardless of what software that I’m using, and by doing this, it makes it a bit easier to manage your editing process, and also to make multiple versions of an image. Let me explain a bit further.
Pass One: Corrections
When I talk about applying corrections to an image, I’m using this terminology as a broad description for doing multiple things. The goal of this pass is to get your image to a “zero” state for you to do more edits to. So, what I would consider the things that I would do in this pass are settings like, applying the colour profile, applying any necessary lens corrections, applying noise correction and so on.
Usually, I take care of a lot of these things with an import preset. In many cases, the settings that you apply from image to image won’t change in this respect. For example, when I import files from my Nikon DSLR, I always use the standard colour profile and set lens corrections to automatic. Because of this, I have created a preset in Lightroom that does all this, and I apply this to all of the images on import.
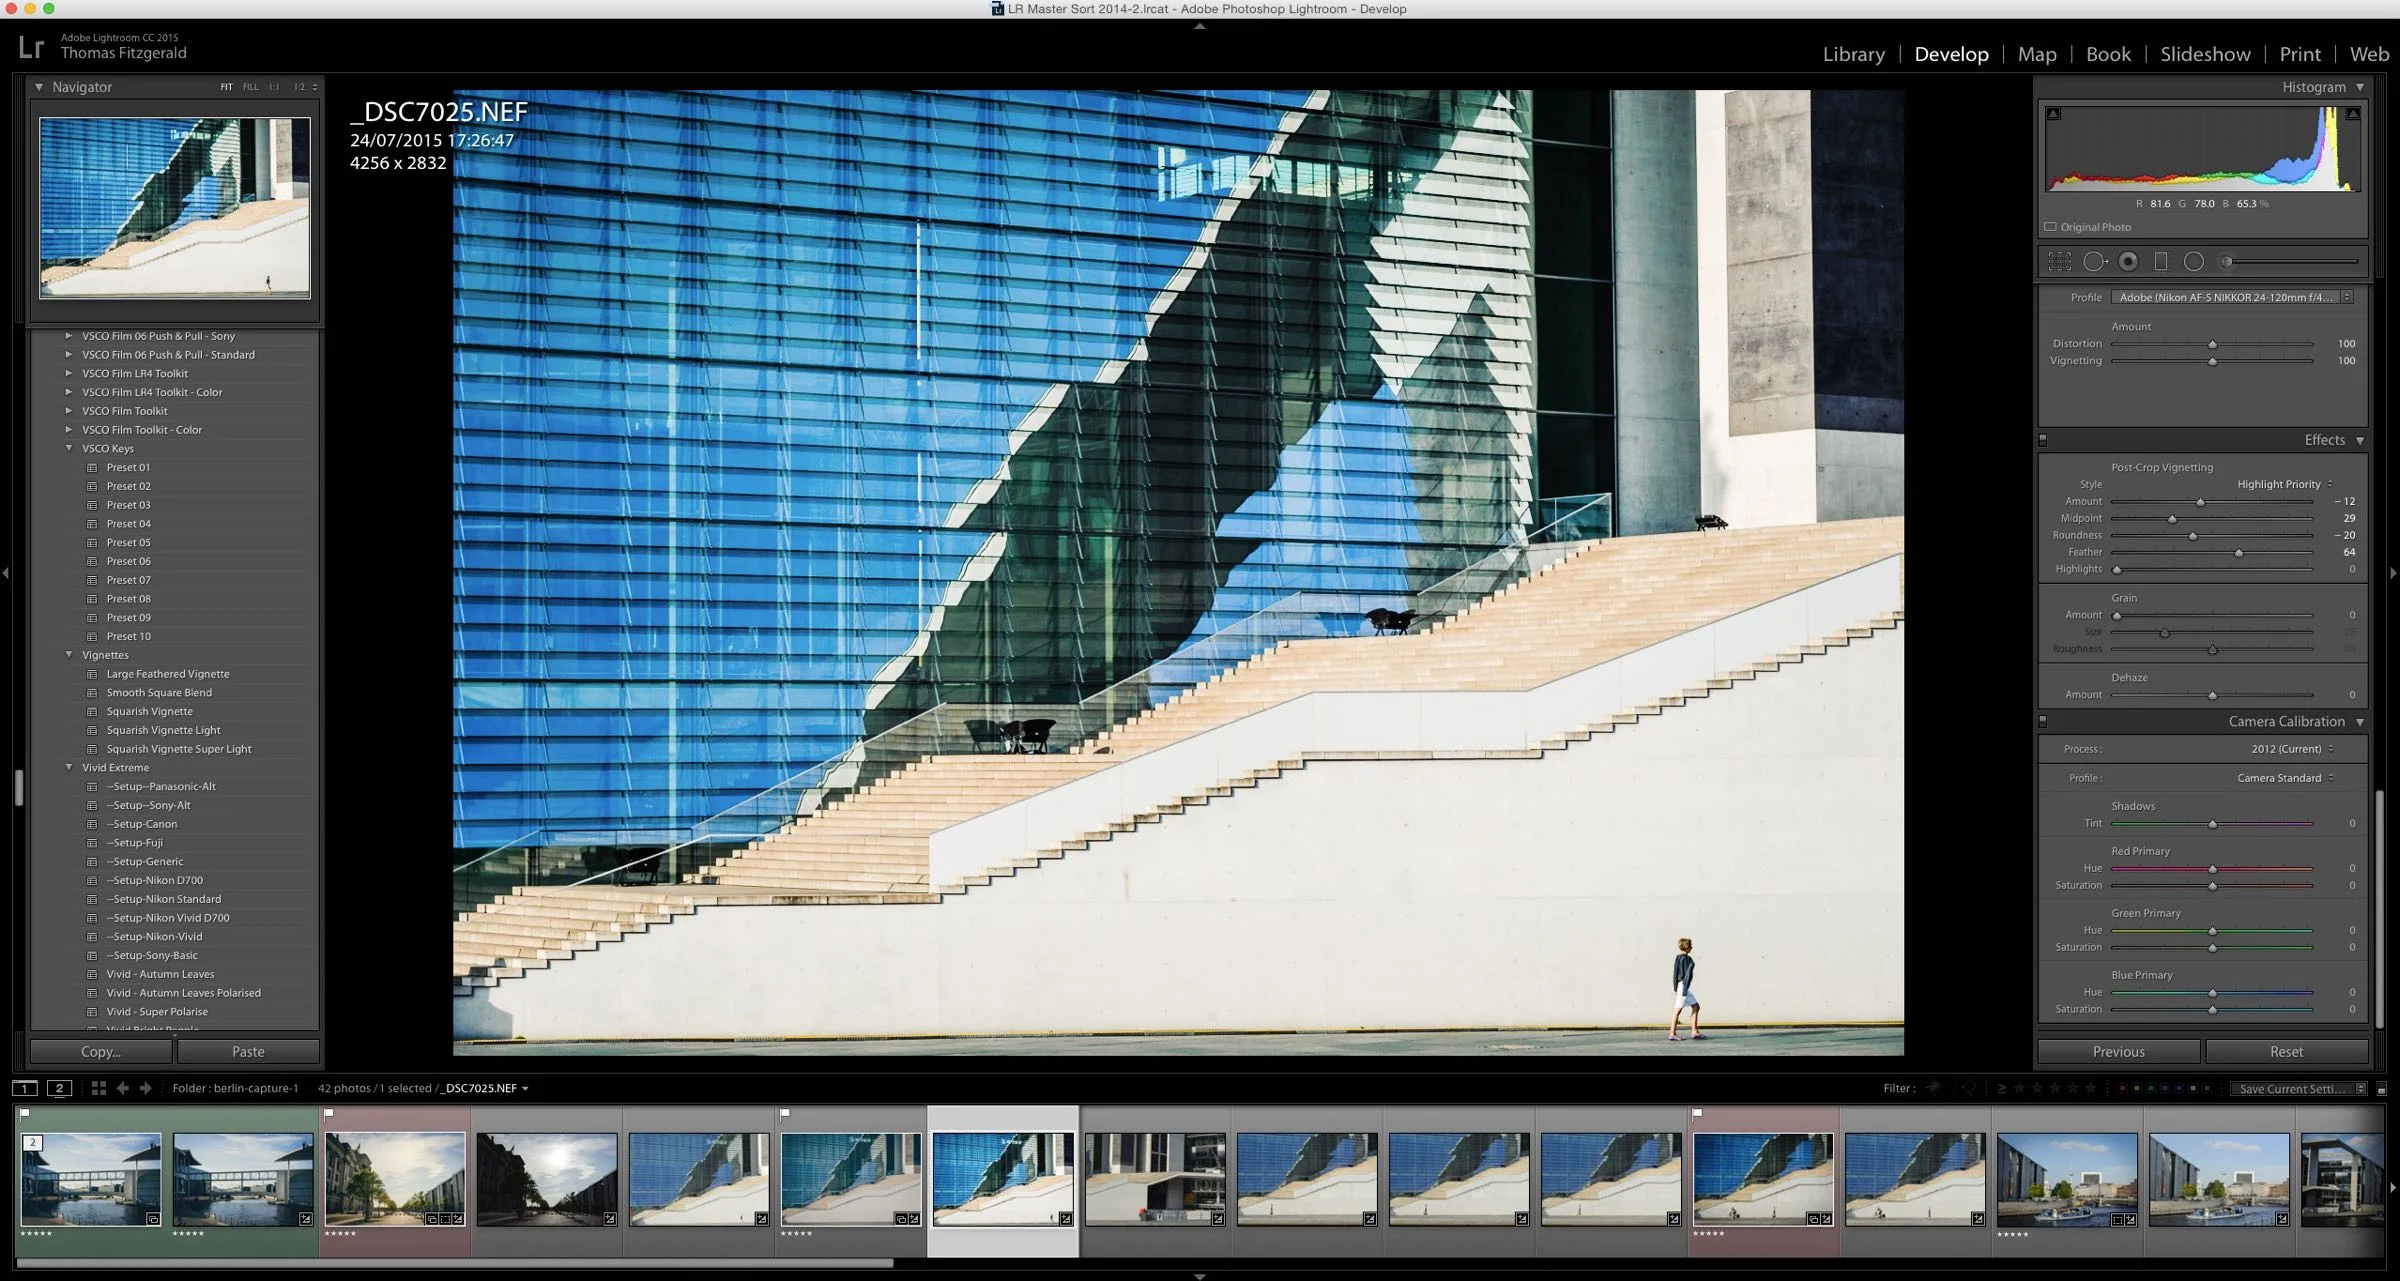
There are a few other things that I like to do too. Sometimes, I’m not happy with the way certain cameras are calibrated in Lightroom, and so I will apply my own custom calibration. In some cases, this is just a tweak of the values in the camera calibration tab of Lightroom’s develop module. In other cases, this is more elaborate, and I will tweak the black levels and tone curve too. Again, a lot of times this is a set of adjustments that I will apply to all images of a specific camera model, and in those cases, I will also use a preset on import (usually combined with the other adjustments that I’ve already talked about.)
As I mentioned at the start, the goal of this phase is to get your image to a base level, or a starting point for more creative editing. So, in this pass, I would also consider things like straightening an image and fixing excessive colour fringing that might not be addressed by the normal chromatic aberration correction. If I need to tweak sharpness and noise reduction, I will also do it here, but sometimes, you may need to re-adjust this after you’re finished.

Pass Two: Creative Editing
Once I have fixed all the technical issues of an image, it’s time to move on to the more creative side of editing. In Lightroom, if I remember (and I usually don’t), I will create a snapshot of the current state, before proceeding. This way, you have a quick way to reset your image back to your base level, without having to reapply all the technical corrections that you made.
The creative editing pass can literally be anything. Whether it’s manually tweaking an image, or applying a look with a preset, the sky is the limit here. If you want to try multiple looks to a photo, you can always create a new version, or revert back to the snapshot that you previously saved.
Here’s an old post I did where I discuss some of the edits that I make to every image.
When making a lot of edits to an image, you will sometimes also need to go back and change some of the settings that you applied in the first pass. This is particularly true of noise reduction and sharpening. Sometimes your editing process will increase the amount of noise in an image, and you may need to tweak the noise reduction amount.
Workflow
I don’t want to give the impression that this is a rigid way of working. I don’t necessarily work in two distinct passes, and I don’t do all the technical corrections to all my images, and then go back to the start to do the more creative editing. Usually, most of the first pass is handled by presets on import. I will then do any other corrections to the image that I’m working on and immediately move to creatively editing that image.
Rather than a strict two-step workflow, this is more of a two-step thought process. I think it’s helpful to think of your editing process in these two steps, as it makes it easier for you to break down your approach in your mind a bit easier, and it also helps you reach a better starting point before letting your creativity do the driving.
Help Support the Blog
I’m now on Patreon. If you like what I do here and find the information useful, then you can help by supporting me on Patreon. As well as helping keep this blog going with even more useful news, tips, tutorials and more, members also get special Patreon only perks. Stop by and check it out.
If you like this post then you can see more of my work on Instagram, Twitter and Facebook. I also have a YouTube channel that you might like. You should also check out my other Photography Project: The Streets of Dublin. If you want to get regular updates, and notices of occasional special offers, and discounts from my store, then please sign up for the Newsletter.
You can also show support by buying something from my from my Digital Download Store where I have Lightroom Presets, and e-books available for download. If you're a Fuji X-Trans shooter and Lightroom user, check out my guide to post processing X-Trans files in Lightroom. I also have a guides for processing X-Trans files in Capture One and Iridient Developer. For Sony Alpha shooters I have a new guide with tips on how to get the best from processing your A6000 Images in Lightroom.