What a difference some Extra Ram makes
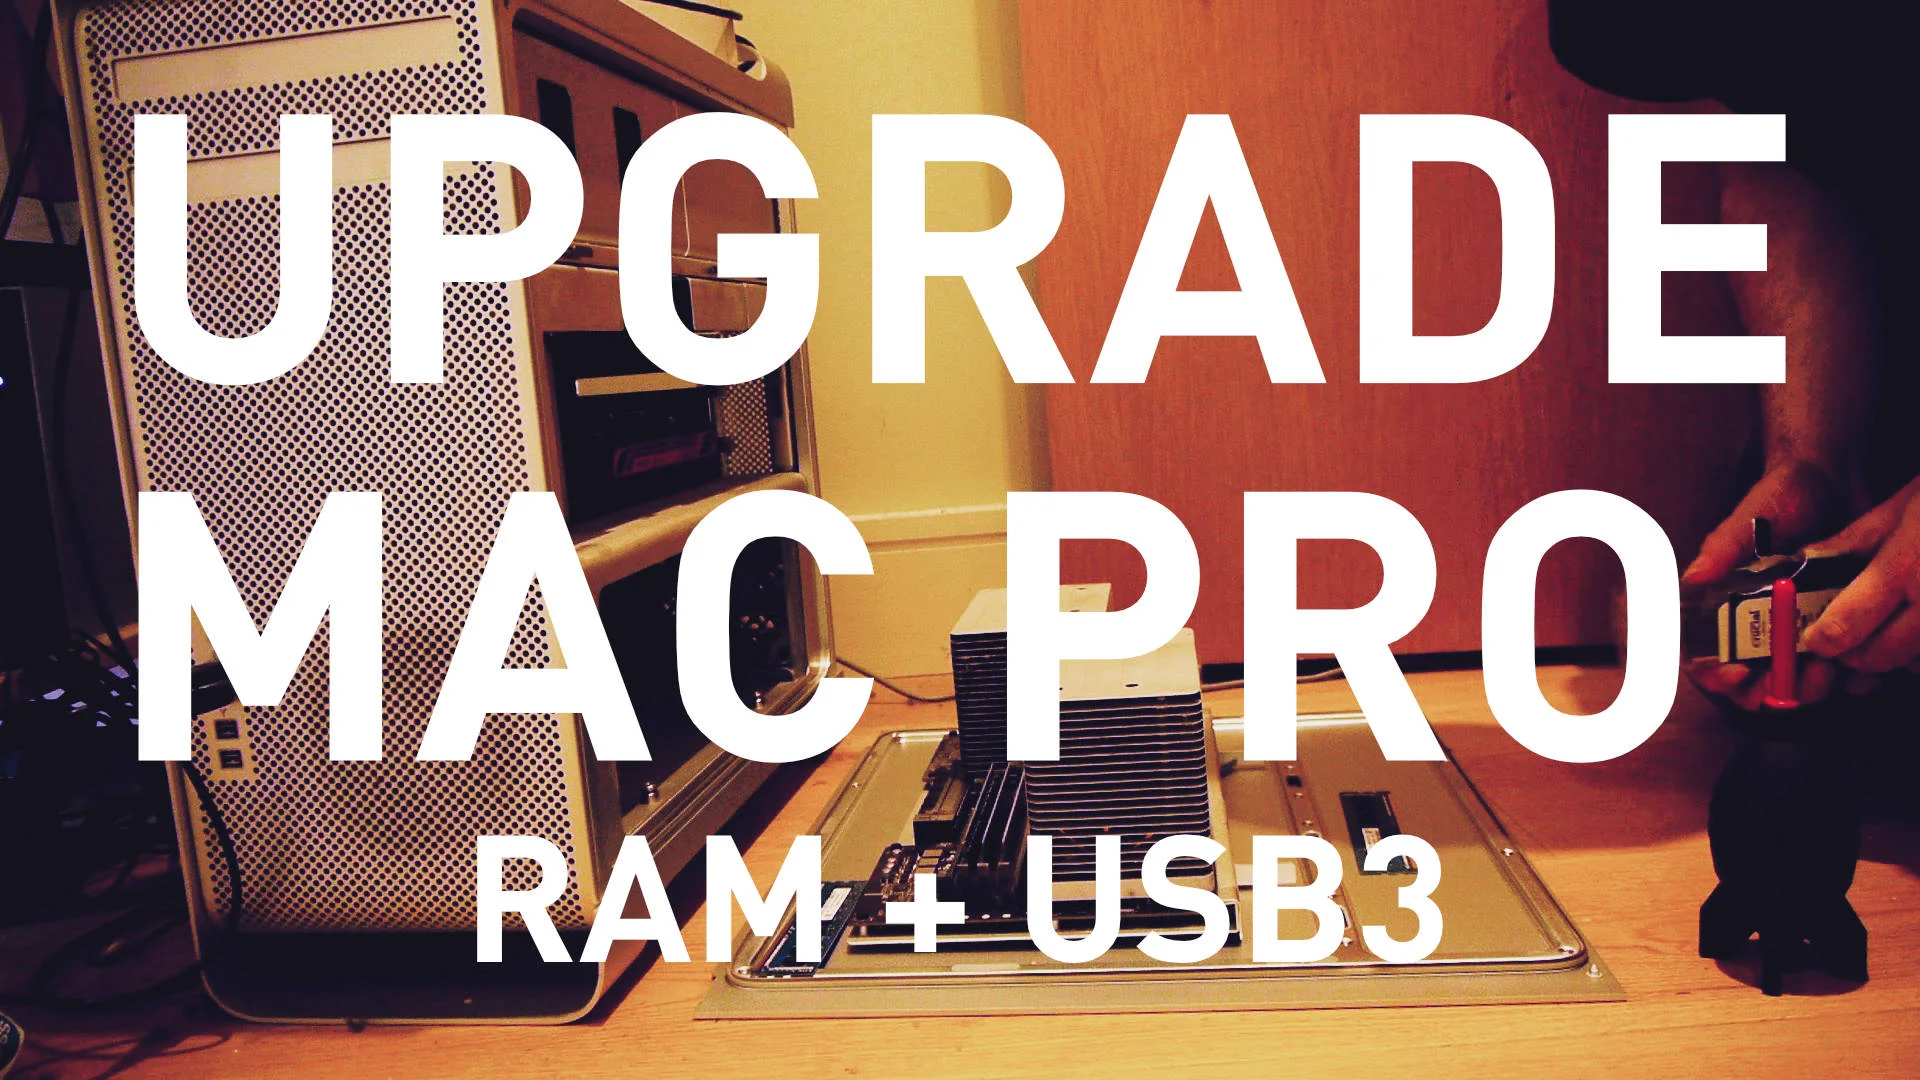
My main computer is an ageing 2012 Mac Pro. At the time it was reasonably well specced, but lately, I have been really struggling with it, especially with newer versions of Adobe’s Creative Cloud applications. In particular, it has become increasingly difficult to run multiple applications at once, and with the most recent round of updates, I cool no longer run Lightroom and Photoshop simultaneously.
I have been on the fence about upgrading its components, as I don’t know how much I want to continue to invest in a six-year-old computer. Even now, it’s surprisingly upgradable, and it's still a capable computer. Here’s a lot I could do with it, but its a tradeoff between propping up an ageing architecture vs going with something newer. I recently got to try a new iMac pro, and it’s really impressive. But its also expensive.
Eventually, I had to put an end to procrastinating, as the issues were beginning to impact my ability to do work. While I would certainly love a new iMac Pro, I still like the flexibility of the desktop, so my goal is to make it usable until Apple brings out the promised new, modular MacPro. The candidates for upgrades are Ram, an SSD, a new graphics card, and USB3. For the moment I decided to go with the least expensive options. Which means more RAM and a USB3 card.
For RAM I went with a 16gb kit from crucial. This consists of two 8gb DIMMs. The system as it stands has 20gb RAM, in two 4GB dimes, and the rest are 2gb units. I removed one pair of 2s and replaced them with the new 8s. This brought the computer up to 32gb of RAM. Depending on the results after a few weeks, I may order another set of 8s and replace another lot of 2s.
With regard to the USB3 card, this was actually my third attempt to get a USB3 card to work in the computer. The first one turned out to need an obscure cable, and it was a PC card anyway. The second one just didn’t work. For this third attempt, I did some more research and found a card that a lot of people recommend from Inateck. The advantage of this one is that it doesn’t require any drivers and just works.
Since upgrading, I’m amazed at the difference an extra bit of RAM has made. I no longer have any issues running Photoshop and Lightroom together. In fact, the whole system feels so much more responsive. The difference between 20gb and 32gb doesn’t seem like a lot but the difference is profound. One of the things that I hadn’t thought about, is that the system now almost never uses compressed memory. I wonder if this is helping the overall responsiveness. Whatever the reason it’s definitely noticeable.
I bought the memory from Amazon UK. I would normally get it direct from crucial, but Amazon had it for considerably less, which is a bit odd. I got the USB card from eBay as it was recommended by a person I trust.
Next on my list of things to upgrade will be a new graphics card and a solid state drive. One of the things that I’ve noticed since I’ve started using iStat Menus is that sometimes the graphics card can get so heavily used that it maxes out the processor and the ram on the GPU. When this happens, I’ve noticed that the whole user interface becomes sluggish. The card that’s currently in the MacPro is the stock ATI card, which, compared to modern ones is garbage, so upgrading that is definitely a priority.
I’ve had a few people comment to me about this on twitter and email since I talked about it and posted the video on YouTube, and I get the impression that a lot of people are in the same boat. With that in mind, I’ll keep a note of any more upgrades that I do and post any findings that I have. If anyone out there has had a similar experience upgrading an old MacPro please let us know in the comments below.
Help Support the Blog
I’m now on Patreon. If you like what I do here and find the information useful, then you can help by supporting me on Patreon. As well as helping keep this blog going with even more useful news, tips, tutorials and more, members also get special Patreon only perks. Stop by and check it out.
If you like this post then you can see more of my work on Instagram, Twitter and Facebook. I also have a YouTube channel that you might like. You should also check out my other Photography Project: The Streets of Dublin. If you want to get regular updates, and notices of occasional special offers, and discounts from my store, then please sign up for the Newsletter.
You can also show support by buying something from my from my Digital Download Store where I have Lightroom Presets, and e-books available for download. If you're a Fuji X-Trans shooter and Lightroom user, check out my guide to post processing X-Trans files in Lightroom. I also have a guides for processing X-Trans files in Capture One and Iridient Developer. For Sony Alpha shooters I have a new guide with tips on how to get the best from processing your A6000 Images in Lightroom


