Understanding Fuji’s Shadow and Highlight Tone Options - An Excerpt from my Fuji Jpeg Guide
Last week I launched my latest in a series of guidebooks for Fuji shooters. This one focussed on using Jpegs, and how to shoot and process them to get the best results. It dealt with some of the quirks of Fuji’s in-camera options and so on. I was actually surprised at how successful it was, and I was actually afraid my store would crash on the first day, as the interest was so high. I want to really thank everyone who bought a copy as I really wasn’t expecting it to be so successful. For this who haven’t seen it yet, I wanted to give you a taste, and so here’s an edited excerpt from the guide about how Fuji’s Highlight and Shadow Tone options work…
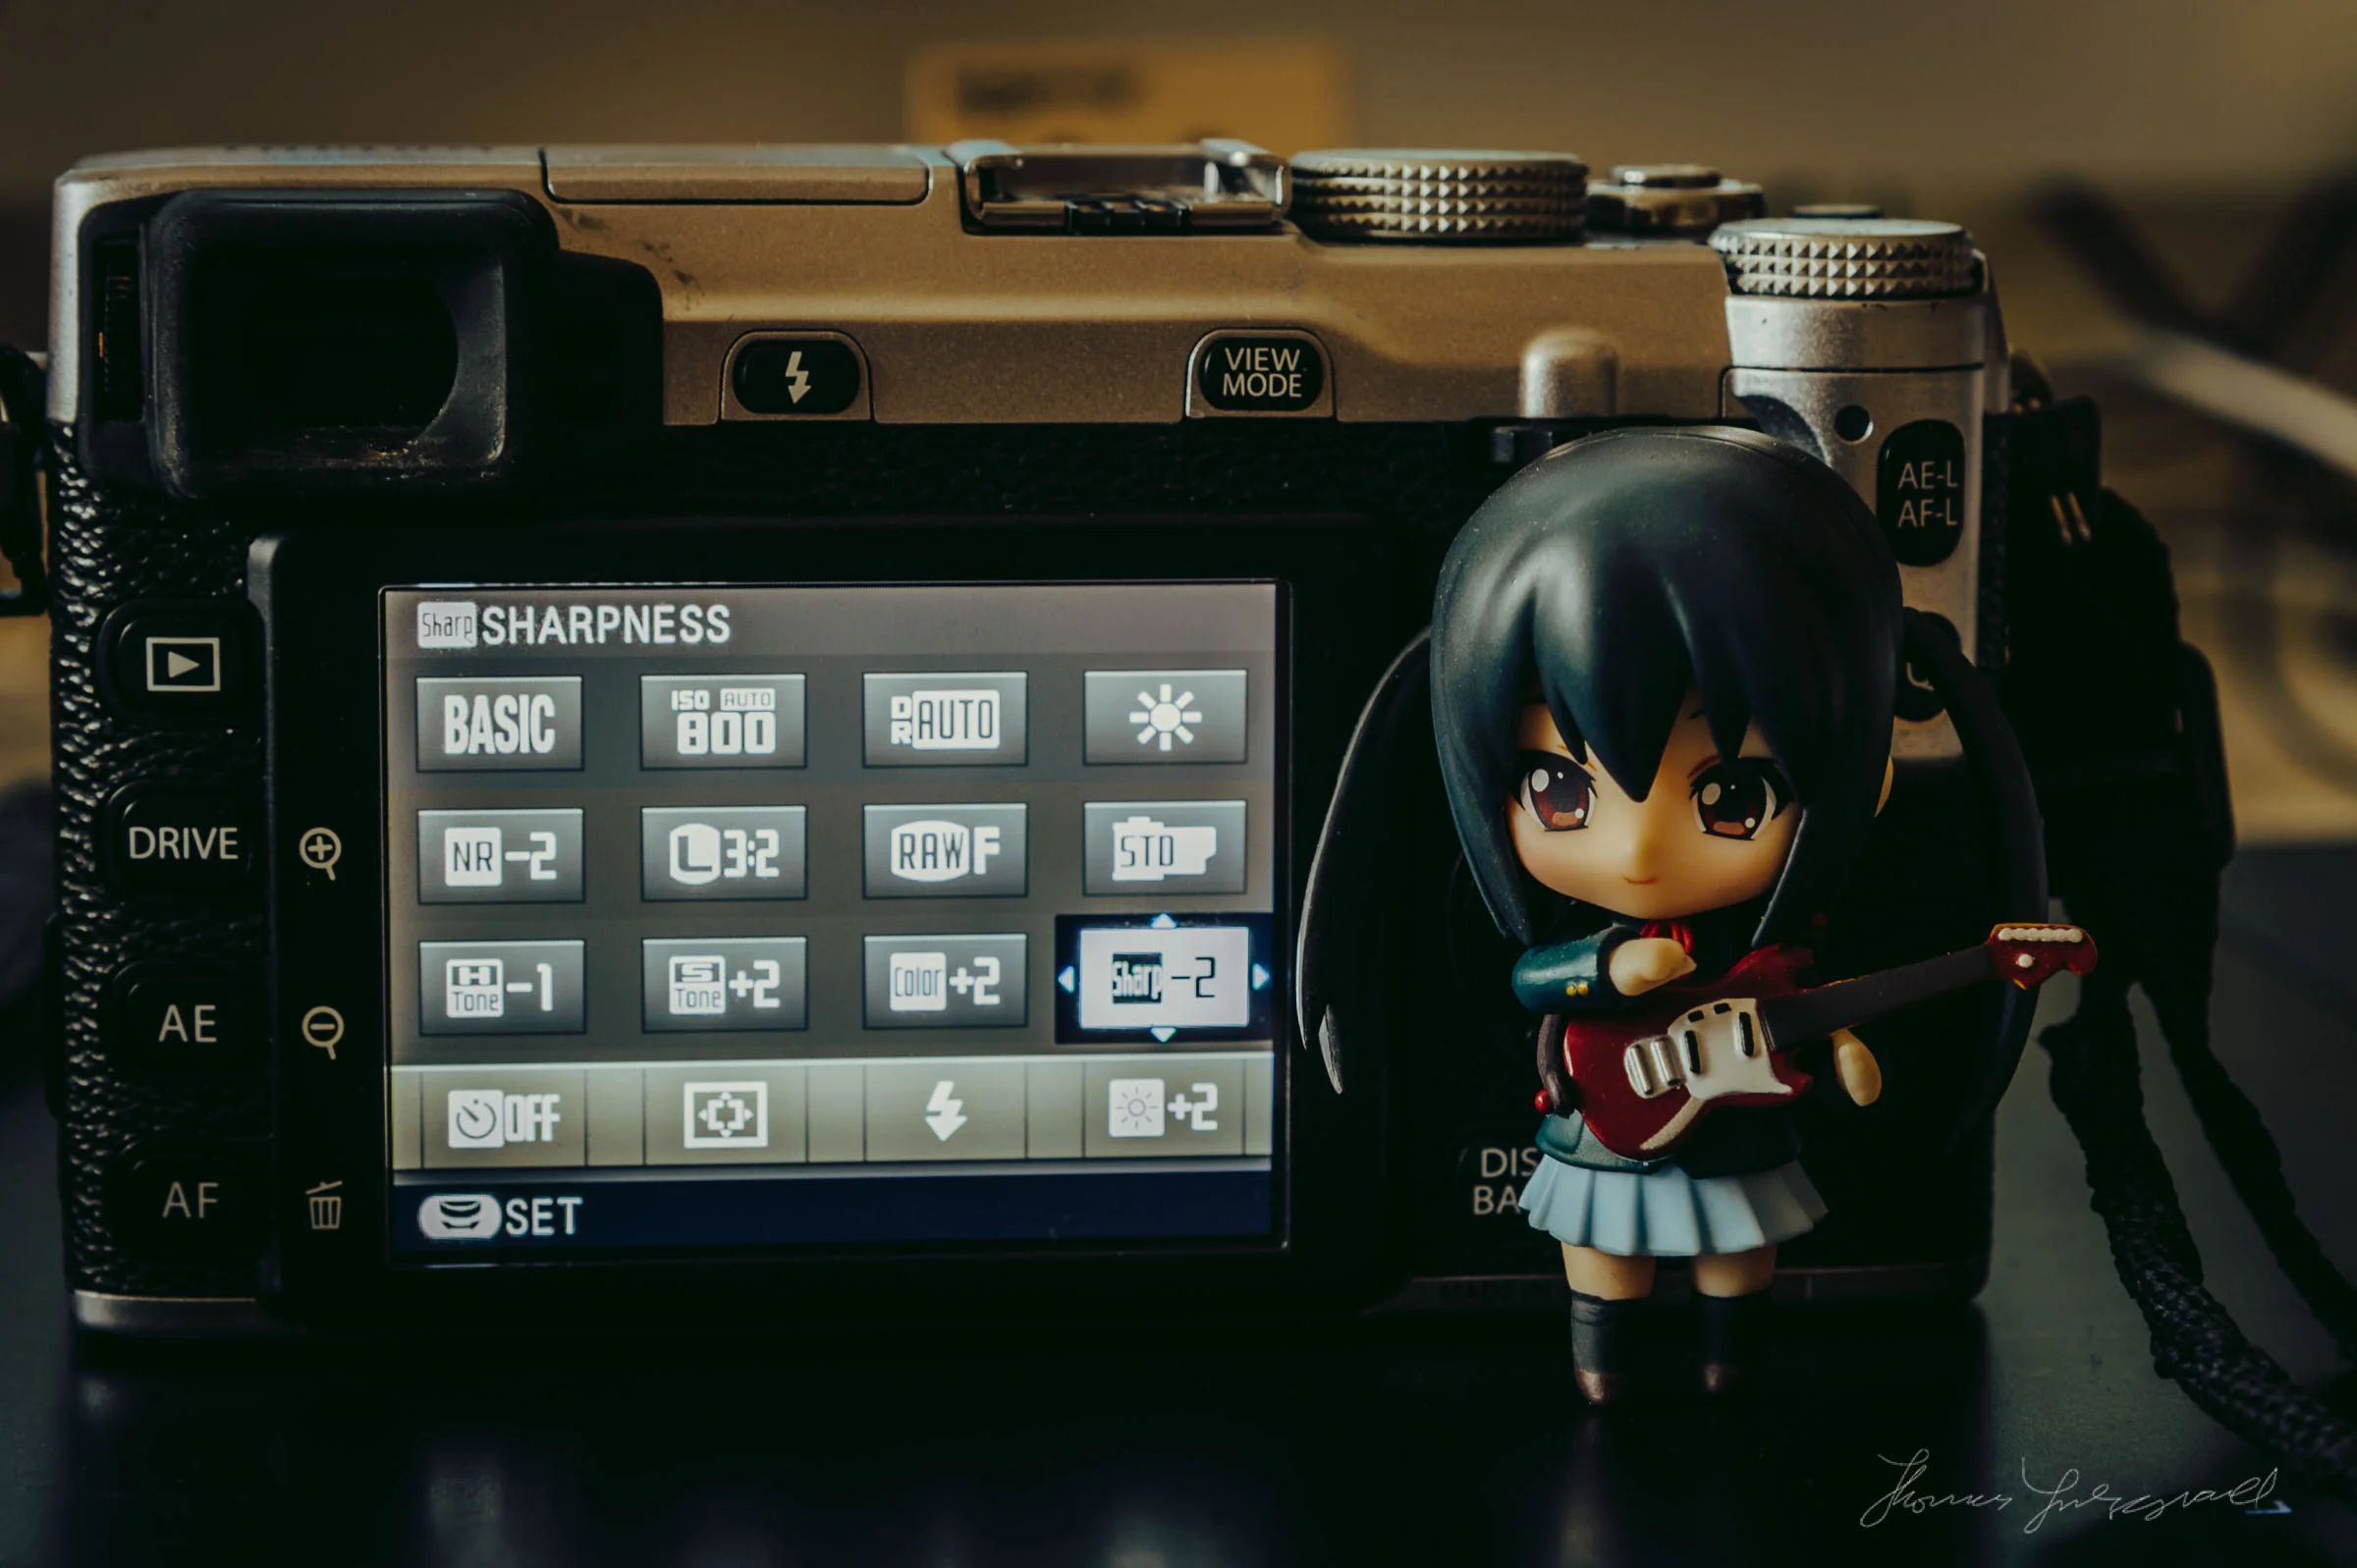
Customisation Options
Like most other cameras, the settings on your Fuji will give you some options to customise the look to an extent, but unlike most other cameras, Fuji’s picture profiles don’t include the ability to adjust the contrast of the picture profile. Instead, you get a set of tone curve options, that may be confusing at first.
What these settings essentially do is adjust the curvature of the upper and lower ends of the tone curve. In other words, it controls how the highlights of the image roll off, and also how strong the shadows are. With these options, you can control the contrast of the image to an extent. If you combine these with the right film simulation mode, you can create your own look in-camera by just using the on-board options.
There is another related control too, which is the dynamic range expansion mode, but that works a little differently, and I’ll cover that later in this chapter. The two options for adjusting the tone curve are:
Shadow Tone
This option controls the portion of the tone curve that deals with shadows. By increasing the tone curve number you will create more contrast in this part of the curve, and it will effectively crush the blacks. The options here depend on your camera model. Older Fuji cameras give you the option to set a value of between +2 and -2, but newer models will let you set it to +4. If you set the Shadow Tone to a positive value, you will darken the shadows, and this will in effect increase the overall contrast of the image. You need to be careful here though because while this works well to add some impact to your shots, you can clip the blacks easily with this method, and there's no way to recover clipped blacks. Too strong an option here can also give your image some unusual tones depending on the picture mode, with mids becoming a little grey.

If you set the Shadow Tone to a negative value, you will brighten the shadows. This will raise the black levels slightly and allow you to capture more detail in the shadows. This can be a useful thing to do if you plan to post process your JPEG and you want to retain as much information as possible. Be warned though as this can flatten the tones of your image and may make it appear too washed out.
Highlight Tone
This controls the highlight portions of your image, but it’s a little harder to explain than the shadow options. A negative amount will soften the highlight falloff of your pictures and will give you a more film-like roll-off. This also has the effect of recovering a small amount of detail in highlights to an extent, but not always. Again, it is image dependent, and sometimes it can have the effect of flattening out any detail in the highlights, so you need to be careful when using it.
I have noticed that this flattening effect is particularly noticeable when using the Acros film simulation mode. Sometimes, if you have the highlight tone set to -1 or -2, you end up with just grey where the whites of your image should be. If you look at the histogram, it stops four-thirds of the way up, and the whole top portion is just gone. In this case, you may be better off with a highlight tone of zero or +1 or +2 depending on how bright the scene is. If it’s a high contrast scene, then you may still need to use a negative value, but my recommendation is to use a positive value with Acros - most of the time.
If you use a positive value, this will brighten the highlight portion of the tone curve. This can also work to increase the contrast in your image but at the extent of blowing out the highlights. However, when shooting a low contrast scene, this can help increase the amount of brightness information that you are capturing. This can make metallic highlights look a little luminous at times though, so again you need to approach with caution.

How to Adjust Contrast
Because the Fuji system doesn't have a direct contrast control, you may be wondering how you adjust the contrast of an image in-camera without having to do so in post-production. While there is no direct contrast control, you can achieve the same effect by using the shadow and highlight tone options. Basically, if you want to increase the contrast use Plus values, and if you want to decrease the contrast for a flatter image, use negative values.
You do need to be aware of all of the issues that I mentioned above though, and you should know that increasing the shadow tone options too much can cause the blacks to clip. Similarly, increasing the highlight tone too much can cause the whites to clip. You may want to use a positive shadow tone value with a negative highlight tone number.
One of the tricks that I often use when increasing contrast, and while trying to maintain white levels, is to use a positive value in conjunction with a DR value of 200. This way, the highlight may be pushed a little too far by the positive highlight tone option, but they’re brought back by the Dynamic Range expansion. This doesn’t always work though, and it depends on the film simulation used too. It’s best to experiment with various settings and get a feel for what is what.
That’s just a small section from Chapter 2. There’s still a chance to get the full Guide at the special Launch Price of €5 (it will normally be €6.50), and I’m actually extending the launch sale for an extra week. You can learn more about it over on my store page, and there’s also a downloadable extract there too.