How to quickly get better RAW colours in Luminar
One of the issues that I have when using RAW files in Luminar is that the colours are often a little flat and the contrast is a bit washed out. This comes from RAW files not having a proper profile in the software, and while it has improved in recent years, it’s still a ways off from the default results that you would get in the likes of Lightroom or Photoshop.
There are a number of ways you could go about fixing this. You could add some curves and tweak those, and save them as a preset, or you could just use the develop controls to add some contrast and vibrancy. The problem with those methods is that they add adjustments and you no longer have a baseline as such. I know that’s kind of an academic argument, but I personally prefer to separate my editing into to phases. The first phase is correcting for any raw conversion or camera issues. The second is creatively adjusting the file. You could of course just use the standard tools and then start on an extra layer, but that’s another step, and I wanted to come up with the simplest way possible of doing this.


This got me thinking of an alternative approach, and then it occurred to me, there was a simple solution. Use a LUT. LUTs are similar to colour profiles anyway, so why not just use one as a default correction to compensate for a generally flat RAW image. So I created a new LUT using Lightroom to come up with a default set of adjustments, then converted these to a LUT file.
Now when adjusting a RAW file in Luminar, I have created my own develop workspace which already contains a LUT mapping filter, and I just set this to use the LUT That I created for this purpose, which you can download with the button below.
Now, when working this way, I have better default colours and contrast, but all my sliders (apart from the LUT mapping) are set at zero. SO I can go on to creatively adjust the file and still have a base level starting point. If you want to use the LUT I created for this, you can download it from the button below. And don’t forget to check out my own Film Candy LUTs which are a set of 70 LUTs that can be used in a variety of applications, including Luminar.
Help Support the Blog
I’m now on Patreon. If you like what I do here and find the information useful, then you can help by supporting me on Patreon. As well as helping keep this blog going with even more useful news, tips, tutorials and more, members also get special Patreon only perks. Stop by and check it out.
If you like this post then you can see more of my work on Instagram, Twitter and Facebook. I also have a YouTube channel that you might like. You should also check out my other Photography Project: The Streets of Dublin. If you want to get regular updates, and notices of occasional special offers, and discounts from my store, then please sign up for the Newsletter.
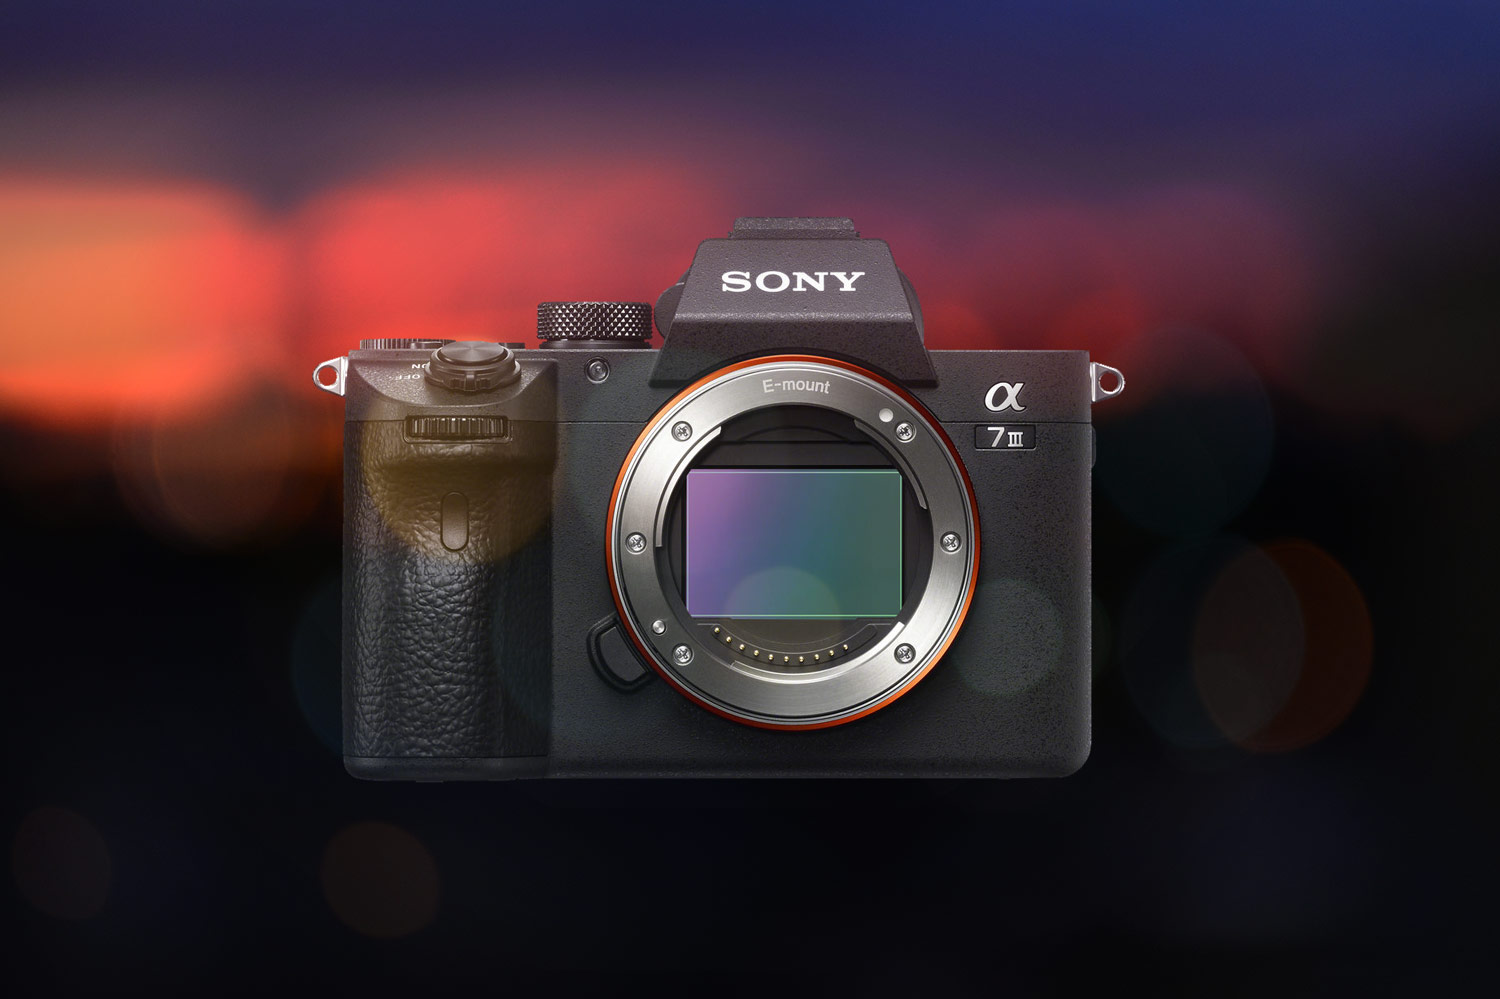
You can also show support by buying something from my from my Digital Download Store where I have Lightroom Presets, and e-books available for download. If you're a Fuji X-Trans shooter and Lightroom user, check out my guide to post processing X-Trans files in Lightroom. I also have a guides for processing X-Trans files in Capture One and Iridient Developer. For Sony Alpha shooters I have a new guide with tips on how to get the best from processing your A6000 Images in Lightroom.