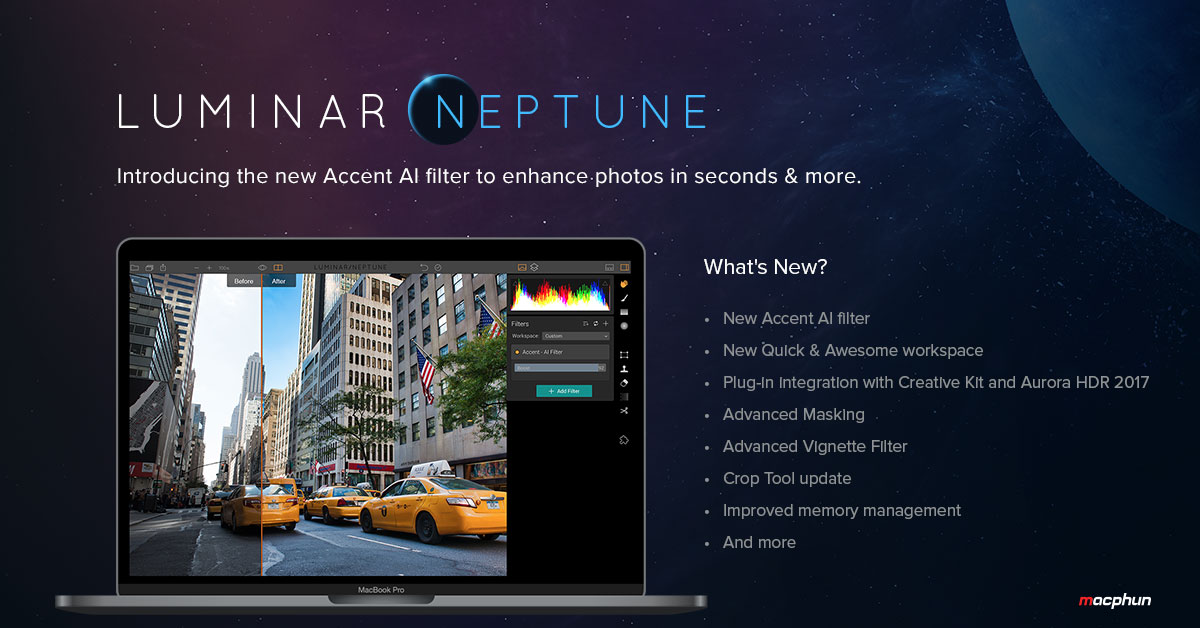
Macphun Luminar Neptune Launches
Macphun have just released a new and updated version of Luminar. The update features some big new features, as well as a lot of little improvements. I’ve had a chance to use the beta version for a few days, and there are some interesting new features in the application.
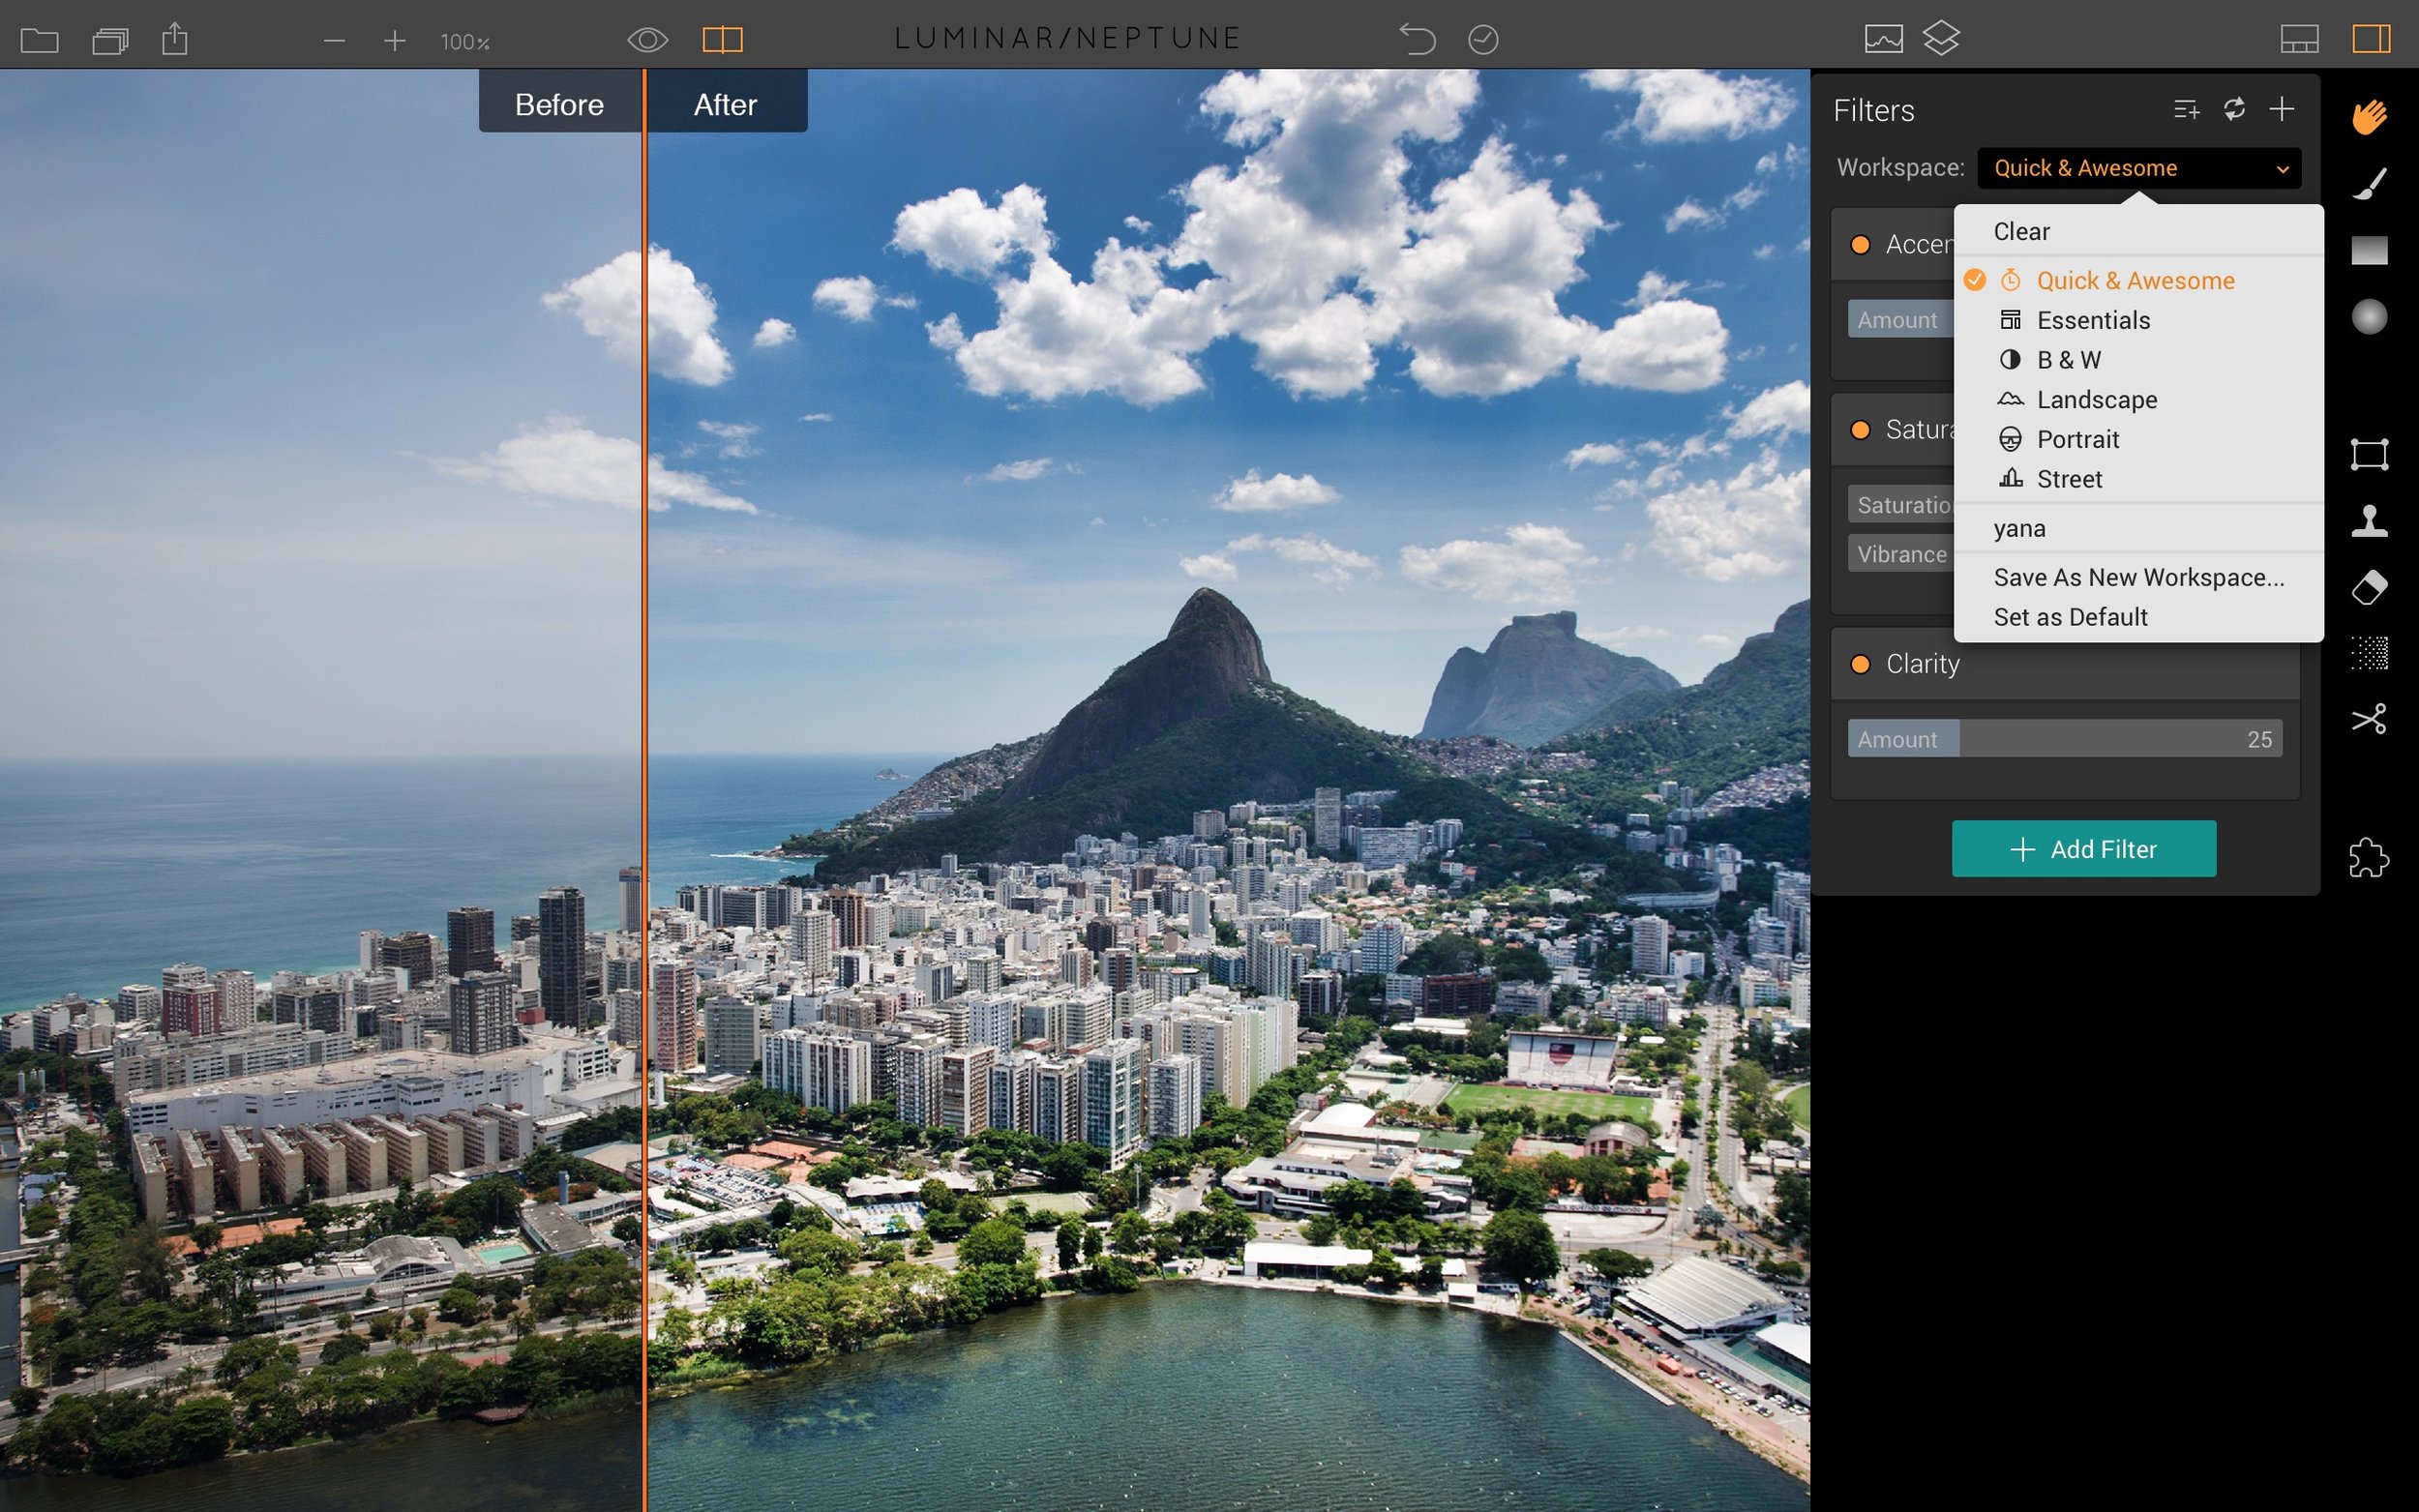
So what’s new? Well, here’s the list of new features from the Press release:
New feature highlights in Luminar Neptune:
- Accent - AI-filter Uses artificial intelligence to create stunning images with a single slider movement, tapping into the power of dozens of filters.
- Quick & Awesome workspace A workspace consisting of the Accent AI, Saturation & Vibrance and Clarity filters. Great for achieving fast results in a fun and easy way.
- Plug-in integration with Creative Kit and Aurora HDR 2017 Seamlessly access Macphun’s other photo editing tools you own with Luminar as the host application
- Brush, Gradient and Radial Gradient tools Dramatically faster performance yields smoother selective editing.
- Vignette filter Addition of Vignette Styles, Place Center and Pre- and Post-Crop modes deliver even more flexibility to this popular photo finishing tool.
- Memory management Increased overall performance for large files and 5+ simultaneous open images.
- User Interface changes Extensive improvements to in-app animation and mode transitions make for a more pleasing editing experience.
- Crop tool update Added the ability to specify custom crop ratios.
- Local history Provision for reviewing separate history while in Transform, Denoise, Clone & Stamp modes helps optimize editing.
At first, I thought that the Accent AI filter was going to be a bit of a gimmick, but it actually works, and it works really well. I was surprised at how good it was. I wasn’t expecting it to be something that I would use, but it actually is quite good. Here’s the official blurb on it:
The Accent AI Filter in Luminar uses artificial intelligence to analyze different areas of an image based on its structure, objects, dark and light zones, colors and other parameters. As a user moves the slider, the filter intelligently and automatically “understands” what each area on the photo is lacking and improves it. Moving the slider can also adjust the intensity of changes, making the picture look more natural or revealing a more dramatic look, depending on the desired effect.
Here’s a quick demo of it in operation:
I’ll post a more detailed video demoing this soon. One of the other interesting changes is the way you can now send your image to any of Macphun’s other applications such as Aurora HDR and when you do your processing it will send it back as a new image layer in Luminar.
In terms of the speed increase, I didn’t notice anything massive, but it definitely seems a good bit snappier. The brush tool is definitely faster, in my opinion. Raw files are still a bit slow to load though, and the Noiseless option is still quite slow to process. However, one of the good things is the, if you have the separate noiseless app, you can send your image to that using the new plug-in architecture. This gives you a bit more control, and I think its a bit faster too.
Help Support the Blog
I’m now on Patreon. If you like what I do here and find the information useful, then you can help by supporting me on Patreon. As well as helping keep this blog going with even more useful news, tips, tutorials and more, members also get special Patreon only perks. Stop by and check it out.
If you like this post then you can see more of my work on Instagram, Twitter and Facebook. I also have a YouTube channel that you might like. You should also check out my other Photography Project: The Streets of Dublin. If you want to get regular updates, and notices of occasional special offers, and discounts from my store, then please sign up for the Newsletter.
You can also show support by buying something from my from my Digital Download Store where I have Lightroom Presets, and e-books available for download. If you're a Fuji X-Trans shooter and Lightroom user, check out my guide to post processing X-Trans files in Lightroom. I also have a guides for processing X-Trans files in Capture One and Iridient Developer. For Sony Alpha shooters I have a new guide with tips on how to get the best from processing your A6000 Images in Lightroom.