10 Tips for iPhone Photography

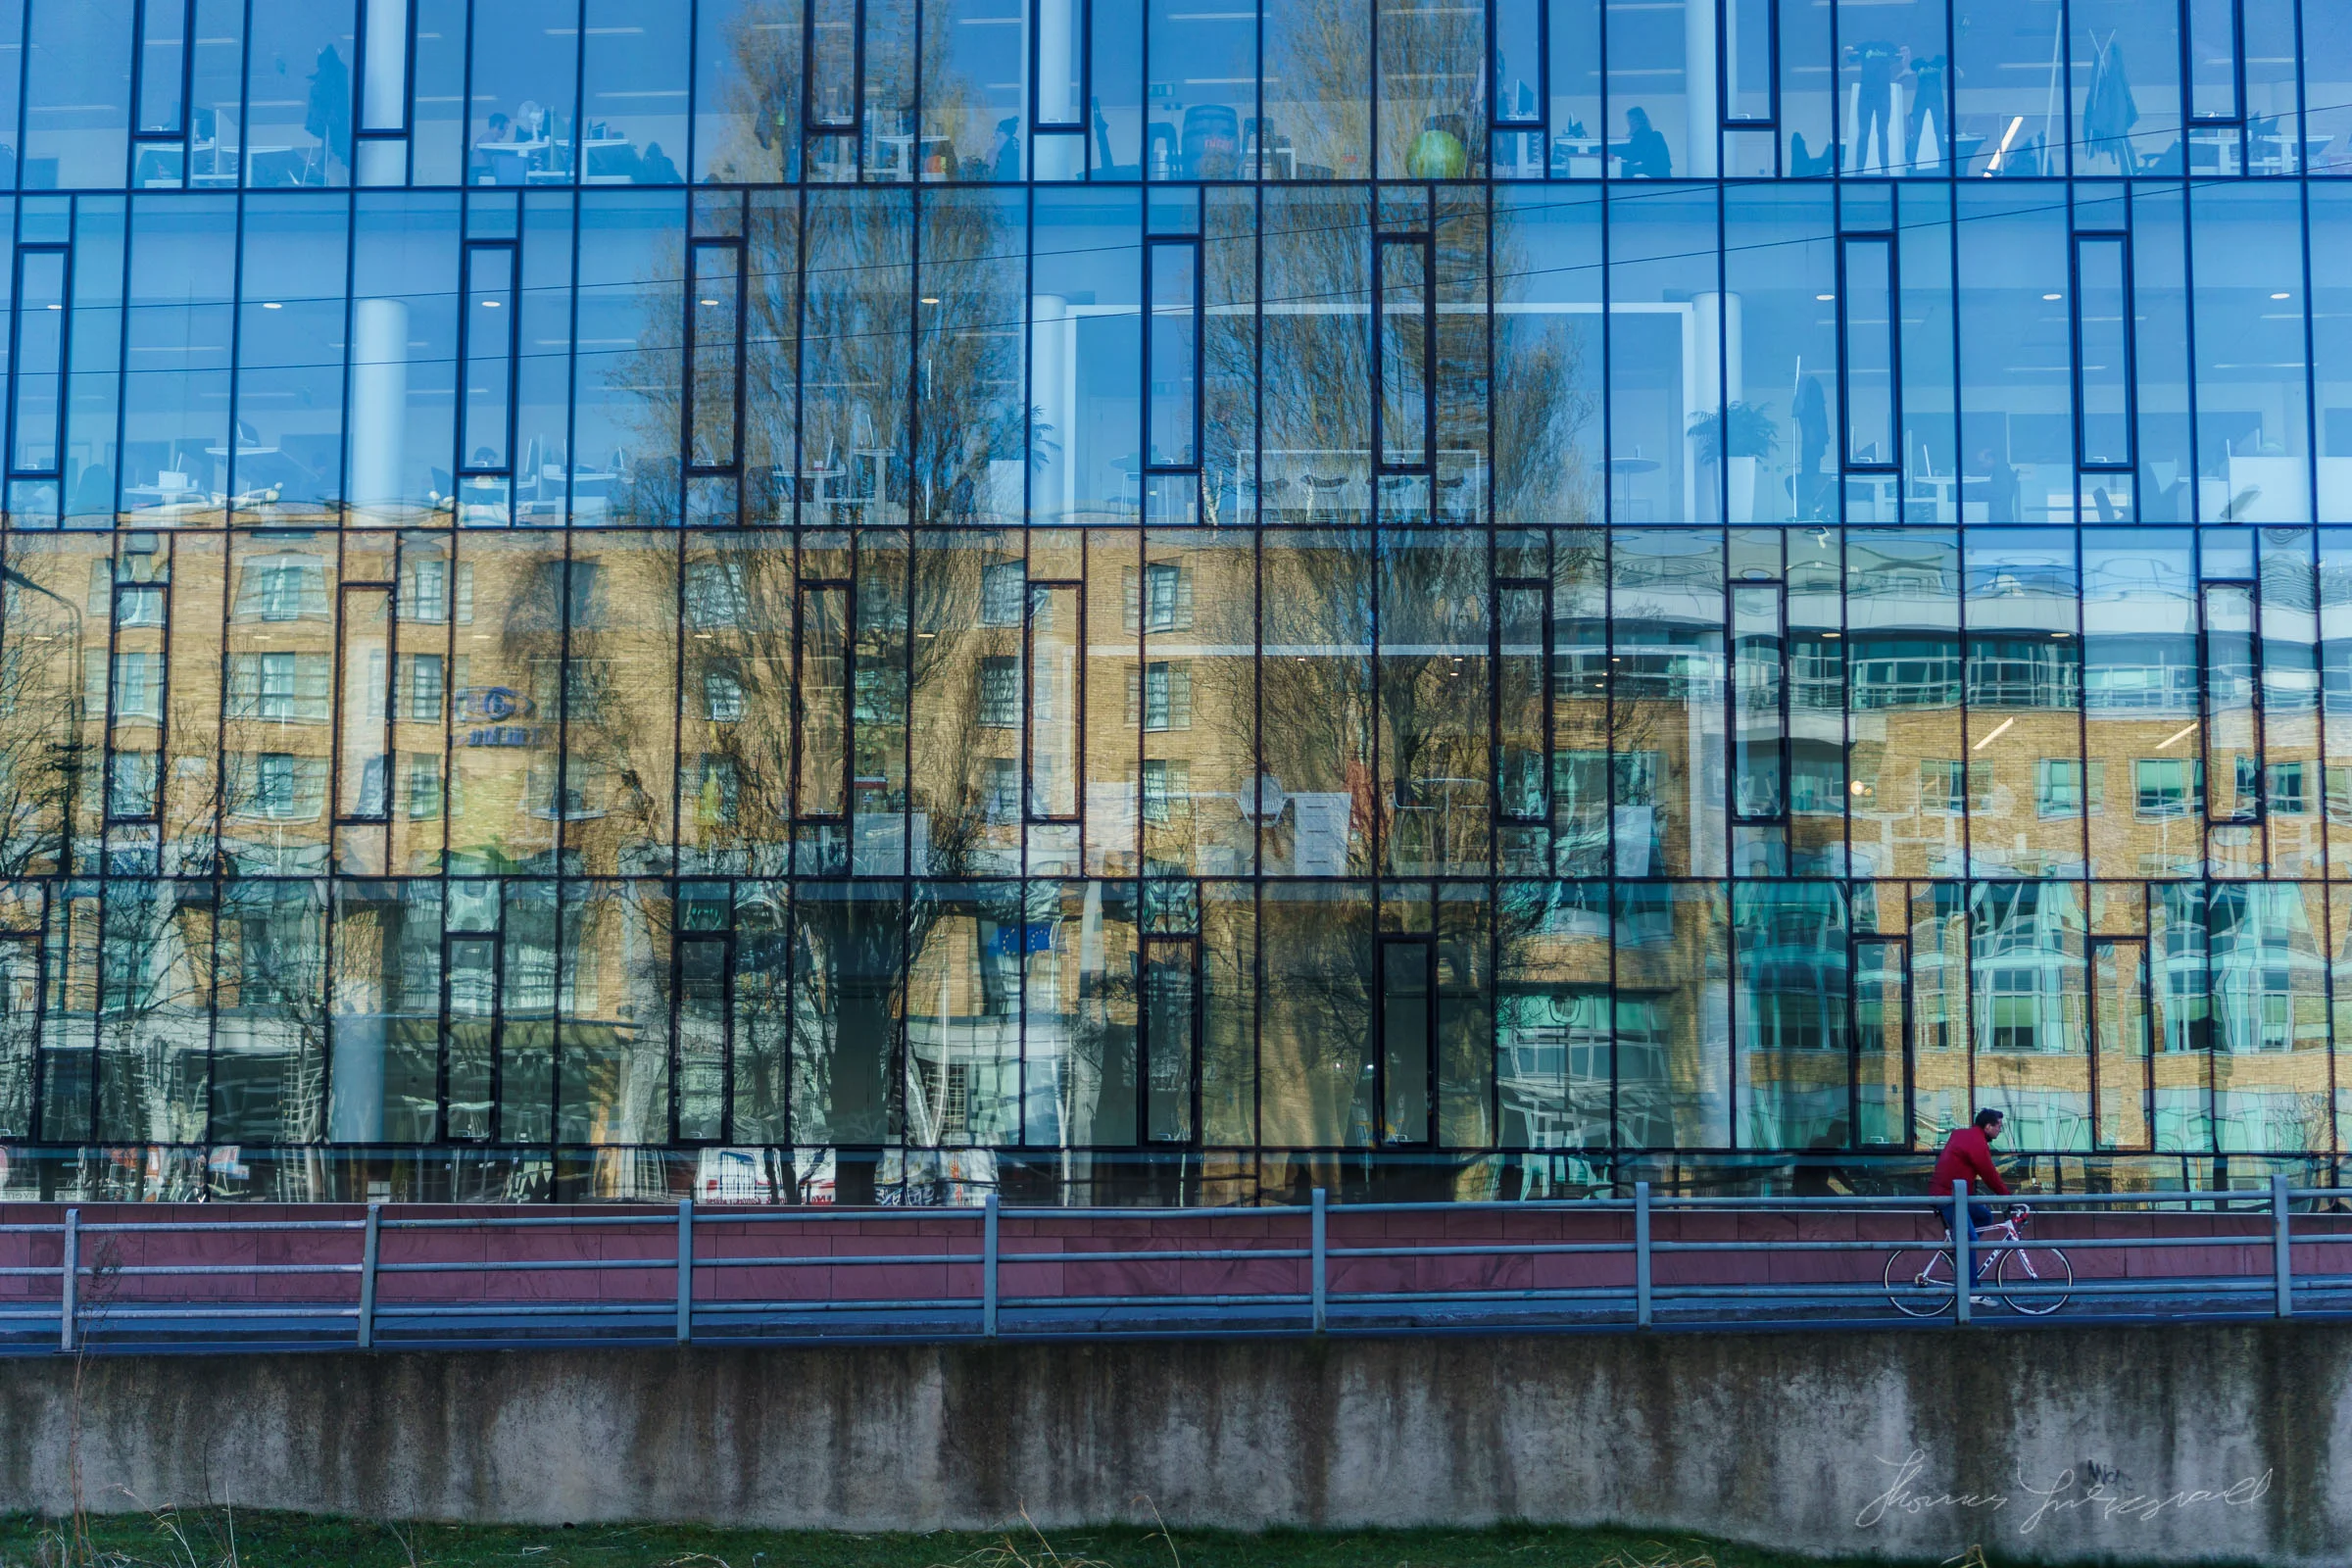
Shot with iPhone 6 - Edited with VSCO Cam on iPhone
I’ve been using my iPhone a lot for photography lately and I’m having a lot of fun shooting with it. There’s lots written about iPhone photography and there’s lots of articles giving you lots of tips and dos and don’ts for shooting images with your iPhone. I wanted to share a few from my own experience though. These are just some random tips that I’ve been thinking about over the last little while. Some may seem pretty obvious, and some you may not agree with, but there tips are just things that I’ve personally found. Anyway, without further ado, here are ten tips for getting more from your iPhone photography.
1. Keep your Lens Clean
The lens on your phone can get smudged and dirty quite easy. This leads to images looking pretty awful fairly quickly. Even minor smudges can ruin an otherwise good image. Regularly checking your lens to make sure it’s clean is a good habit to get into. It’s also worth while keeping a good lint free microfibre cloth with you to clean it. Having a good case can help too. When the lens is recessed into a case it means the lens is less likely to be making contact with items when the phone is lying flat. This is especially important on the iPhone 6 and 6 plus, where the camera protrudes slightly
2. Learn to use the Exposure lock
There is a function in the standard camera app that is not immediately obvious if you don’t know about it, but can make a huge difference to your photos. This is the ability to lock the focus, exposure and white balance. If you tap on an area of the screen when in the camera you move the focus/exposure square to the point that you tap on. This will set the focus and exposure based on this point. However, if you tap and hold you will lock the exposure, focus and white balance. This can make a huge difference to your photography. In particular, the white balance algorithms of the iPhone can easily produce weird and unpleasant results, especially if there is a lot of green in the screen. You can turn away and move the phone around till he white balance is right and then lock it. Unfortunately this locks the exposure as well, but there are ways to compensate for this. With a little practice you’ll get better at it guessing where the right point is to lock the exposure.
3. Use exposure Compensation
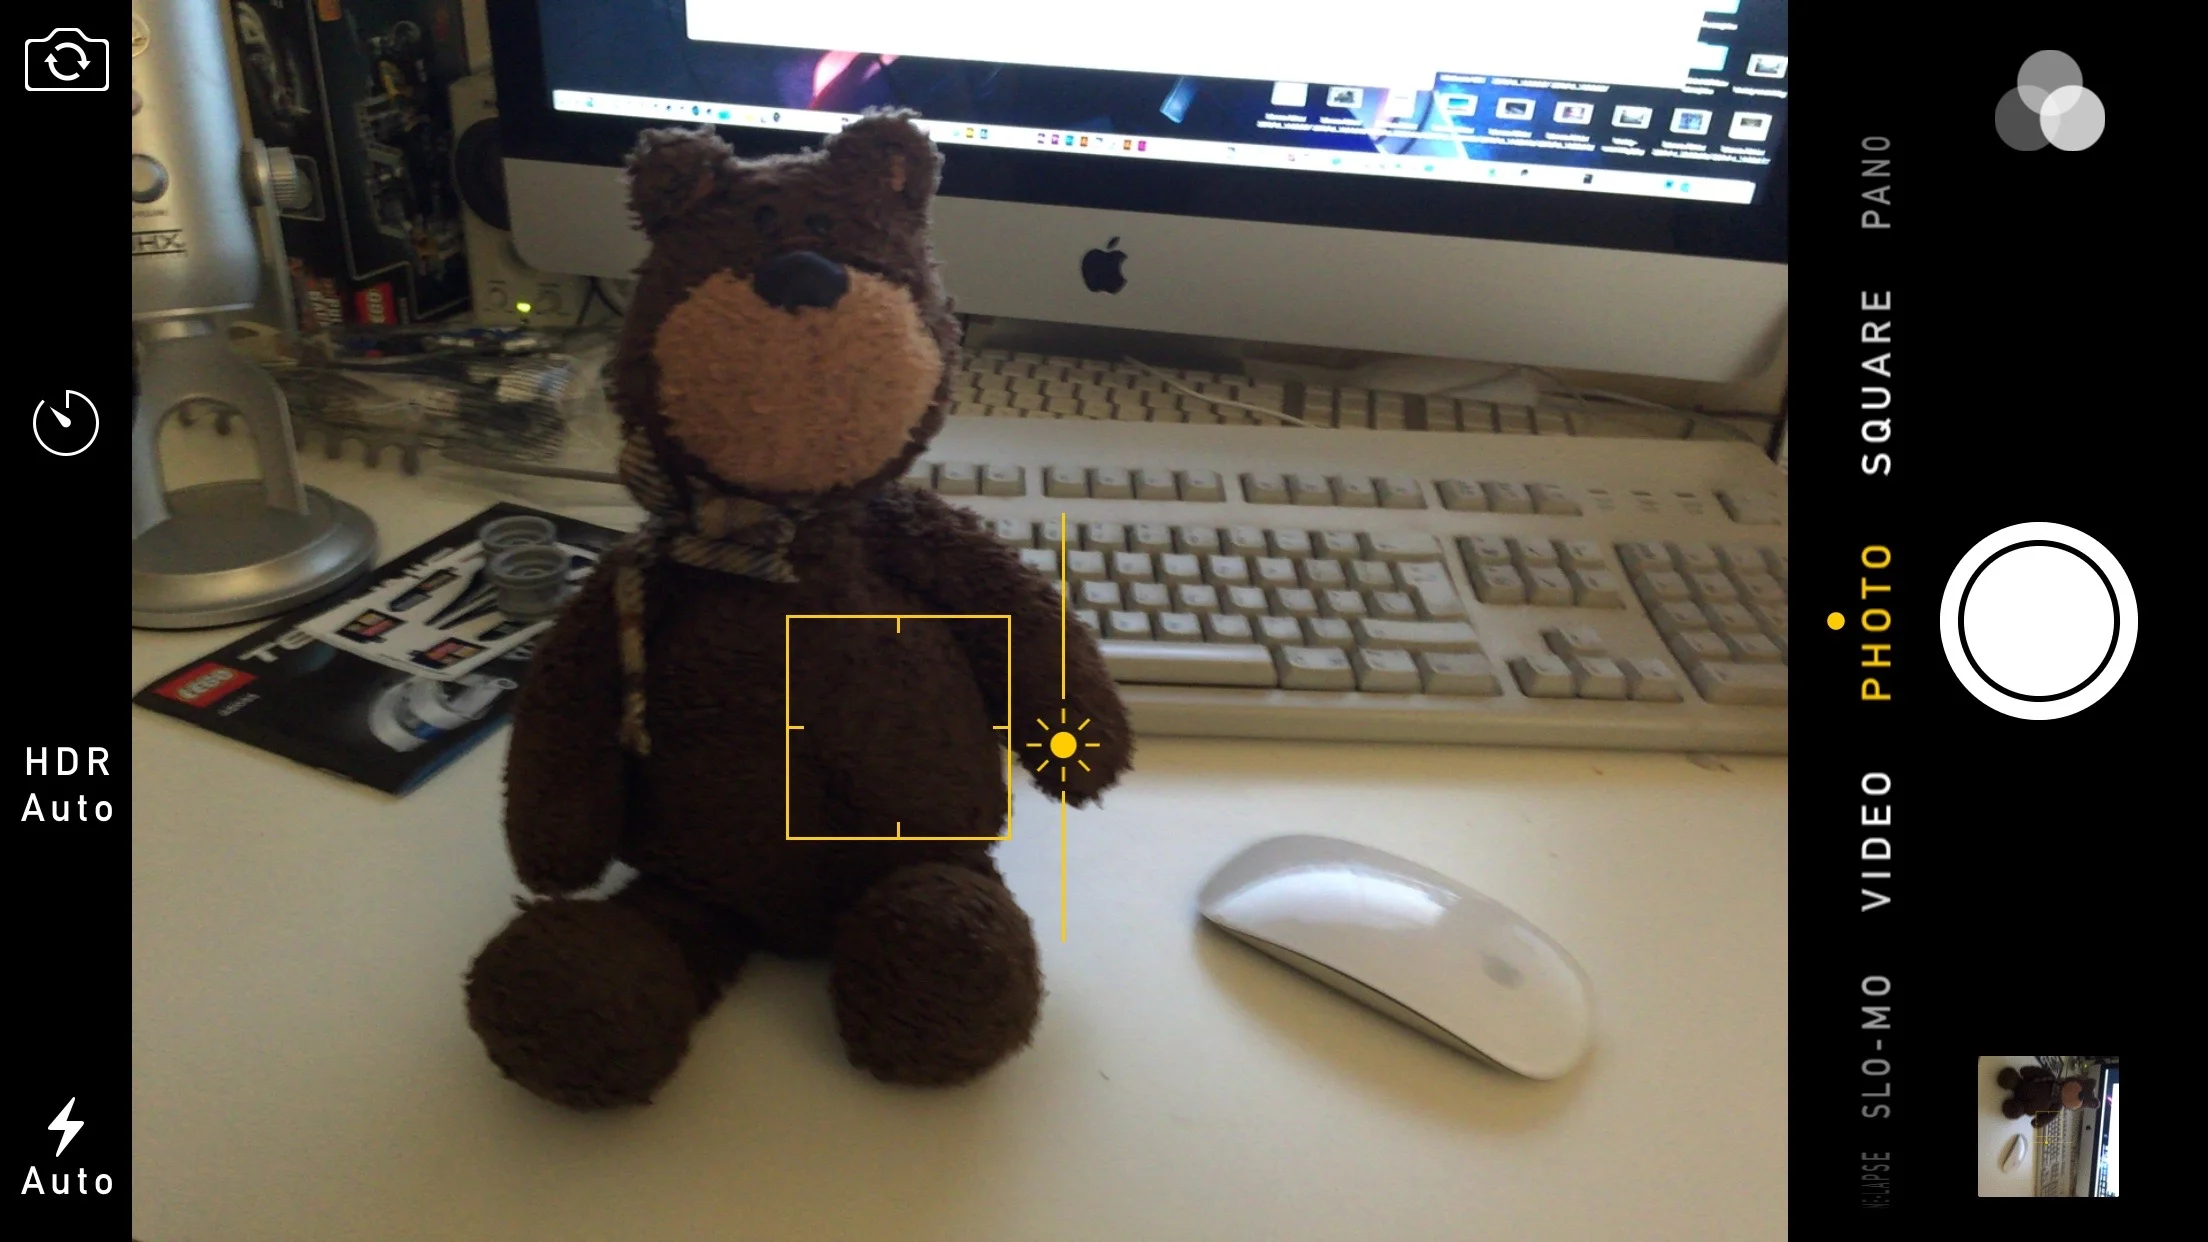
Exposure compensation is another feature, like the exposure lock that is in the standard camera app but it’s not immediately obvious where it is. It’s quite simple to use though, and this, like the previous two tips can make a huge difference. To use exposure compensation in the standard app, first tap on the screen to set the exposure, then slide your finger up or down while pressing on the screen. This will increase or decrease the exposure compensation
4. Use the Black and White modes in the camera when shooting black and white.
If you’re going to shoot in black and white, you can use some of the live filters built into the camera app. There are three black and white filter modes, and of the three of them, Noir is my personal favourite. While you can also apply these filters after shooting, applying them live can let you see what the shot is going to look like before you even take it. When you look at a scene this way, you can often see things you might otherwise miss. It will also let you see exposure issues that might crop up when you apply a filter so that you can compensate before hand, rather than trying to fix it afterwords.
5. Get an App that Allows Manual Control over the Camera
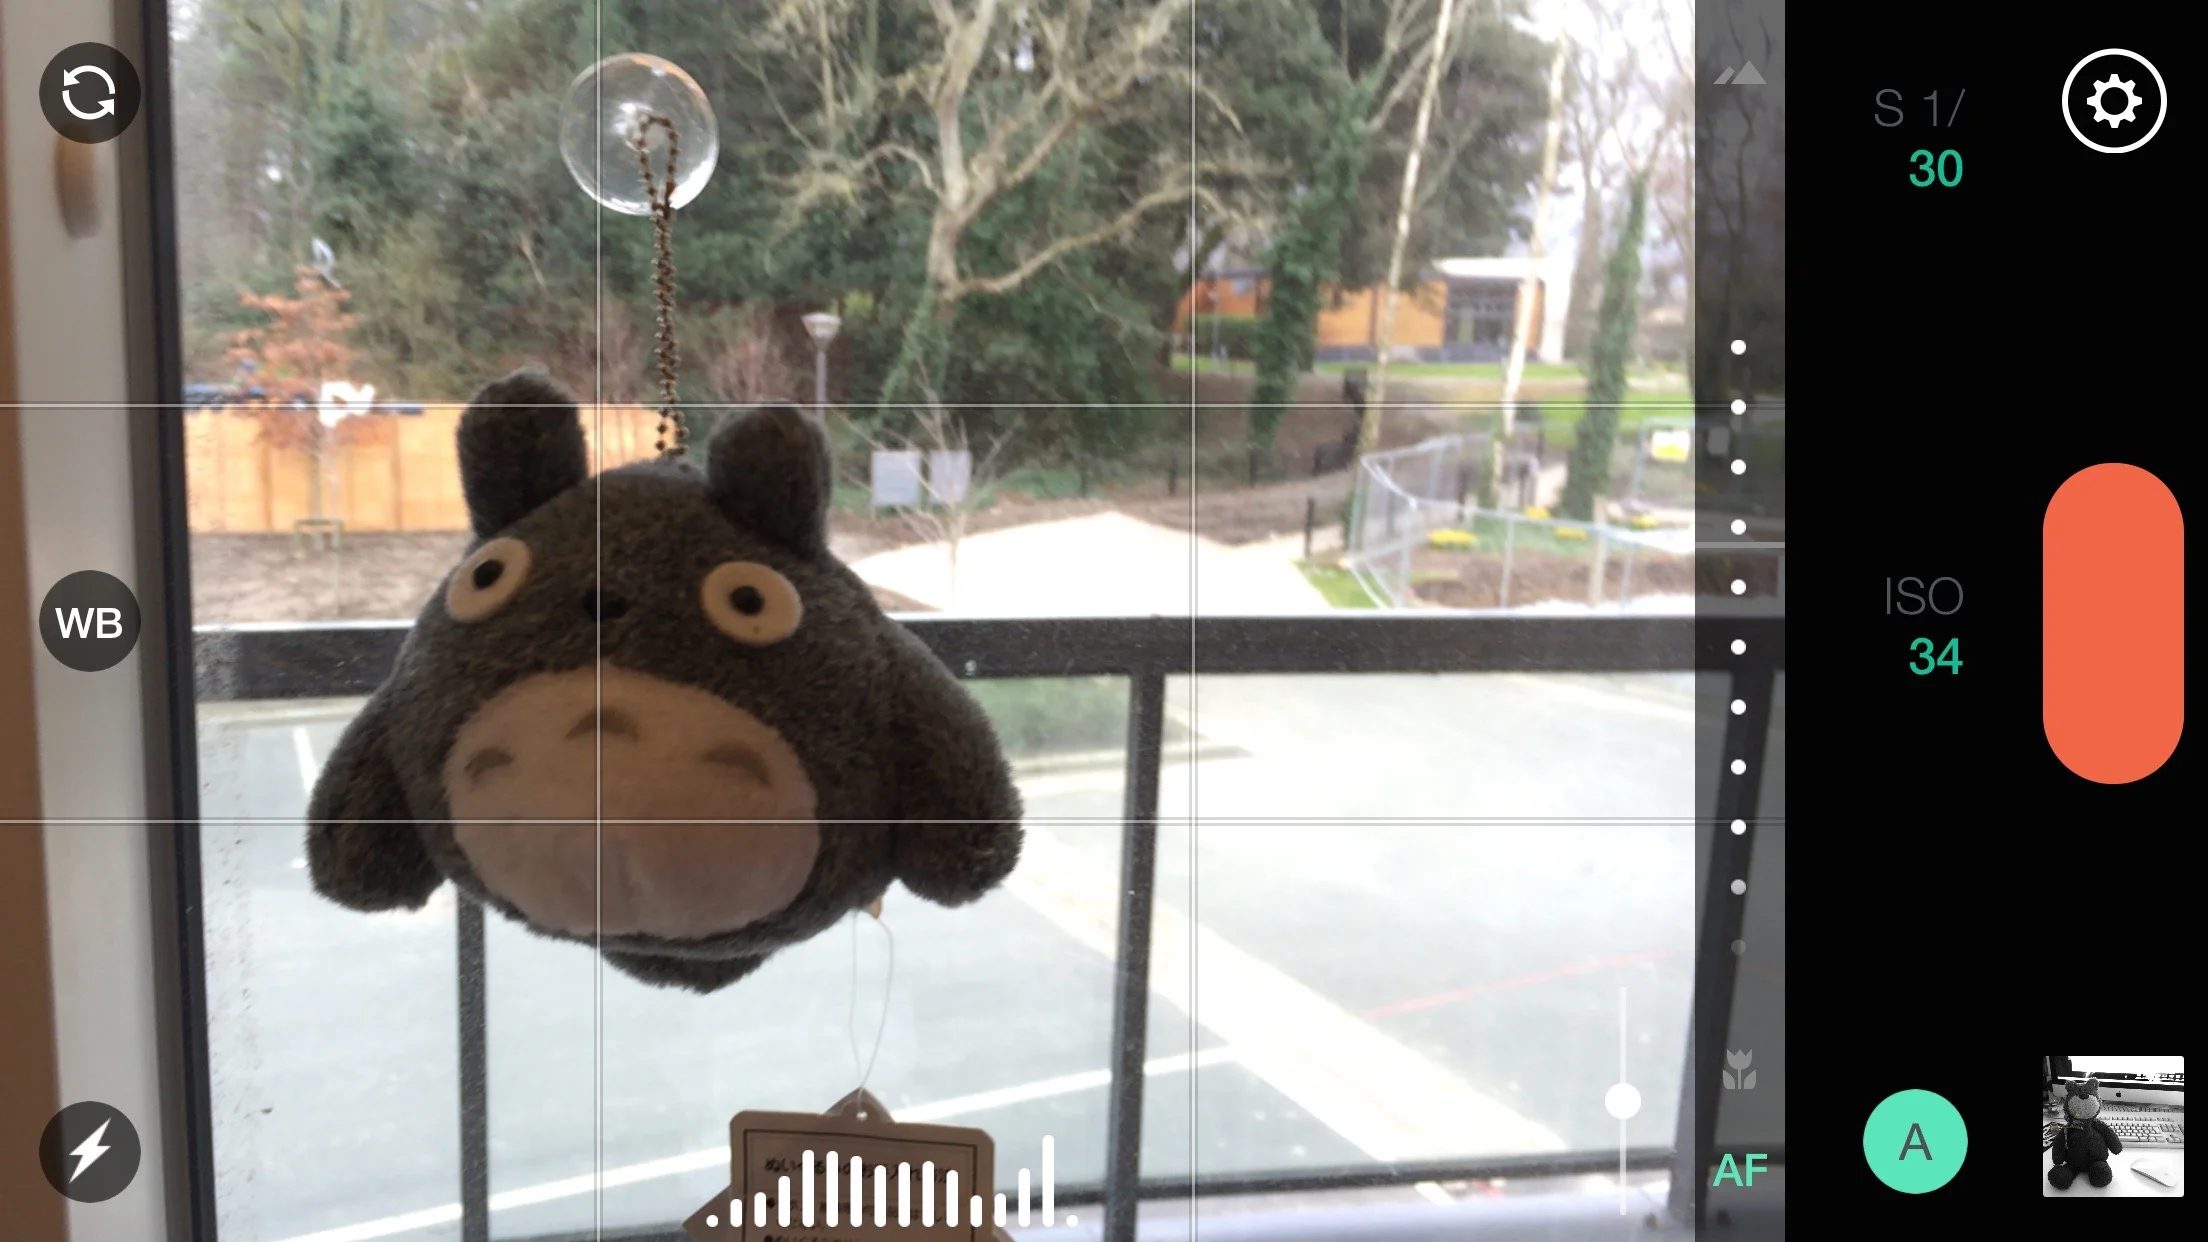
In iOS 8 Apple opened up the camera api to allow third party developers to create apps that could manually control the camera. There are lots of different apps out there that allow you to use manual controls, but they all use different ways and interfaces to achieve this. The one I use and recommend is simply called “Manual”. The reason that I like it is that it’s minimalist and simple to use, and has easy controls. Images are saved directly to the camera roll too, so you don’t have to go through the extra step of saving your photos out of the app into the camera roll, like you do in some other applications.
6. Get VSCO Cam
VSCO Cam is an amazing photography app for iOS and it should be in every iPhone photographer’s arsenal (and, no, I’m not being paid to say that!). The app is from the same people who make film simulation presets for Lightroom, and VSCO Cam does a similar job for iPhone images, on the iPhone. While there are lots of different apps out there that let you add filters to your image, VSCO cam provides the most film like and natural ones, but it also has a very powerful and comprehensive set of editing tools. I can’t recommend this software enough.
7. Zoom with your Feet
The phrase "zoom with your feet" is a long standing photography joke that’s often used when referring to shooting with a prime lens. You can’t zoom in so in order to zoom you need to use your feet. Well, you can zoom on the iPhone but don’t unless you really have to. The zoom on the iPhone is a digital zoom, and when you zoom in you’re sacrificing image quality and resolution. Even a little bit of digital zoom in certain circumstances can ruin an otherwise good quality image.
8. Master the default camera app
While there are many (many many many) camera apps that are probably better and offer more functions than the default apple camera app, you should still master the default camera app first. Learn the tricks that I mentioned at the start and get used to using them, and practice getting the best from the app. The reason for this is simple. Until Apple allows you to change the default apps, the built in camera app is the quickest one to get to from a locked phone. You just need to swipe up from the lock screen and you’re in the camera. If you’re out an about and something is happening,t he last thing you want to do is go searching your home screens for the right camera app. Even if you keep it on your first screen, it can still take a few seconds to find and launch. The default app is always right there, ready to get to at a moments notice, and that’s why its a good idea to learn to get the best from it, as well as whatever other apps you want to use.
9. Keep a folder with your regularly used photography apps in the dock
If you use your iPhone for photography a lot you will want quick access to the camera and photography apps that you use. The quickest way to be able to get to them is if you create a folder with your regularly used camera apps, and put that folder in the dock. To create a folder, if you don’t already know, you simply tap and hold on an app icon until they start wiggling, and then drag one icon on top of another. This will create a folder. You can then drag that folder onto the doc (make sure to remove something first so that you have room).
You don’t have to just put Photography or camera apps in there. I only use a few camera apps regularly, so I have a folder with my most regularly used apps in the dock including the camera apps I use the most. The advantage of having a folder in the dock is that you can get to the apps inside, regardless of what page you’re on in the home screen.
10. Remember to turn your iPhone sideways from time to time
This may seem like an obvious thing, but it’s surprisingly easy to get into the habit of shooting primarily vertical (portrait orientation) pictures with your phone. I know I find myself doing this all the time. When I shoot with any of my regular cameras, I mostly shoot in a landscape orientation, and yet when I look through my iPhone photos, they’re mostly vertical. This makes sense as it’s the natural way to hold the phone. Of course there’s nothing wrong with vertical images, but sometimes shots look better in landscape. I guess what I’s saying is just to be aware that it’s quite an easy habit to get into (mostly shooting vertical) and try and mix it up from time to time.
Please Help Support the Blog
I am a fine art Photographer and do not shoot commercial projects. I do my best to keep this site regularly updated with lots of tips, reviews, news and photography advice, all for free. If you like what you read here and want more, then sign up for our newsletter to get regular site updates and occasional special offers. You can also follow my photographic exploits on Facebook and Twitter
If you're a Lightroom user check out my original Lightroom Presets